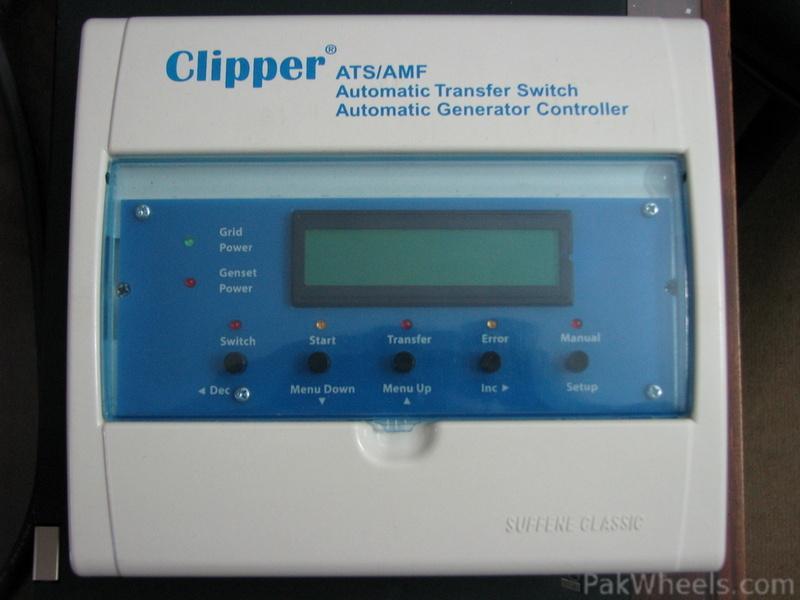
For a 2.2 kva genset, I recently bought and set up this awesome ATS Unit called Clipper ATS. I'm surprised not a lot of people are aware of its availability and instead opt for bulky, expensive, non-user-configurable electromechanical ATS panels that look like they're from the 70's!
If you're looking for a quality ATS panel for your electric start generator that is not only affordable but also has a neat design and is easy enough to install and configure yourself, do check it out.
Here's the user manual with a listing of the features:
https://docs.google.com/open?id=0B_eNW7rHW33eUXJzUDBZUkV1aE0
The rates for this product are:
SF40 (up to 4 kva genset) Pak Rs.7,500.00
SF200 (up to 20 kva) Pak Rs.12,000.00
SF450 (up to 45 kva) Pak Rs.15,500.00
SF750 (up to 75 kva) Pak Rs.19,500.00
SF1500 (up to 150 kva) Pak Rs.25,500.00
For more information and on how to order, visit their facebook page:
Clipper ATS | Facebook
I set up the SF40 unit so if you need help with the wiring of that, let me know.
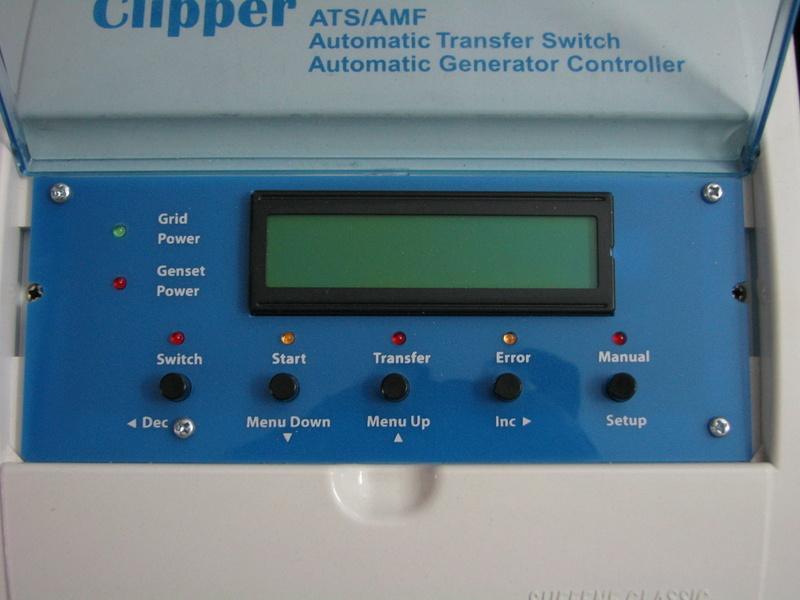
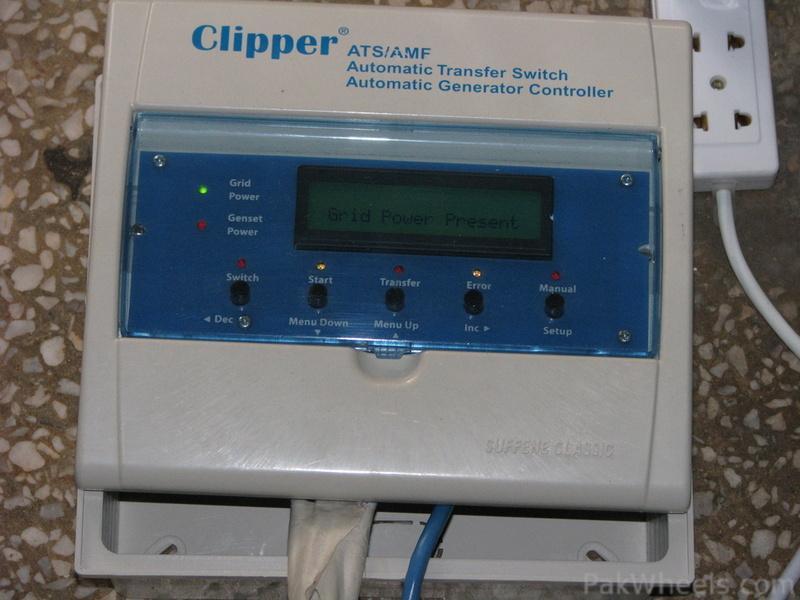
Out of the box, it doesn't need any configuration. I simply connected the WAPDA AC input, Generator AC input, and ATS output wires and used a CAT5 UTP cable to connect the ATS power control wiring to the generator battery and start/stop cables and voila - all set!
[NOTE: If you're doing this for the first time, do be careful not to mix live/neutral AC wiring you might end up damaging the unit or worse - risking your life! Better yet: get an experienced techie's help]
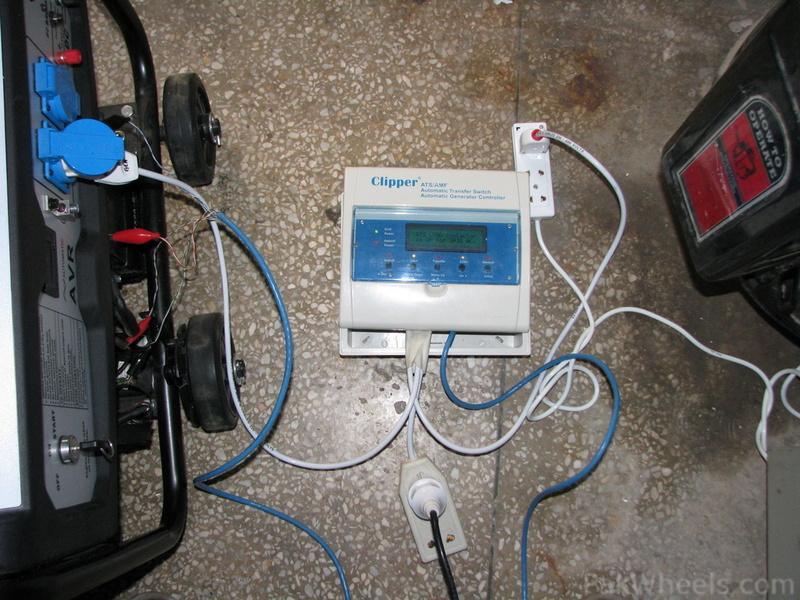
Right now I'm running it with temporary wiring so am posting pics of that. The control unit can be separated from the ATS power board so that you can have the control panel in your room and keep the ATS power board near the mains power cabinet.


UPDATE:
Finally done with the proper ducting and wiring and have made a video showing it in operation:
- Automatic Switchover demo
//youtu.be/b8Q-MoT880g
Will add more videos showing the details of
Manual mode operation: Starting the genset manually from the ATS control unit, transferring load to it, transferring load back to grid and turning off the genset.
Setup menu: Entering setup menu, modifying timeouts and other settings
Final ducting and wiring details: connection of UTP control cable to genset battery and start/stop wires, ATS power board connections


