[SIZE=2]Ok this will be a on going how to thread. I am currently working on the car and will add photos and directions on what to do as they develop, so be patient because I am in college everyday of the week. So from the beginning:
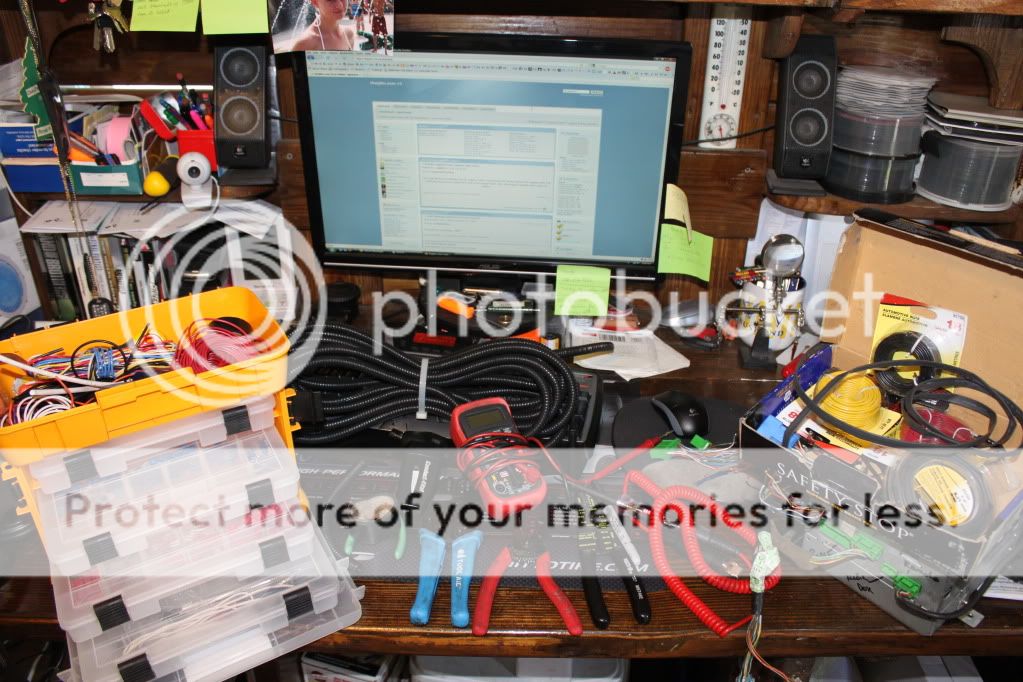
Here is a quick shot of the tools you will require when doing the wiring to make your work easy, electrically safe and neat. A bit cramped but I was getting ready to watch some Netflix will doing the wiring. I'm a multitasker [IMG]http://thejdm.com/images/smilies/emsmilep.gif[/IMG]
I purchased the much sought after and much loved/hated EK4 Navigation Unit second hand. All there is, is the main nav unit with pigtails. No tape deck, wiring harness or CD software.
(<a href='http://thejdm.com/viewtopic.php?f=52&t=10817&p=171273#p171273'>edit: 14 April 2010, I found a auction on eBay that has 95% of everything required to install the navigation. Go here to see</a>)
So just not I got off the phone with a Honda Dealer in the Shinagawa district of Tokyo and they are gong to order me up a new service manual and CD software for the 1998 Honda Civic Si-R. WOOT! I will probably only 1 of a handful of people who will actually have one of these too LOL.
Click all images to expand to full size!!!
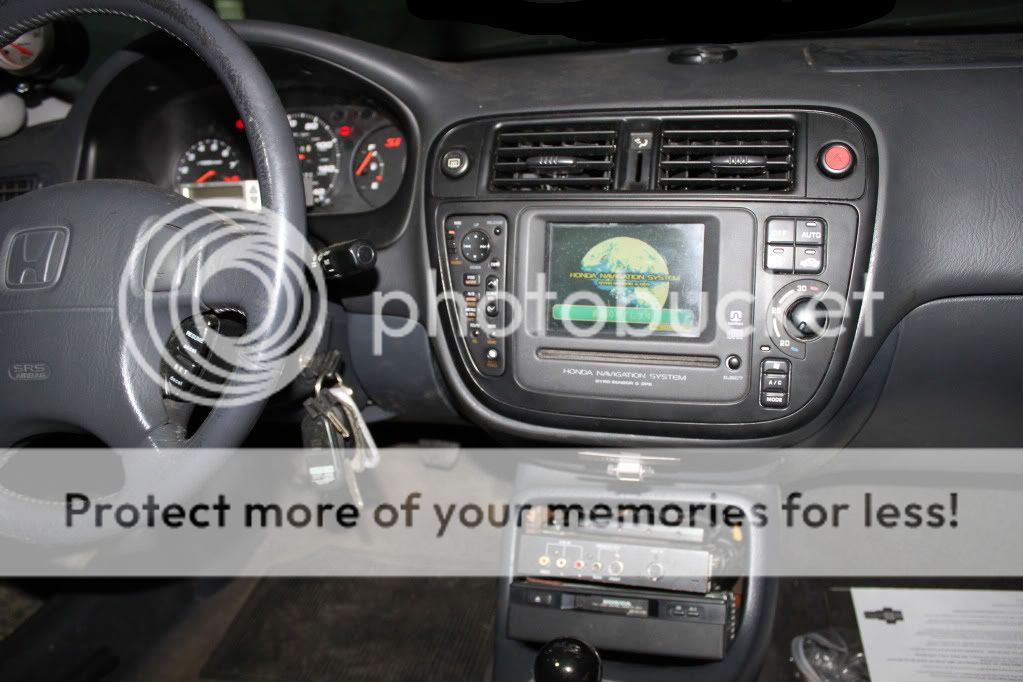
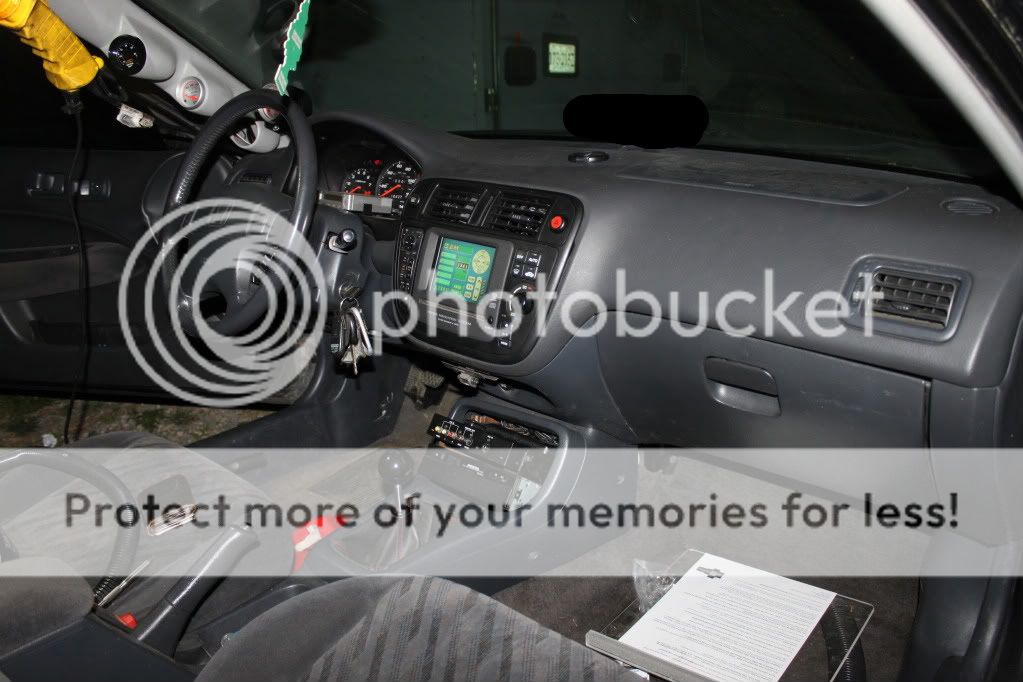
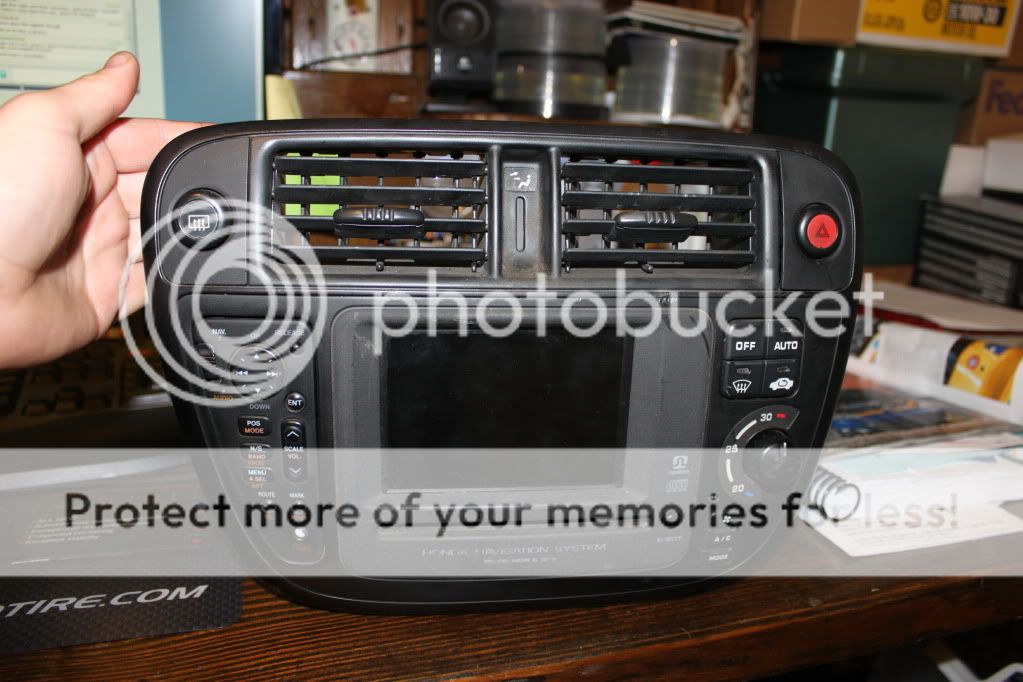
Here is your standard 96-98 SiR or Type R Navigation Unit. This houses your monitor, remote control/docking station and HVAC Controls. All three pieces can be individually removed for replacement. One thing I have found out is that if you are missing the controller you may have to buy the entire remote and docking station. I noticed that on both my units they have different ID numbers on the back of the docking stations. So I believe that they are synced to each remote. Can you replace a broken remote and use the old docking station? Im not sure but I will find out soon enough, again when the service manual arrives.[/SIZE]
[SIZE=2]
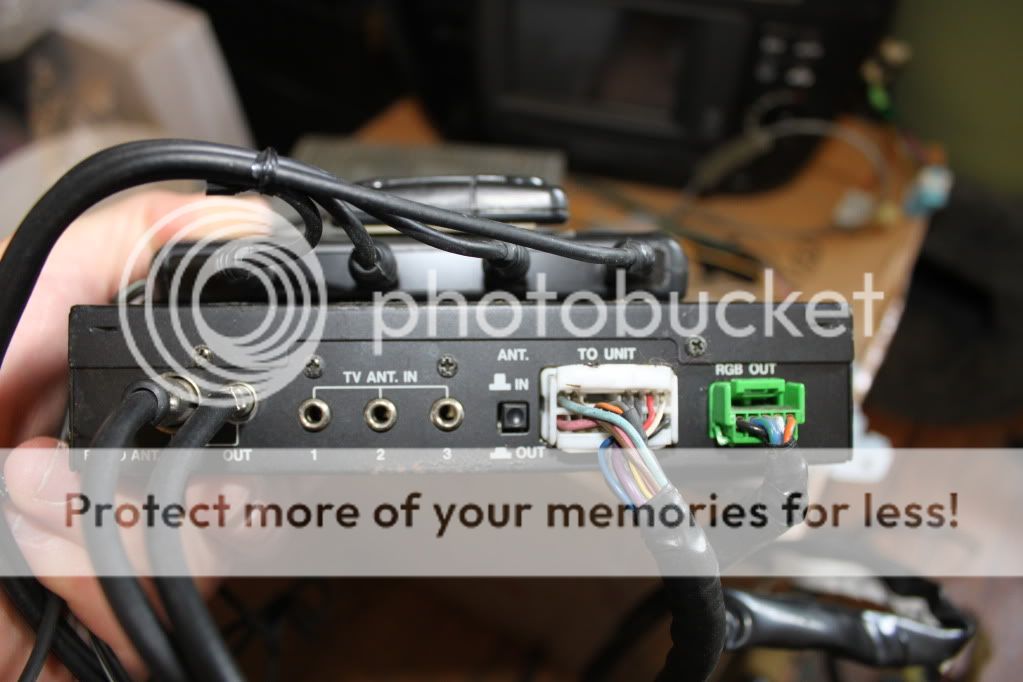
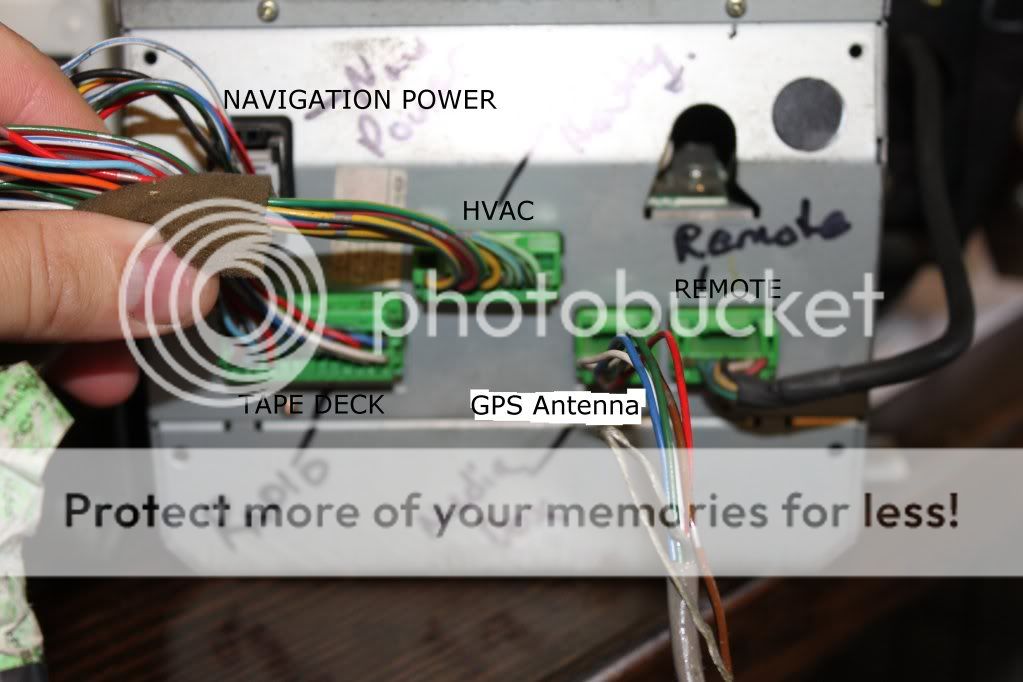
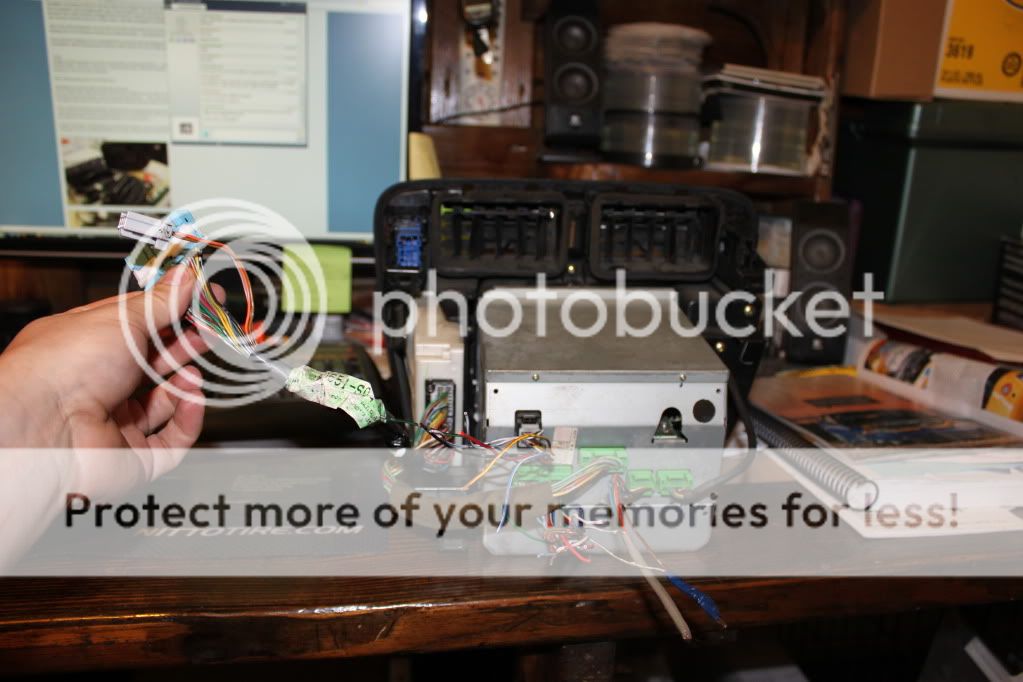
	  OK  so for starters since I don't have the full harness I had to lengthen  the harness's substantially. Here is some pictures indicating which  pigtail pertains to what. All the writing on the back is correct except  for where it says media unit, that is not a media unit plug in, it is  the plug in for the GPS Antenna.

	  Most units come like this if  you buy them off eBay or second hand. I mean that the harness's are cut  leaving you with just pigtails. It can be wired up to work but its  going to take you many hours to complete. I started doing that without  a wiring diagram and I was doing pretty good. I will elaborate on that  some more later.[/SIZE]
[SIZE=2]
I had an old spare harness from a Honda Passport which shares some of the same color coded wires so I cut and used some of them to extend the harness. This was actually a waste of time, LOL But if you are hard off about having the entire harness look the same then this is an option. [/SIZE]
[SIZE=2]

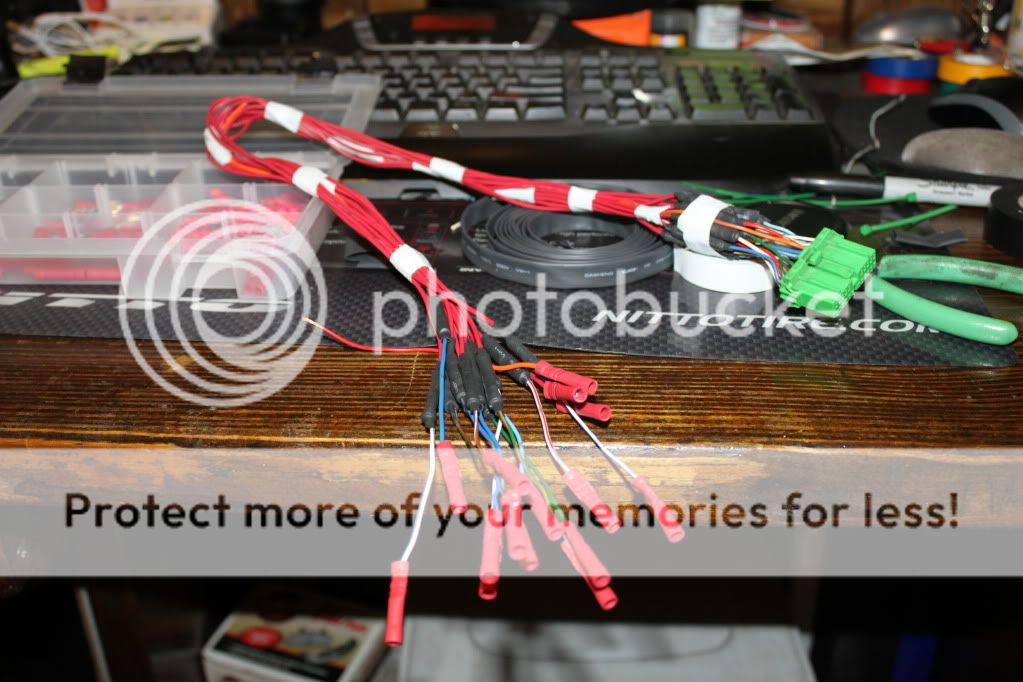
Here I am extending the length of the tape deck harness before it gets covered up my split pvc loom. Everything gets heatshrinked too![/SIZE]
[SIZE=2]
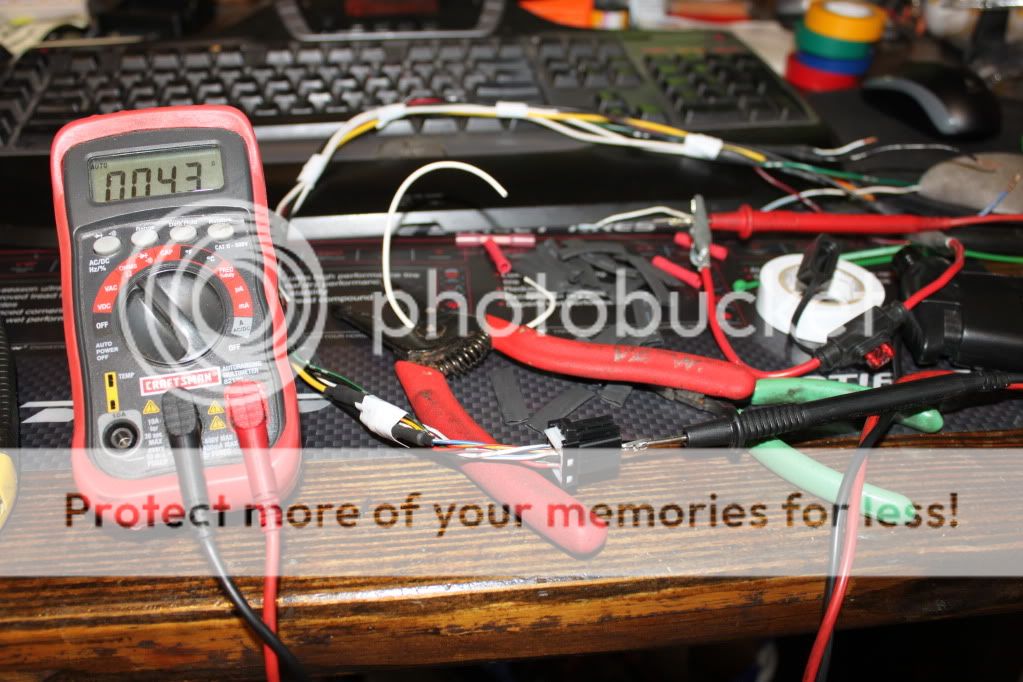
After extending the wires ALWAYS check continuity to ensure you have a solid connection. Nothing sucks more to get everything installed only to have something not work because of a bad splice.[/SIZE]
[SIZE=2]
	  Here are some close ups of the connectors that go to the Navigation itself. I will have pin outs posted when the manual arrives.
	  This is the plug in for the HVAC Controls. It is straight plug and play with the USDM harness.[/SIZE]
[SIZE=2]
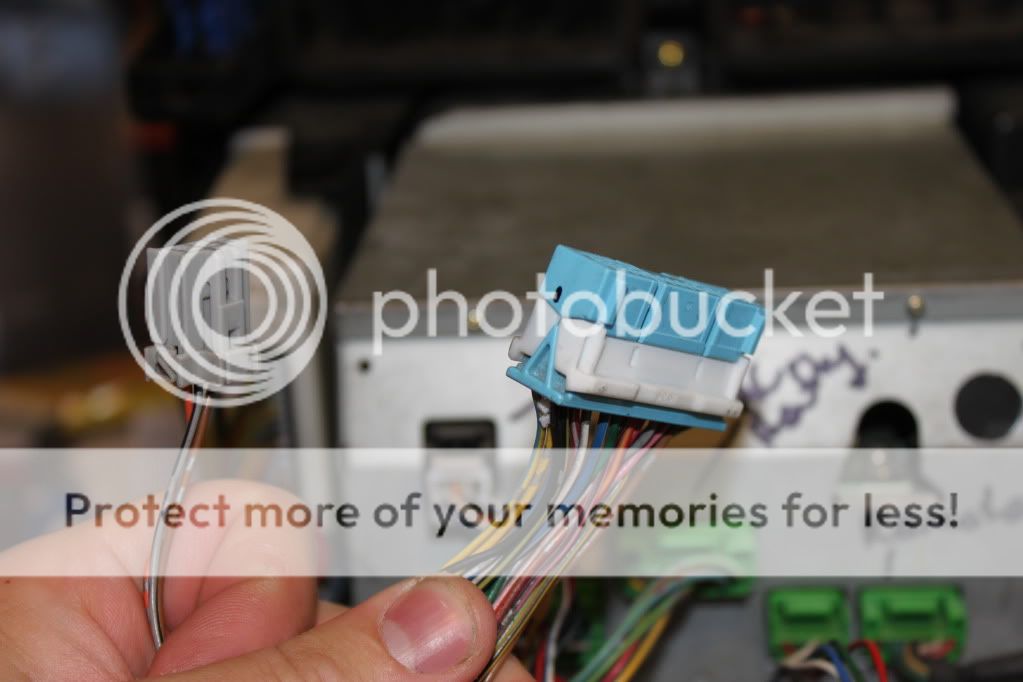
However you will have to unplug the USDM harness The blue connector you see that is down in the back of the photo is where it is located in your USDM Civic. It will have the adapter harness that splits off your plugins for the USDM and possibly EDM HVAC controls.[/SIZE]
[SIZE=2]

This is the GPS Antenna pigtail I spoke of earlier, also pictured is the rare GPS Antenna. I don't know where this was mounted in the JDM Civic but I will find out and let you know. However as you can see the wiring shares the same colors. I will post more on this at a later date. I am not going to install the GPS Antenna at this time.[/SIZE]
[SIZE=2]

Some more close ups of the connectors so you can see what wires go where. This is temporary until the manual gets here. Going to put thumbnails in for these as they are not pertinent at the moment. First is the HVAC connector.[/SIZE]


[SIZE=2]
Tape Deck Connector on the Navigation side.

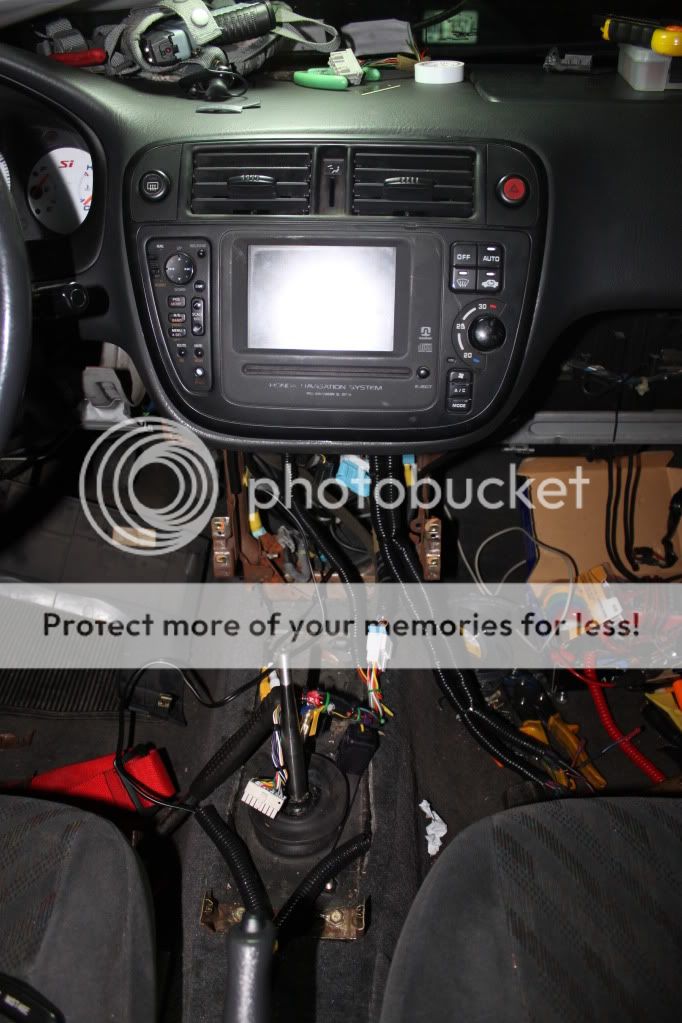
Ok once you have removed your USDM or EDM center console, trim pieces, etc, you will have to move wires around and start trimming the subframe to make room for the navigation unit. Otherwise the monitor hits and wont fit. You also have to trim the vents back to clear the new vents. Also the news vent ducts do not line up entirely. It will still function but you may lose a little flow. [/SIZE]
[SIZE=2]
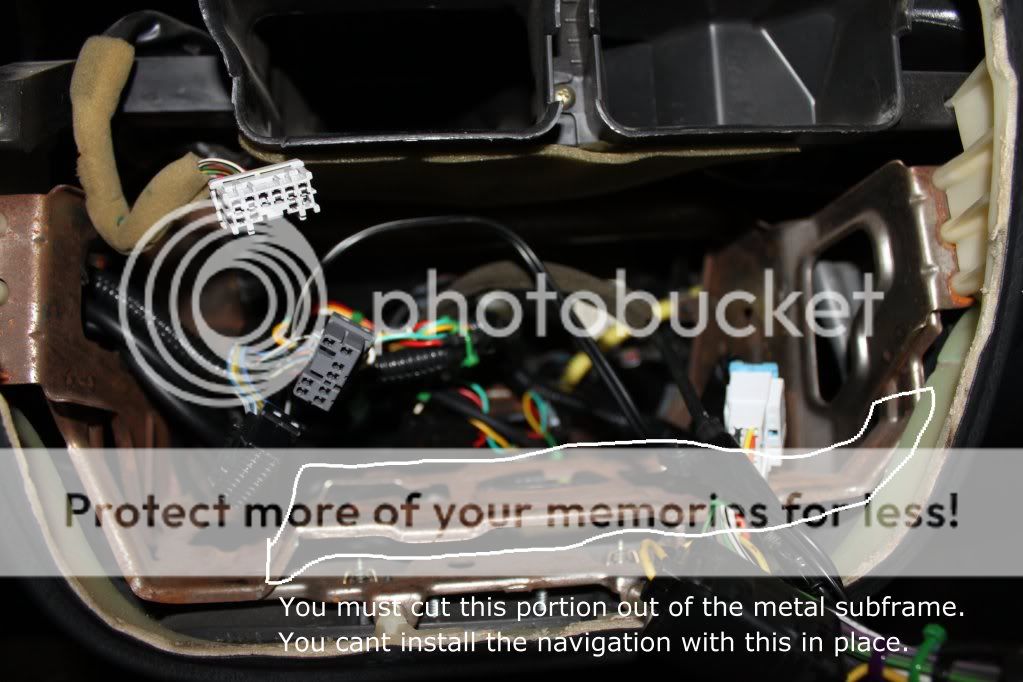
I left as much of the subframe in place for two reasons. One is not to cut out the bottom section of the subframe as it is what your lower center console trim screws into to hold it in place. You cut that lower piece of metal out and the trim may sag making it an eye sore.[/SIZE]
[SIZE=2]
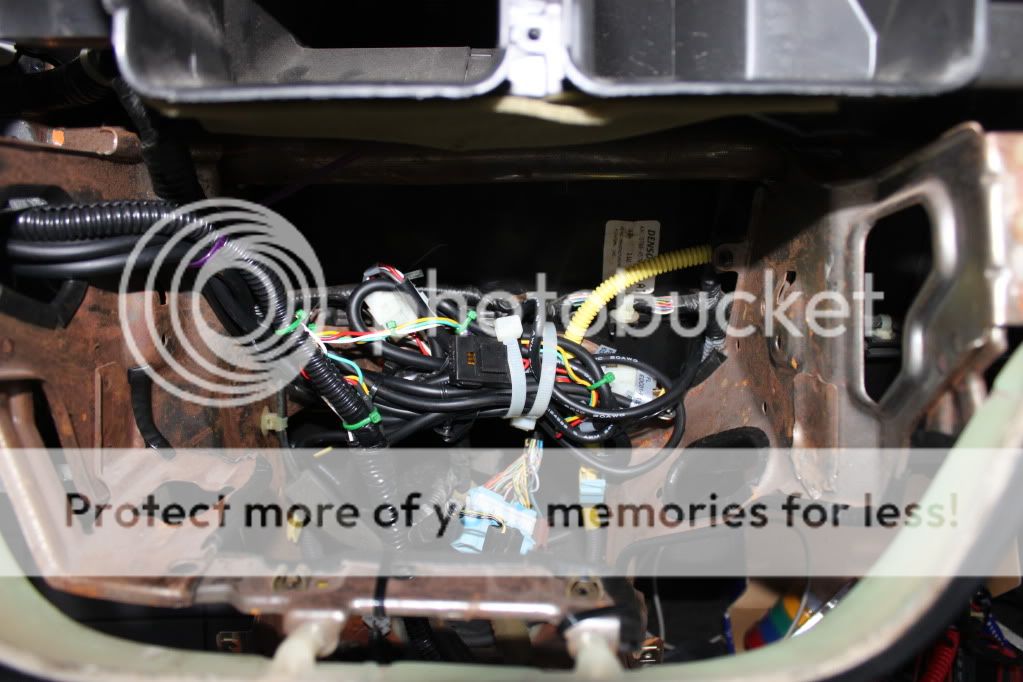
	  Also  there are a ton of sharp edges and Im not a fan of sharp metal with  electrical wiring running around it. So i have a ton of rubber trim  that is made specifically to cover those edges up. Here are some key  areas where the harness will be on.
	  If you would like some PM me as  I sell this stuff for $10 for ten pieces. It is easily cut and bendable  to fit odd spaces, it is actually stainless sections coated in rubber,  extremely durable! They come is about 10" strips.[/SIZE]
[SIZE=2]


This is what everything looks like now, with it all out, metal trimmed, etc. Ya be prepared to have a nice mess to clean up. It was time for break as I was getting tired and the kids were asking what I was gonna cook for dinner. So I decided that pork chops was whats gonna be for dinner and I love to BBQ![/SIZE]

....lathered in some Jack Daniels BBQ sauce! Not long after this I actually called it a night.