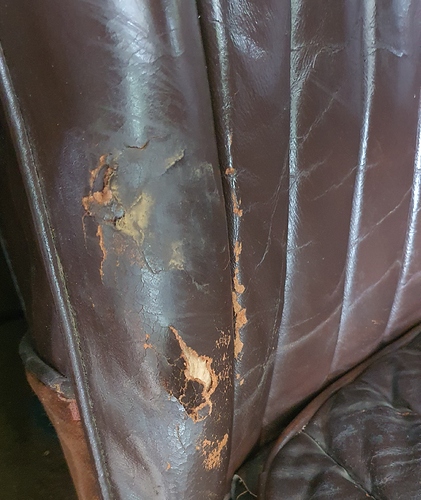
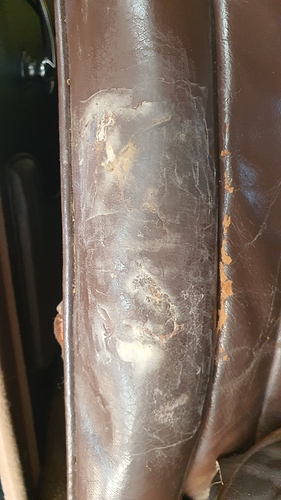
When we use our cars, wear and tear (literally) happens. This car is no different. The 77 year old leather of driver seat got ripped.
There is a way to repair this tear without having to replace leather.
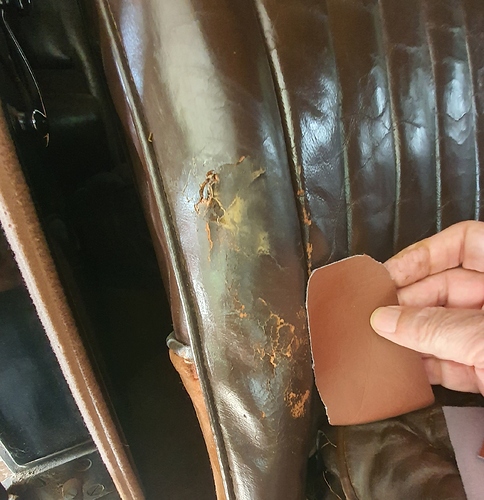
First step is to insert a suitable piece of leatherette behind the tear and then use a good quality contact adhesive to glue the ripped leather to the leatherette.
I have inserted a piece of leatherette like the one I am holding and glued the torn part of the leather to the leatherette behind.
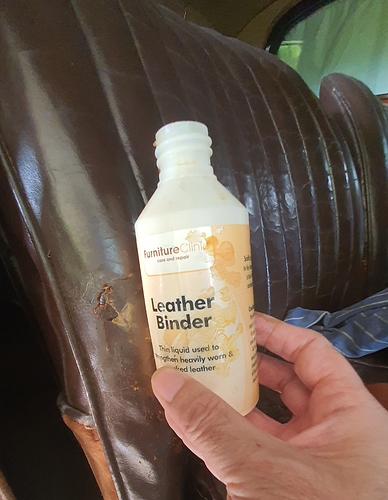
Next step is to apply chemical over the torn leather to fix/bind its fragments together so that some strength can be given to the tear.
The chemical used here is called Leather Binder
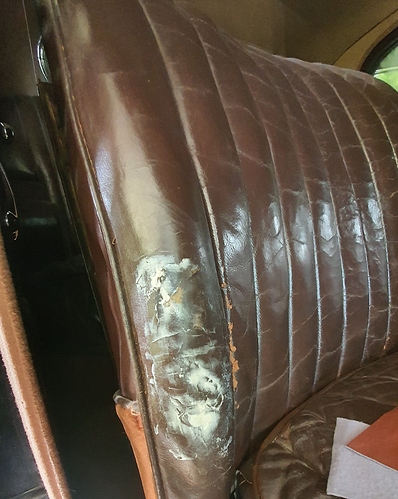
The next process is to apply another chemical that will fill out the tears and imperfections. This process is similar to applying filler (aka putty) on a dented metal. Of course for leather the filler has to be flexible after curing.
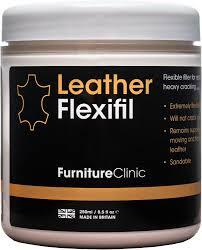
This is the chemical used to fill in the cracks and imperfections. It is applied in this layers and each layer is allowed to dry then sanded using 320 grit paper before the next layer goes on.
One layer of FlexiFil has been applied and waiting for it to dry
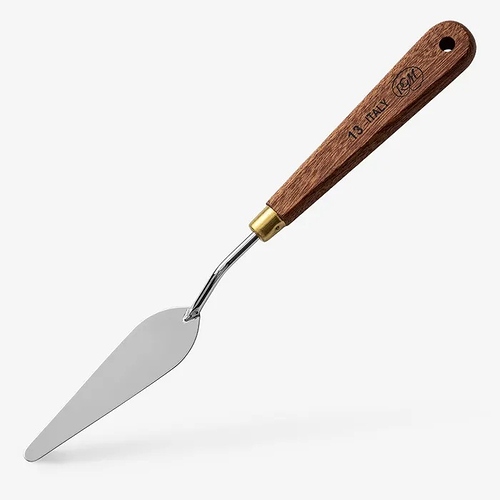
I have found that using an artist pallet knife gives best control for applying FlixiFil.
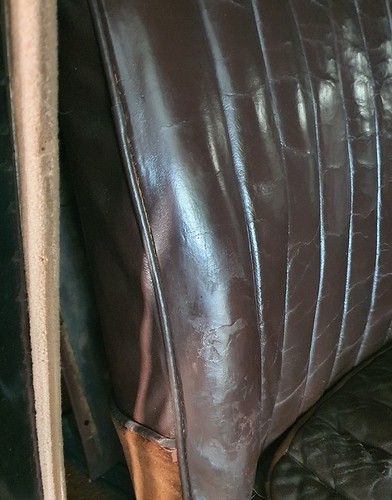
After sanding down the area with 320 grit paper
While filling and sanding, it is difficult to see if the area is ready to receive the leather dye or not. I initially thought that the area was good to get the final treatment of applying the dye. But as you can see I was totally wrong. More filling and flattening is required from the picture below
I applied dye over the damaged area but the imperfections are still clearly visible. Yes the torn leather is repaired but more filling and leveling is required.
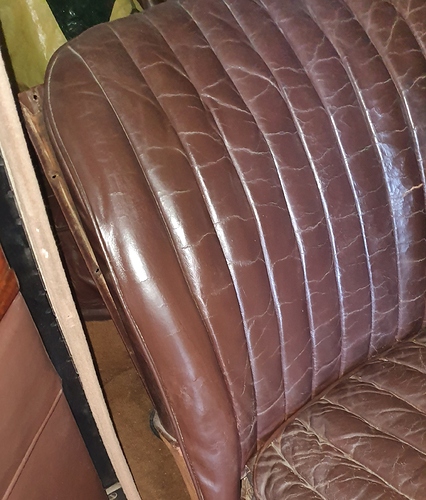
The final look after going over the damaged area again with filler and dye.
There is still a faint indication of the damaged leather but it is a far sight better than the earlier ripped/torn leather.