Step 04: Installing Projectors
Okay now the fun begins. The main objective is to make room for projectors to fit into the halogen housing.
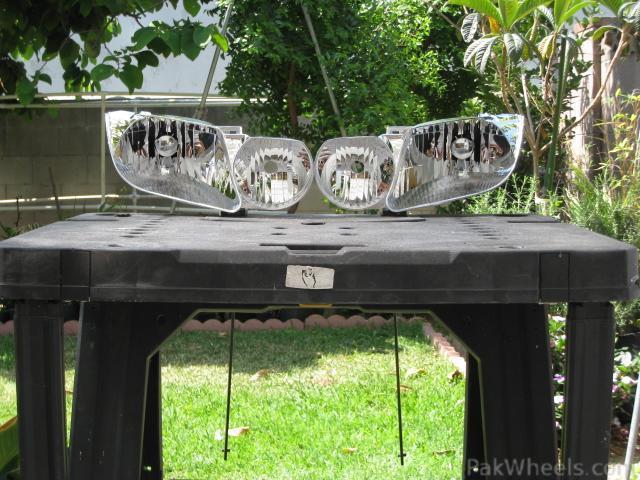
Step 4.1: Halogen Cutoff (alignment reference)
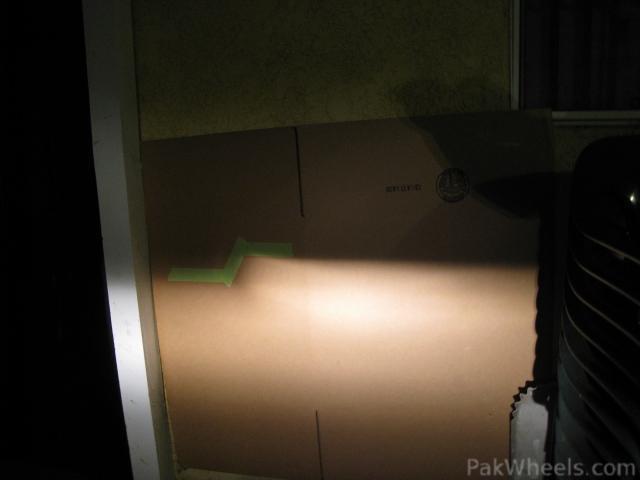
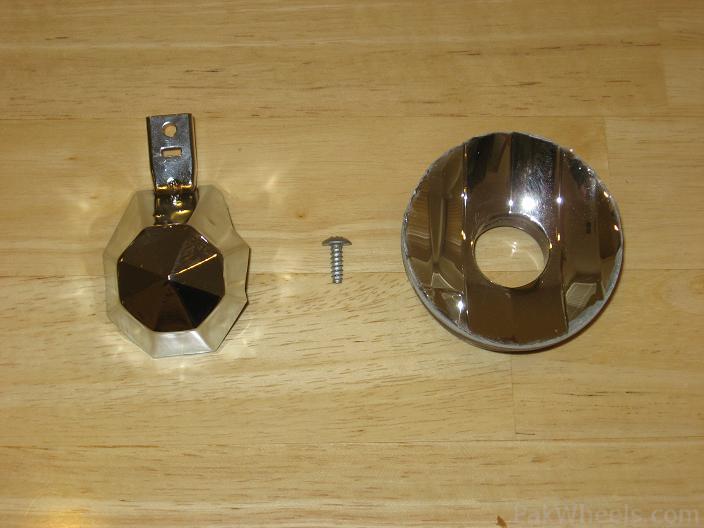
It’s best to put a halogen bulb in the Chrome reflector first and trace the aim of your halogen cutoff. This will help in aiming the projectors later on. Just place the chrome reflector on a flat table about 20 ft from a wall, place a bulb, energize it using a 12volts battery or computer power supply (like I did) and trace the cutoff . Just make sure that the location of chrome reflector is marked on the table so that when you come back with Projector fitted, your reference points remains the same. Shown below

Halogen Cutoff LHD
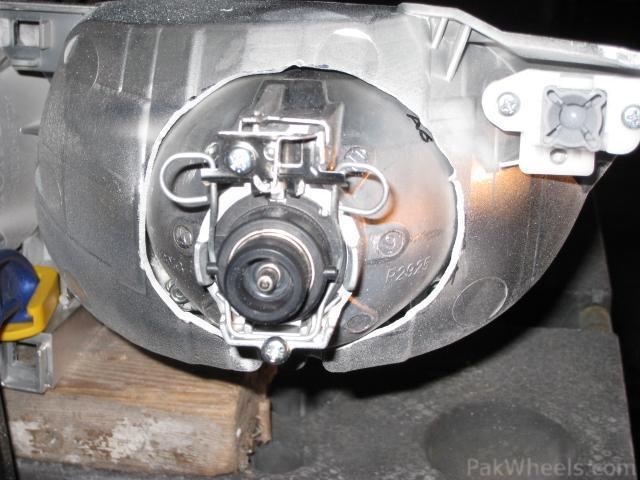
Step 4.2: Chrome Cutting
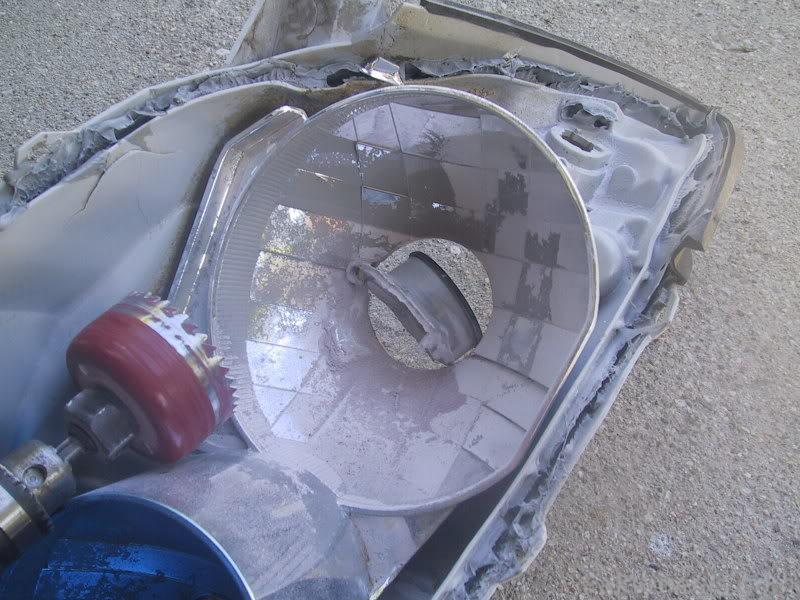
Now, its time for cutting. The projectors should be placed as far back in the headlights as possible. Carefully measure the maximum depth of the Chrome housing and projector and with reference to the projector diameter trace an outline using permanent marker onto the chrome housing like this:

Step 4.2.1: Using Cutting tool on Drill Machine
Cutting can be carried out by either a cutting bit on top of a drill like this
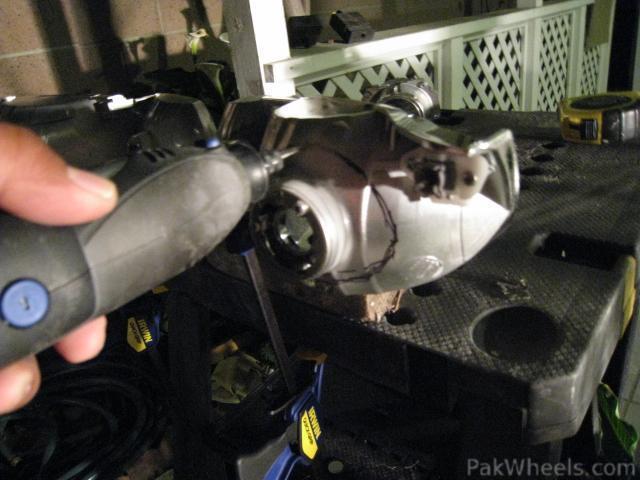
Step 4.2.2: Using Dremal Tool
Or by using a dremal tool
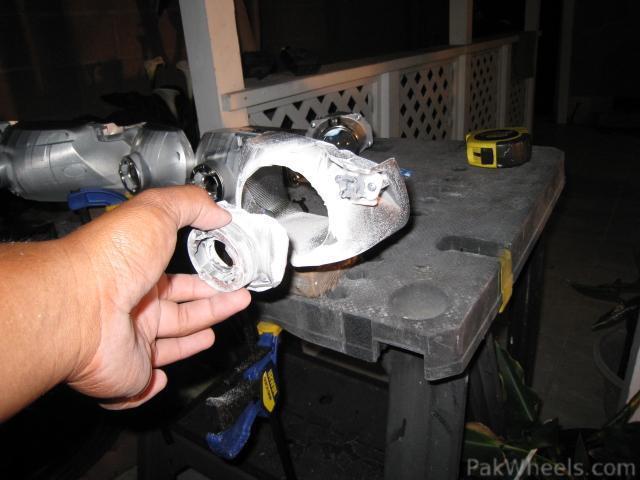
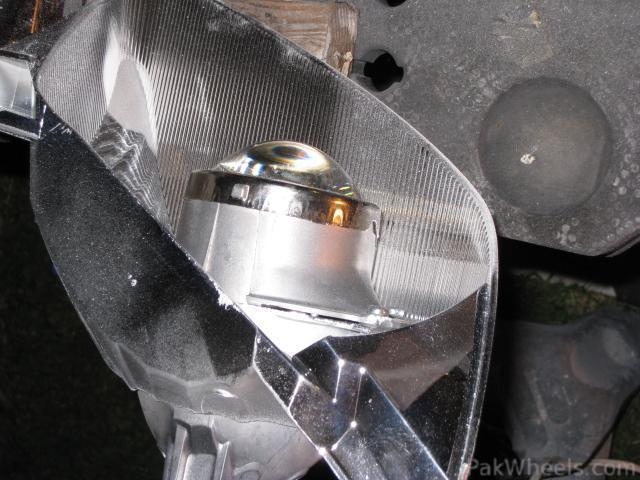
Now you should have enough room to slide the projector inside. Make sure you double check for clearances again like this