Its been a while since I posted but thats not because I haven't been detailing... Been a bit busy with some personal stuff at home. Posting a detail from couple of months back.
A dear friend reached out to me asking to detail his friend City aspire (brand new). Upon asking for the car color, it was the color I learned and practised detailing the most on. Yep, SILVER.
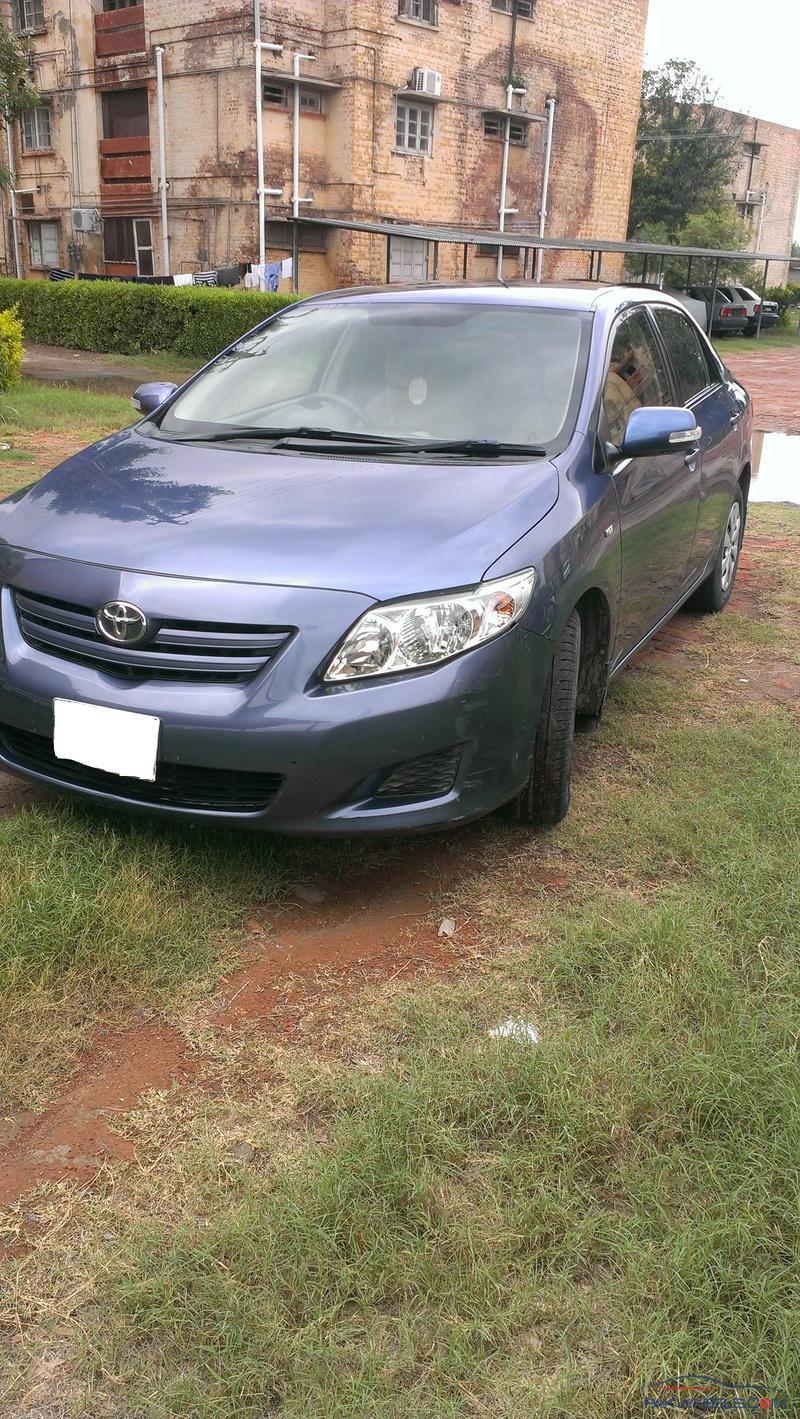
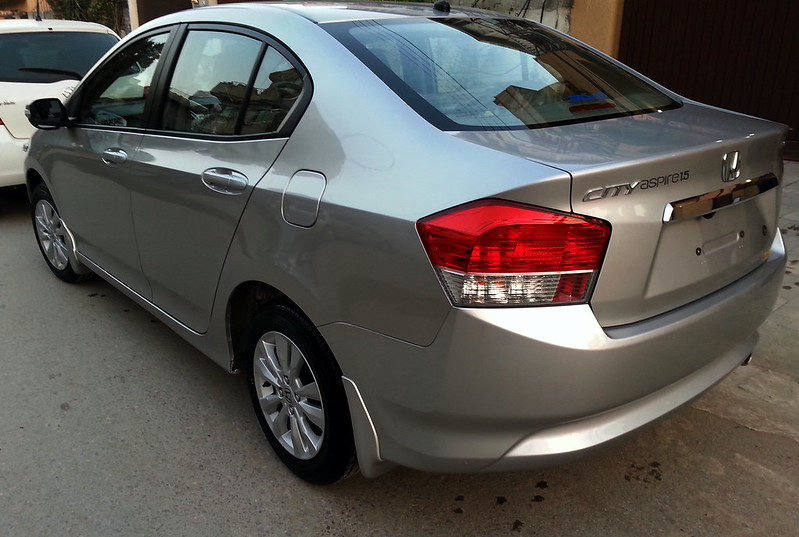
Well, it was a brand new car with just a few kms on it and the car owner's target to have his car protected for a while, I also wanted to ensure he sees the car better than new  So quite a challenge here for me. I was also sent the following picture of the car so this would serve as the BEFORE picture:
I packed up my detailing bag (wish i could've taken a picture but it packed pretty much everything). I also took along a friend's pressure washer (yet to get mine). So you can imagine how the loaded car was. I reached his house at 7am. The load shedding makes it pretty difficult to finish in a day, so I prefer to start early.
Wash:
0. Wash tyres and rims thoroughly, rinse with pressure washer
1. Pre-rinse car with Meguiar wash n wax in a spray
2. Rinse with pressure washer to rinse away the loose dirt
3. Used Meguiars NXT shampoo at stronger concentration with 2 bucket method to wash the car.
4. Rinse again with pressure washer
5. Dry using a water magnet towel + drying aid (since the car had no protection on it earlier so water clinged tightly to car)
Car inspection/scratches removal:
I then inspected the car closely and showed the car owner some of the scratches that he hadn't noticed. Those scratches were more like parking scratches starting from one fender, both doors and ending on the rear fender + some tiny bits here and there... I took out the Meguiars ultimate compound + Lake country CCS orange pad light cut and removed the scratches by hand. I could have opted doing it via porter cable but given the area the pad covers, I preferred to just remove the thin scratch area.
Cleansing/Polish:
1. Using porter cable dual action polisher, white CCS 5.5" inch pad, polish with werkstat prime strong acrylic
2. After it has hazed, remove using a Meguiars supreme shine microfiber towel
Protect:
3 Layers of sealant (werkstat jett trigger) were applied one hour apart. Taking the trigger jett spray bottle in one hand, mist on the panel with a moving hand, spread with one side of the microfiber, turned side and removed (there wasn't much to remove as it basicaly melts into the surface). I gave customer the option of applying a finish wax (pinnacle SS2) but he opted out of it when he heard its going to attract slightly more dust and his home being in a dusty area (something that troubled me quite a bit as well as I had to remove dust again and again for sealant application).
Protecting other areas:
During the wait time that each layer of the sealant was curing (30 mins minimum is recommended, I went for 45-60 mins):
- door jambs (the paint body in between the doors) were sealed using Duragloss TPP.
- Rims were sealed using Duragloss TPP. (makes it very easy to clean rims in long run)
- Tyres were dressed with Meguiars endurage tyre gel (keeps the tyre looking black and clean long term and repels water on contact)
- Interior dashboard and doors plastic was cleaned and dressed using Autofinesse Interior spritz
- Exterior trims were cleaned using Autofinesse spritz
- Glass were cleaned using 3M glass cleaner (aerosol based)
Results:
I will let the pictures do the talking (taken from a mobile phone Samsung S3 though). Some of the pictures taken inside the garage (light coming from two sides).
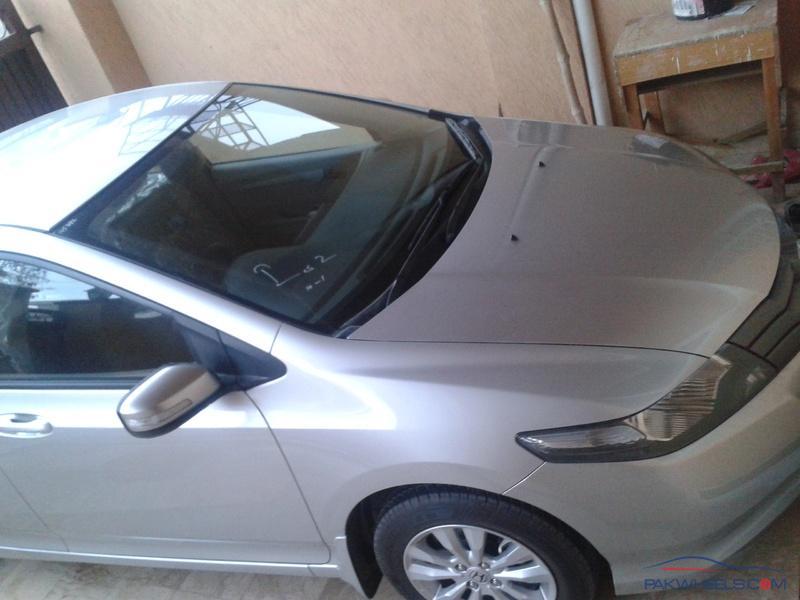
Light bending curves:

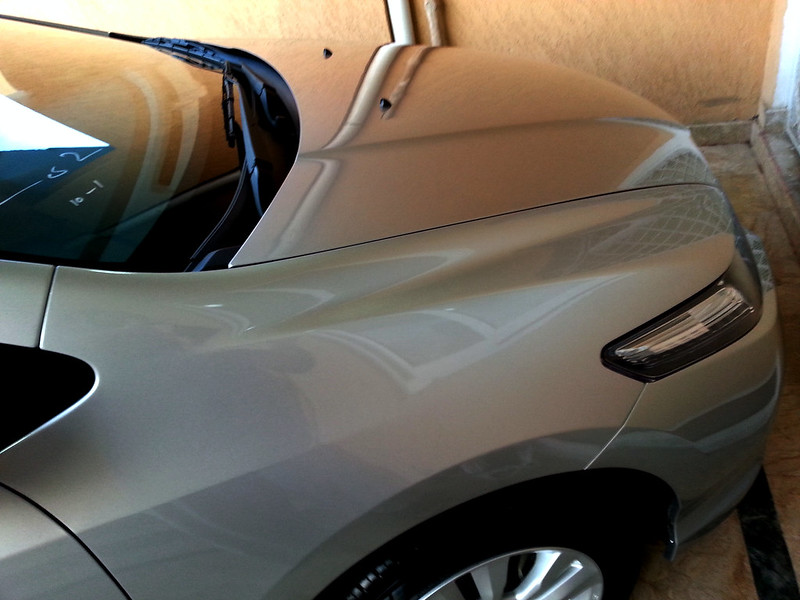
Wet reflective look:
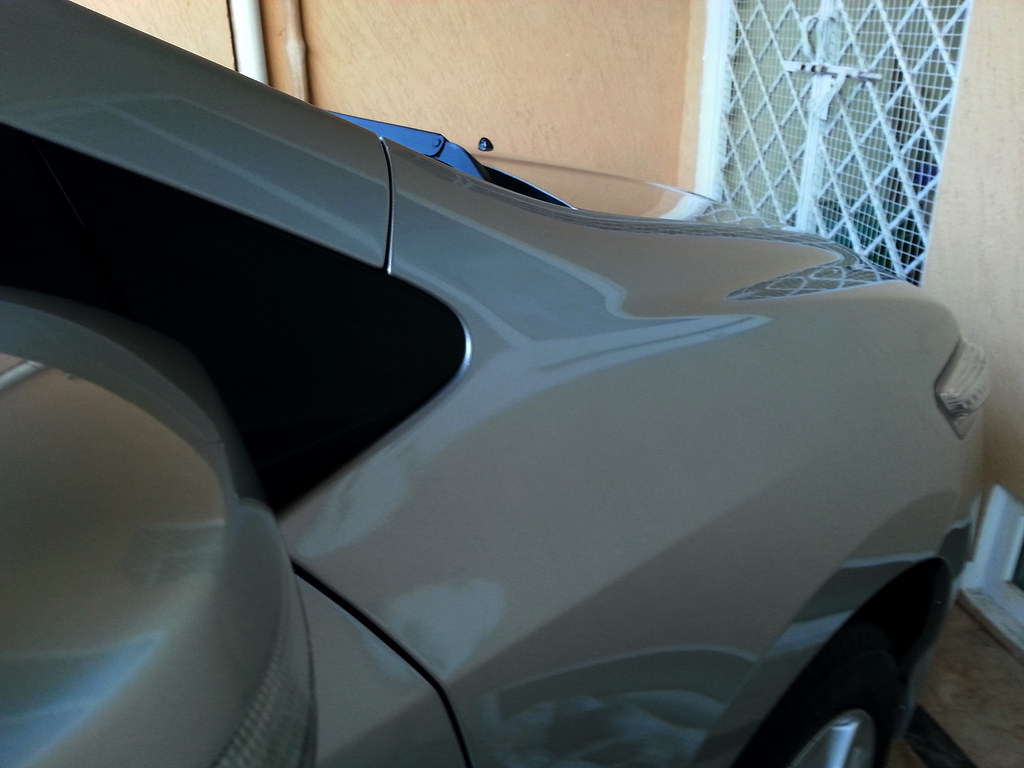
Slick curves:
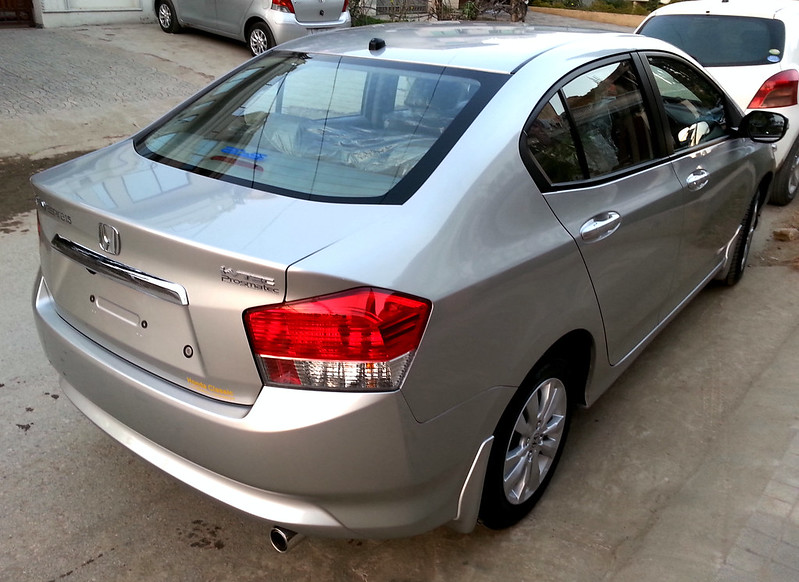
Rear side shot:
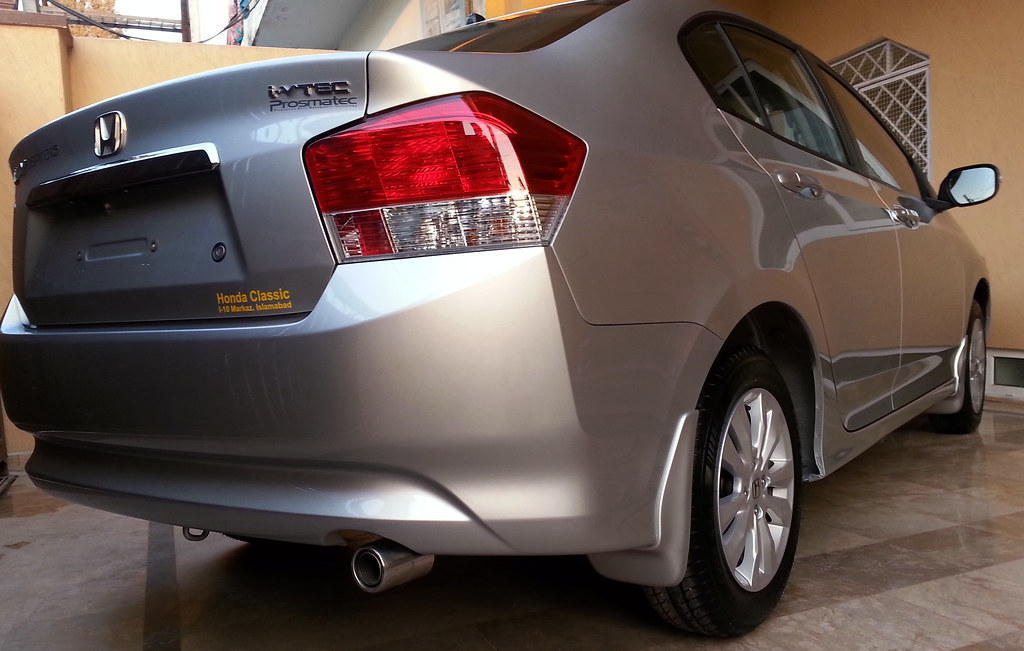
Rear shot:

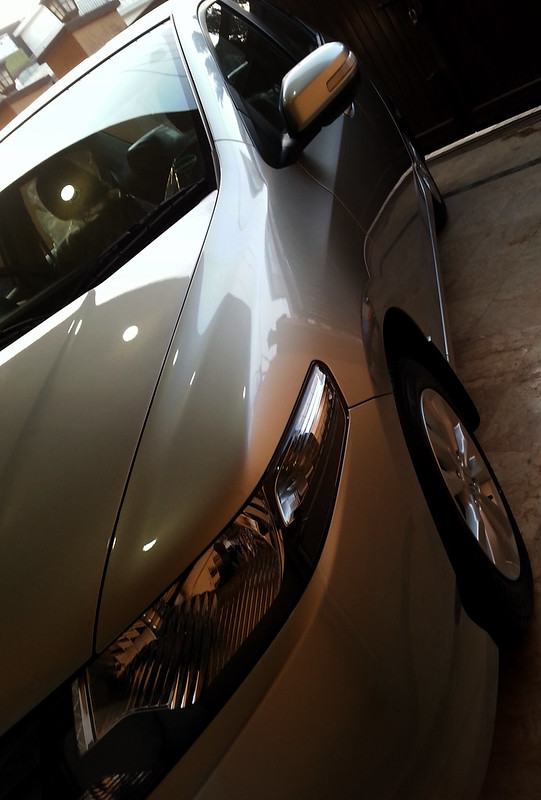
Front side shot (and its beginning to get dark in the garage):
About time to take the car outside with slightly better lighting :
Driver Side view:
Passenger side view:
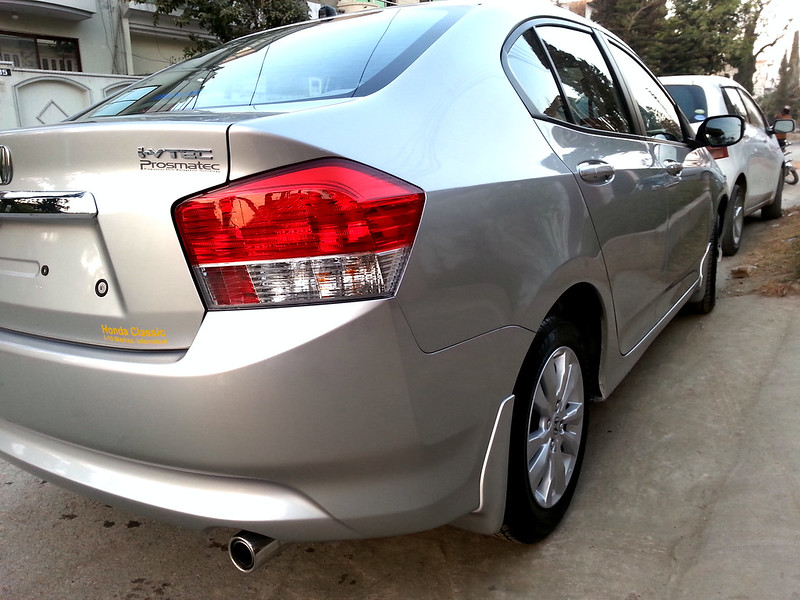
Yet another driver rear side view:
Yet another passenger side rear view:

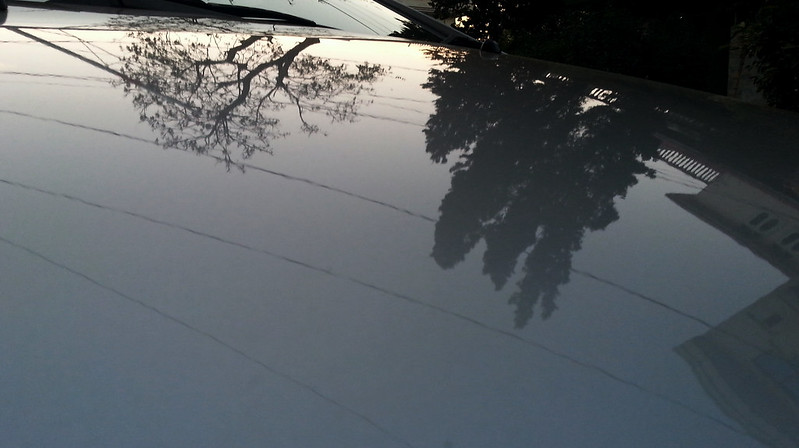
Hood reflection:
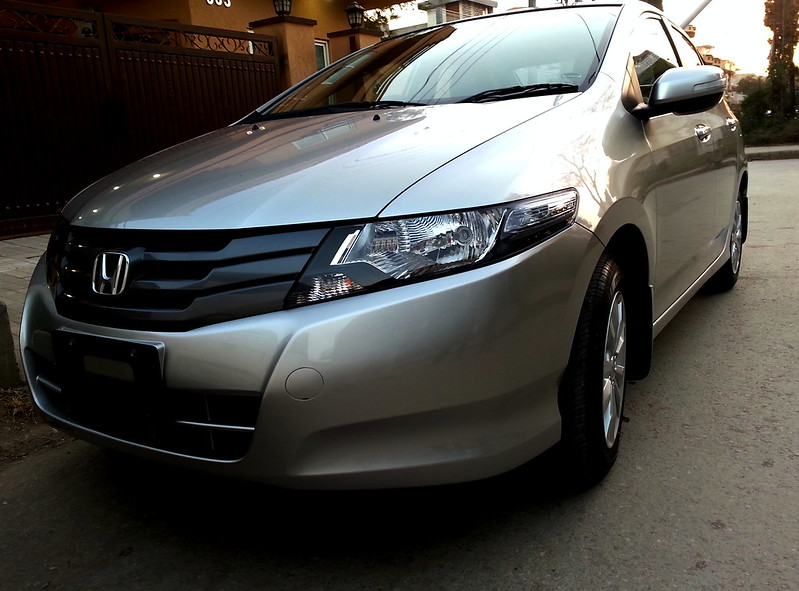
Front driver side shot:

And passenger front side shot and one of my favorite:
I hope you enjoyed the writeup and detail. All feedback is welcome.