ok since you guys liked it so much and since i was working on the front lights for the car, i decided to take some pics and make a tutorial. so here goes...
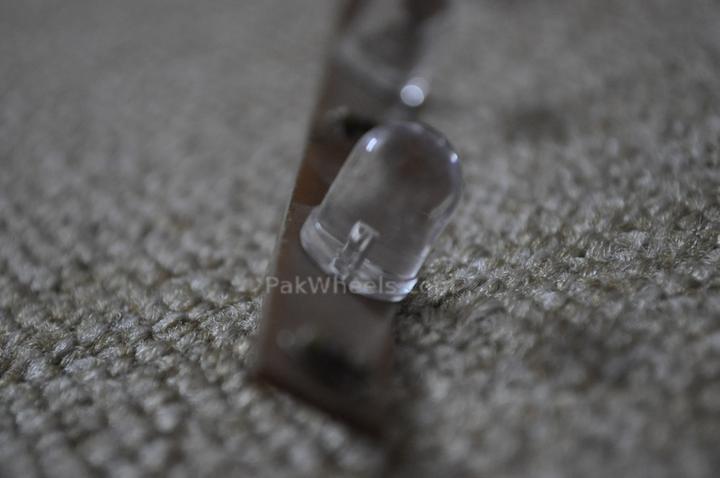
This is what an LED look like. this is the bigger kind, cost 10 rs per LED. i used them for the front light..
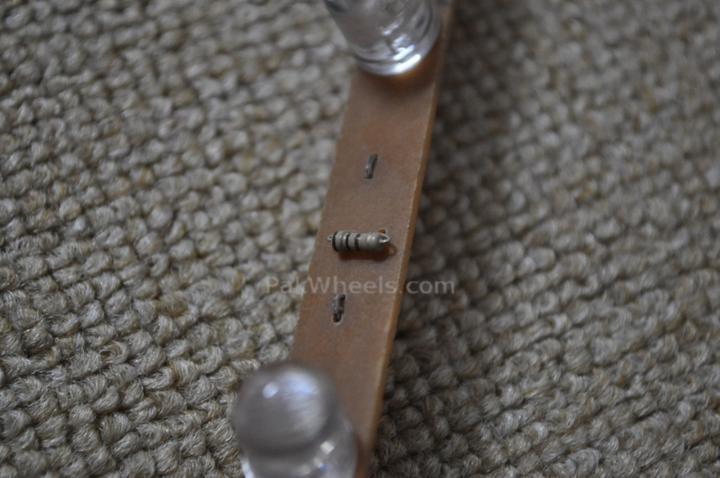
Resistor of 470 ohms. i am usin 470 as i am using one LED with one resistor. if you are using three, then use 220 ohms.
This is the Printed ciruit strip. this one is for 33 LEDs. i am using 11 LEDs and filling the rest of the spaces with wire cut from the LEDs to bridge the gaps
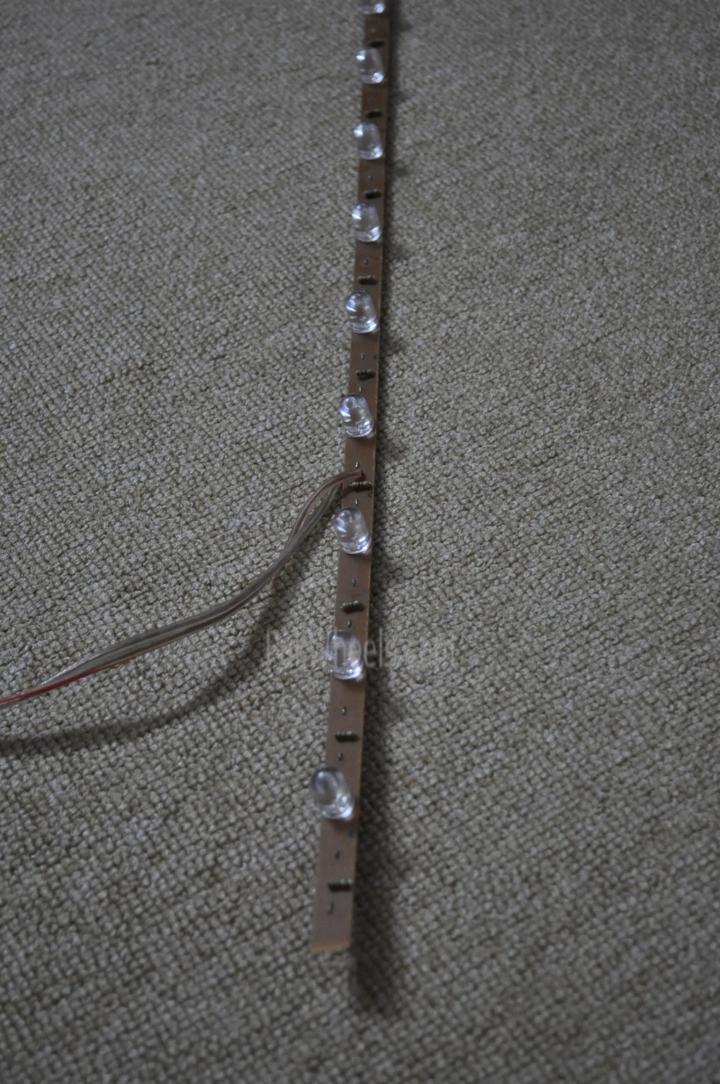
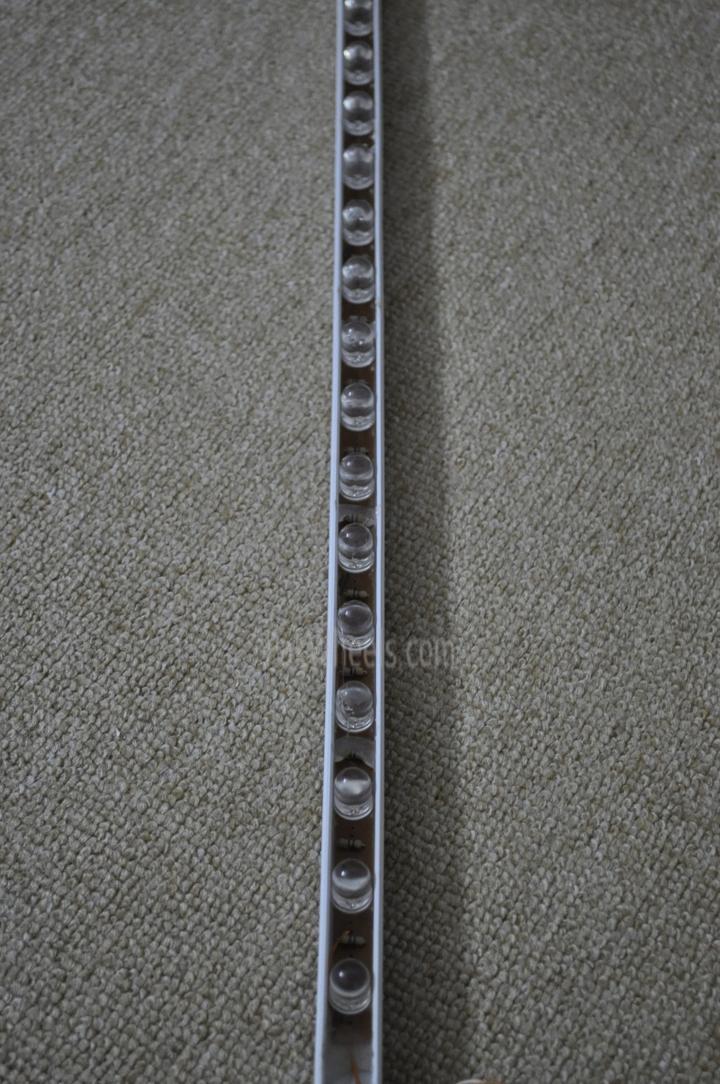
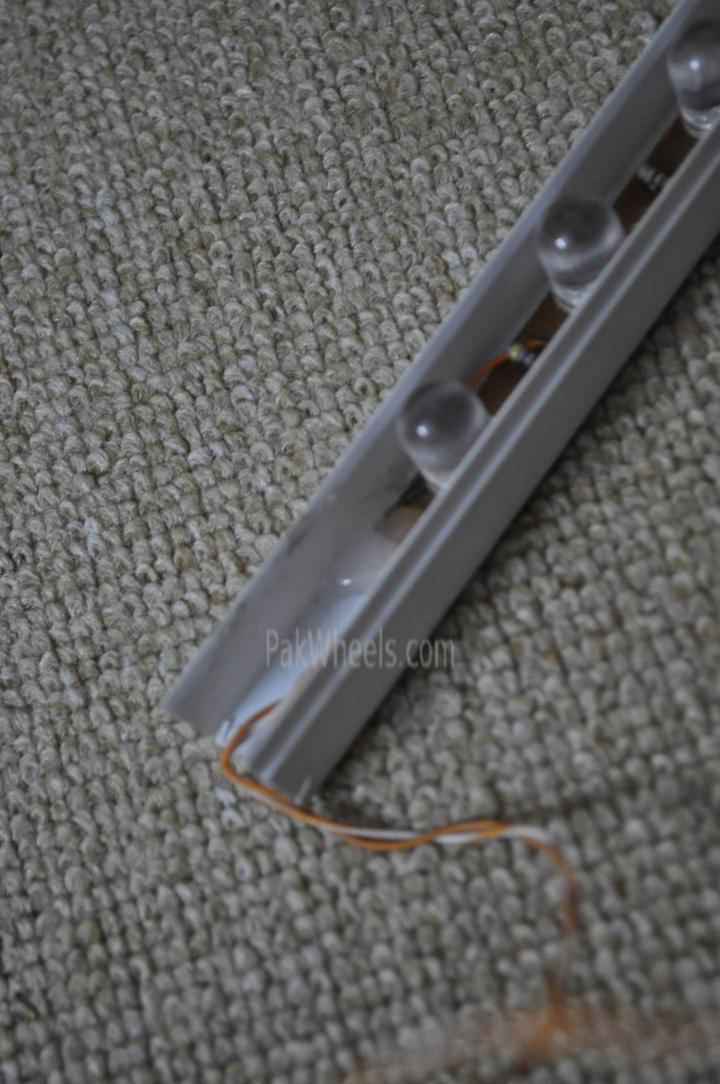
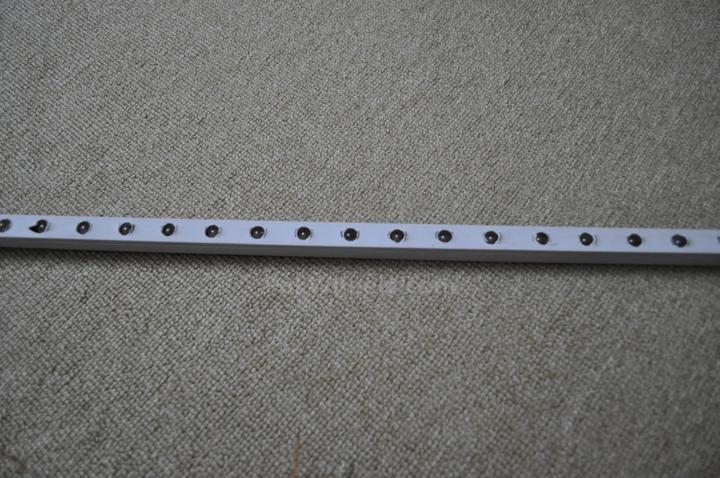
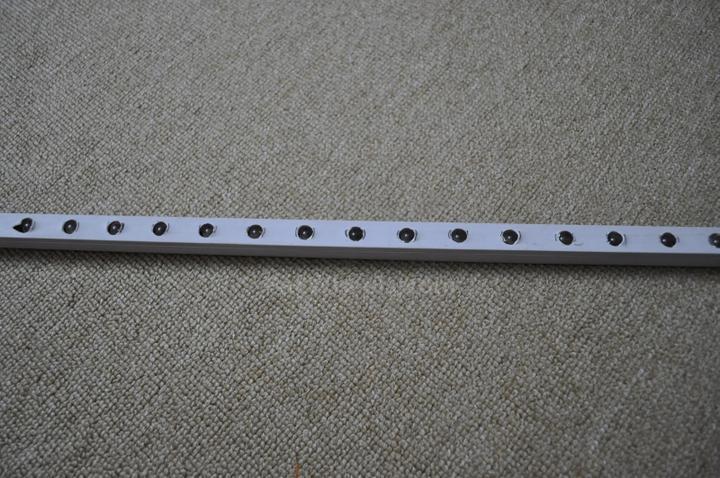
Here is the completed strip. you can notice the wire bridges, the LEDs and the resistors. also the wire that will connect it to the power supply.

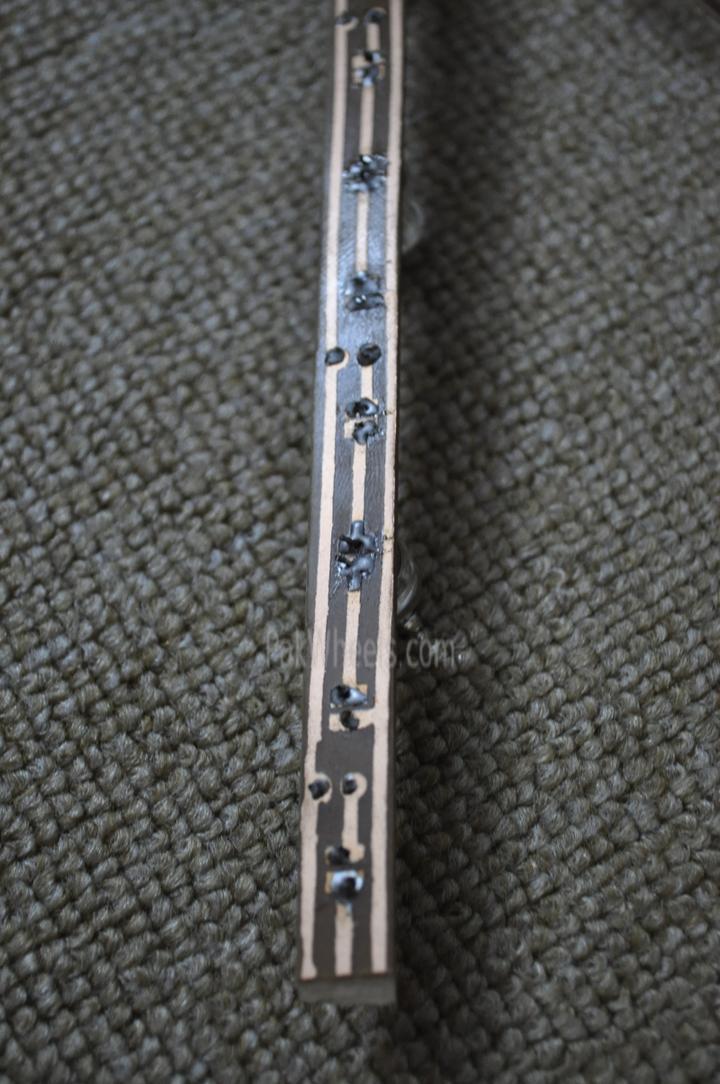
closeup of the strip

the duct that i use for sealing in the PC strip
The PC strip placed inside the strip and hot glued into place
Can you see the hot glue?
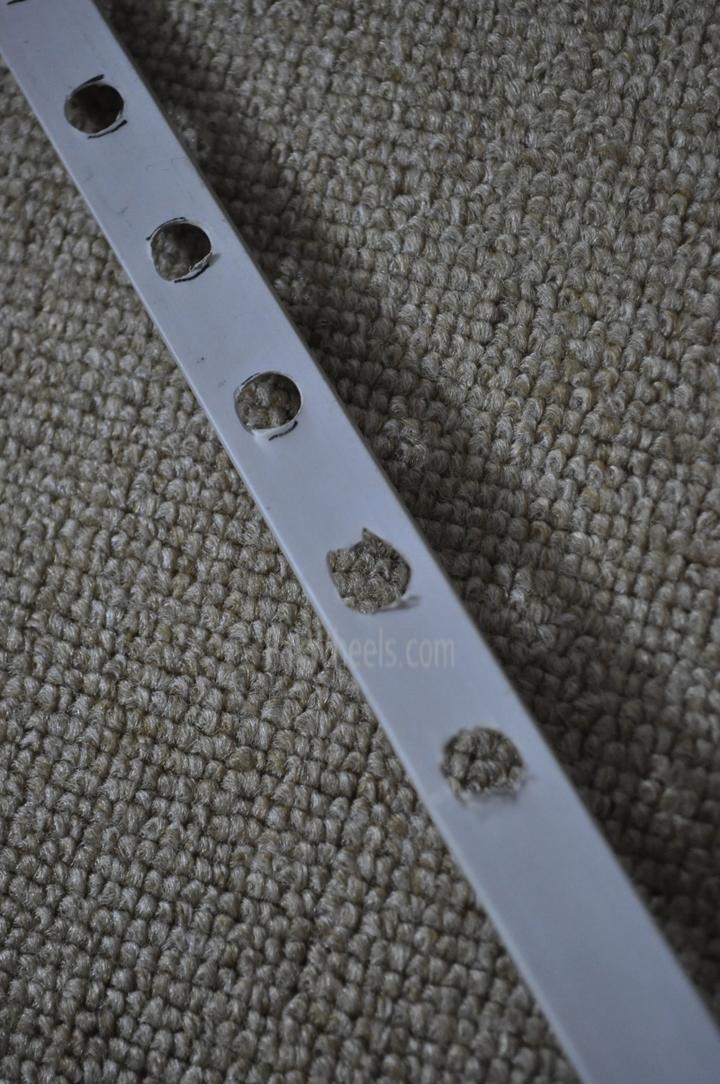
Duct with the cover on. since i had already made the strip before i made this tutorial, i will explain the steps here. after placing the LED strip in the duct and gluing it in place, place the duct cover on the strips, turn on the LEDs and mark the place of each bulb. remove the strip and then with an appropriate tool, make a hole in the cover.
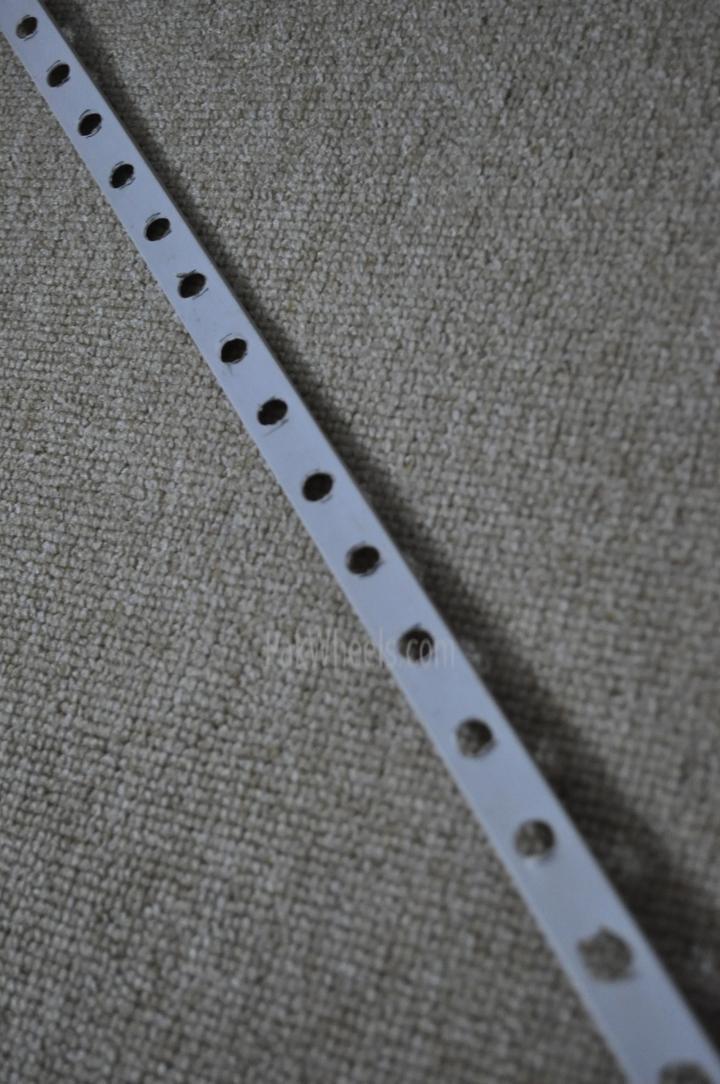
the strip with holes in it. pardon the bad quality of the holes but i had to make some adjustments in the holes.
Duct with cover on

Closeup. the black marks are the marks that i made for the LED position
Another view
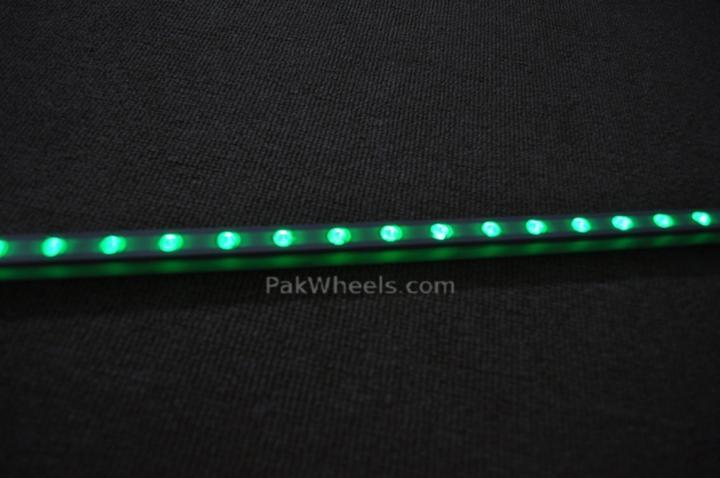
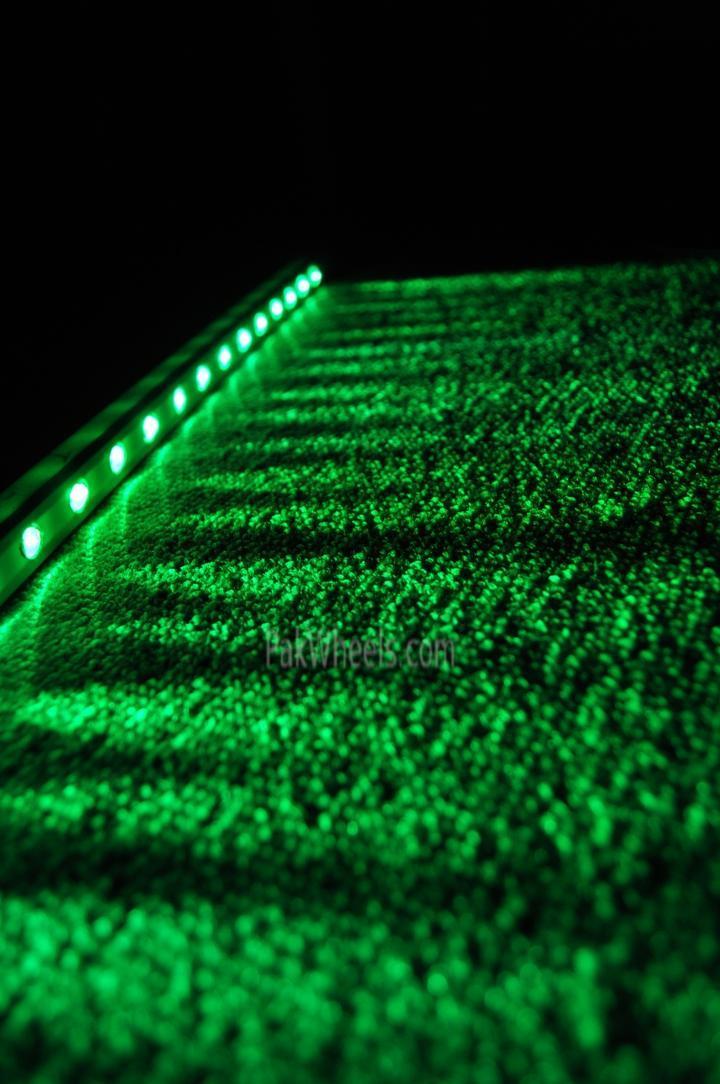
And the lights turned on... dont they look cool?
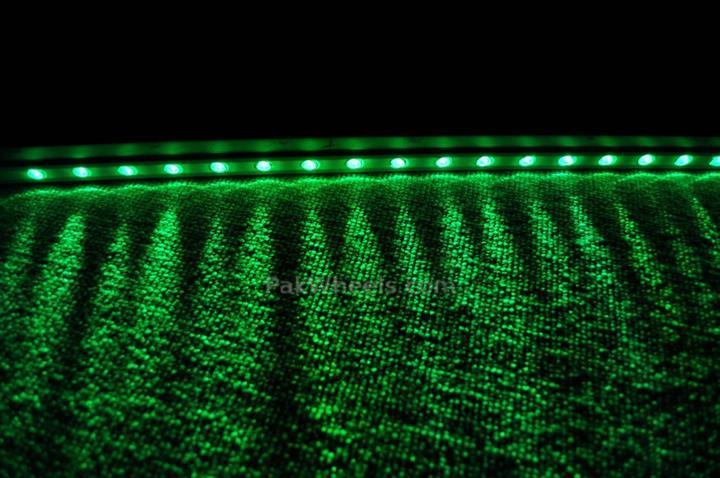
WOW!!!!
So.. what do you think guys? comments please...


