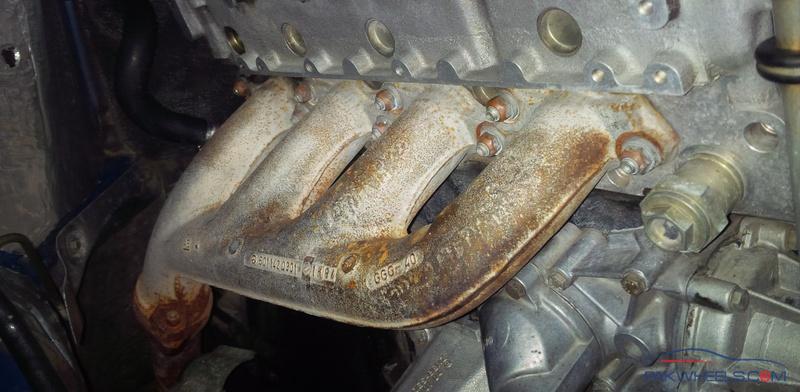
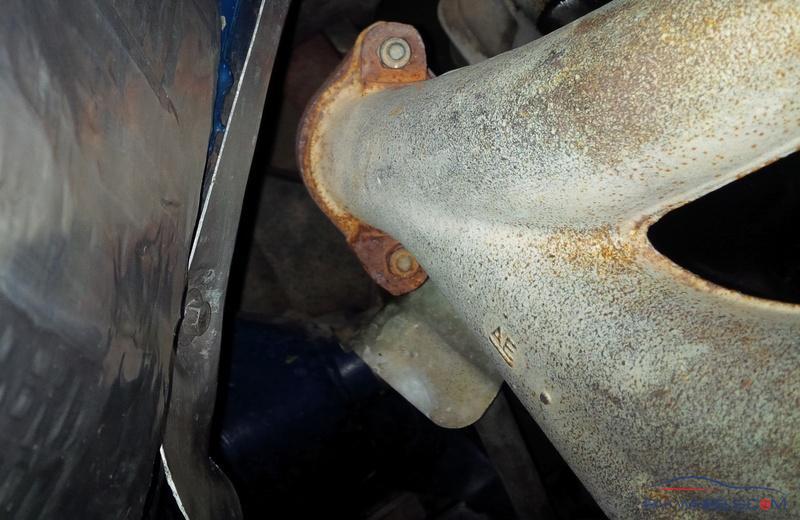
Having only two days to spare, I really wanted to do something about the horrid looking exhaust manifold. All those temperature changes mean the e.manifold will suffer from surface rust which looks displeasing to the eyes especially since the rest of the engine bay looks nice.
Anyways, I decided to do the work on the car rather then take the manifold out ( something that I wished I hadn't done since it would have been easier the other way ).
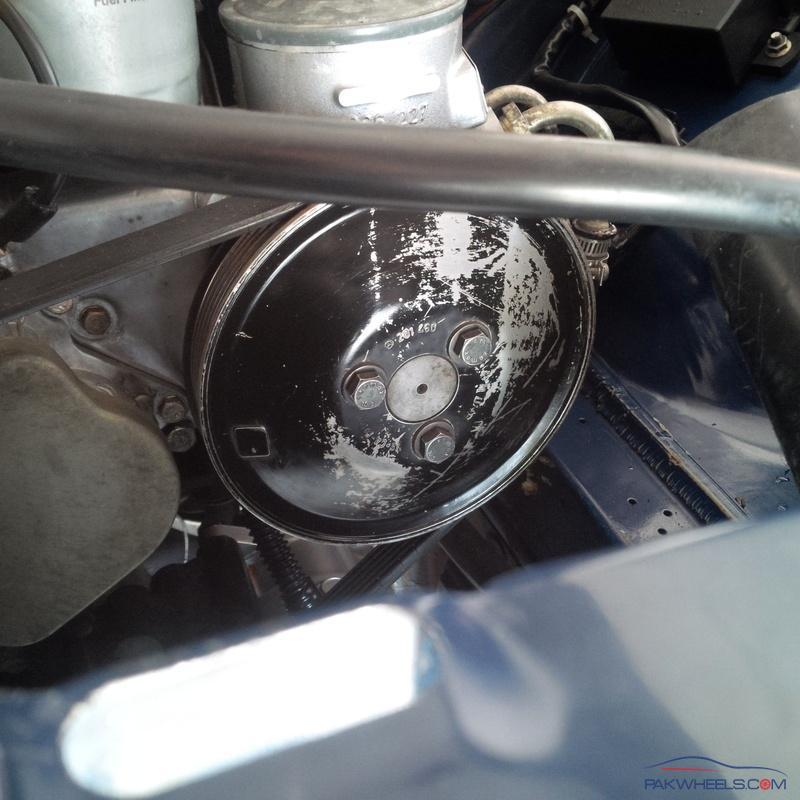
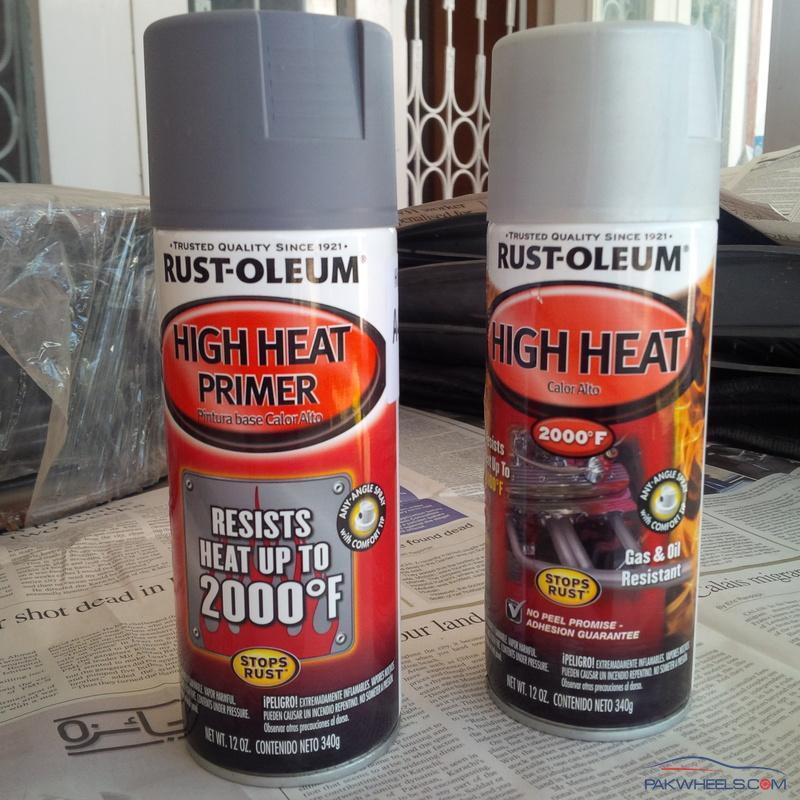
1) First up, you need the proper products to get the job done. I ordered the RO High Heat Primer and RO High Heat Paint.
2) Once you have decided on the products, its time to analyze the problem. The condition of the manifold says it all. I actually first used some penetrating fluid (atf+acetone 50/50) to free the 2 nuts that hold the exhaust downpipe to the manifold. I let the fluid sit for an hour before i went and freed the nuts from the bolts. Once done, I re-tightened the bolts and got down to cleaning/degreasing the manifold.
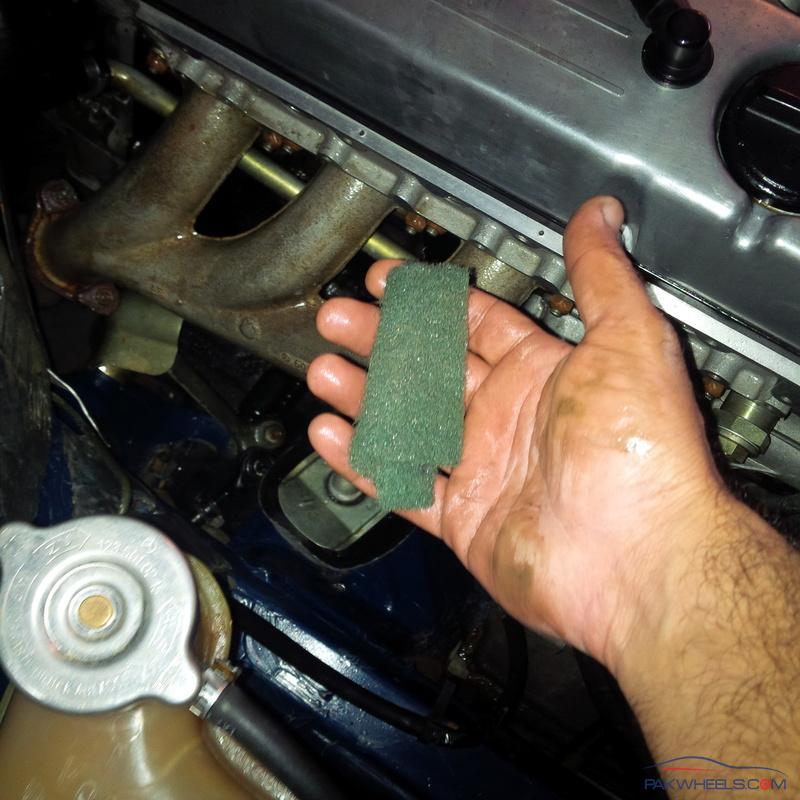
3) This is a basic step. Got a hold of a scotch bright pad, sprayed some degreaser onto the manifold and got around to cleaning every bit of it. I did this 3 times making sure the surface was as clean as possible. I finally used some methylated spirit to give one final wipe down to the manifold before starting to mask everything around it.
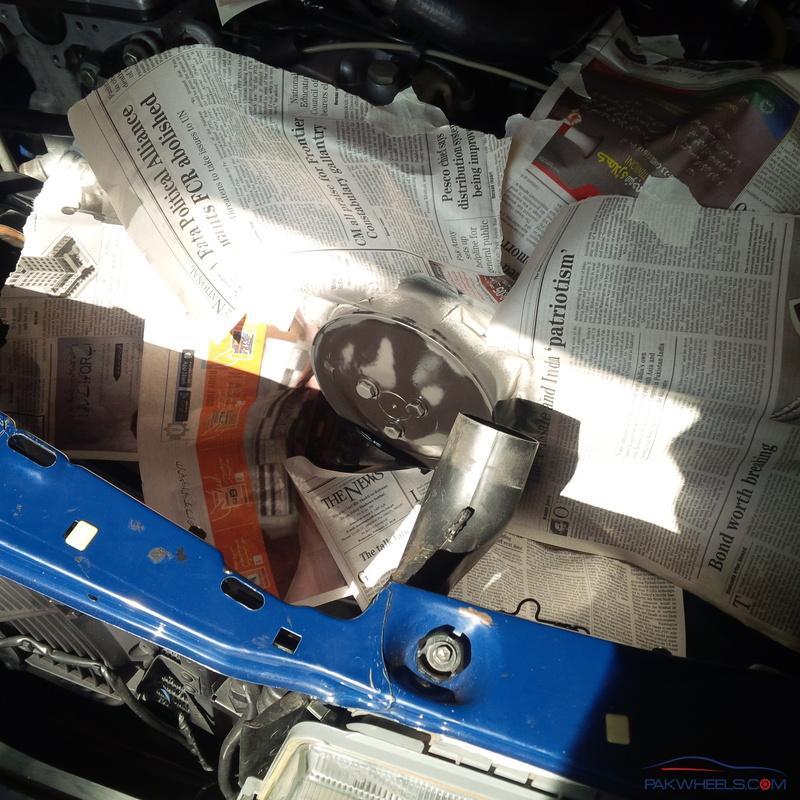
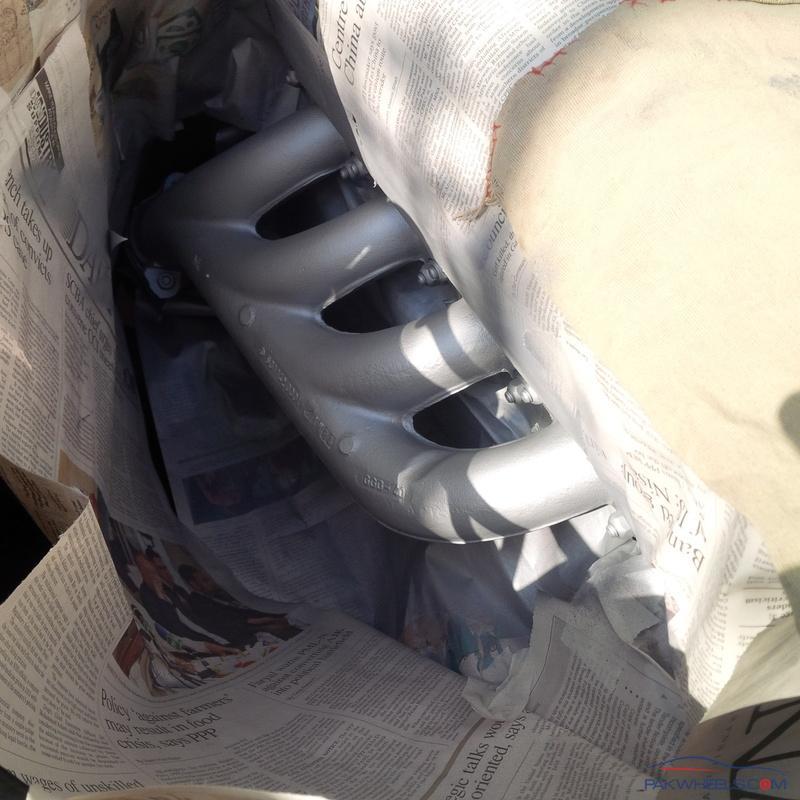
4) Once I made sure everything was masked (as close to perfect as I could so I had no oversprays), I did my first coat of primer. RO says to do two coatings a few mins apart, but since I had very limited space to work the can around, I did the underside of the manifold first two times ( 15 mins apart ) and then did the top of the manifold twice ( 15 mins apart ). The great thing with the RO can's is, you can use them upside down, which helped a lot with painting the underside's. The Primer dries up fast, and even if you overspray it on the part you are painting, it wont blotch or create an uneven finish. Nope, infact it dries flat without any blobs showing.
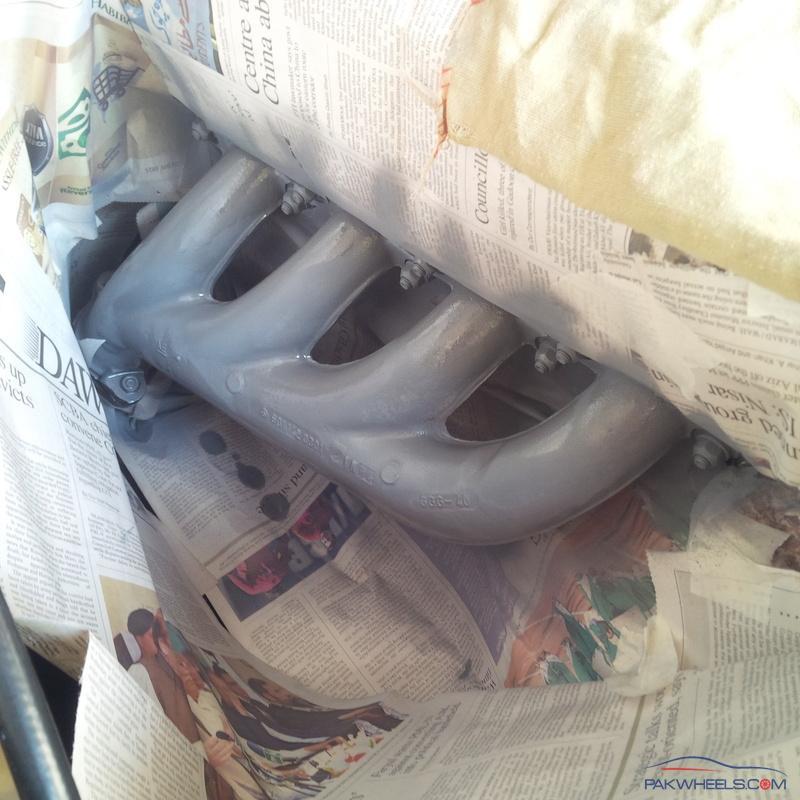
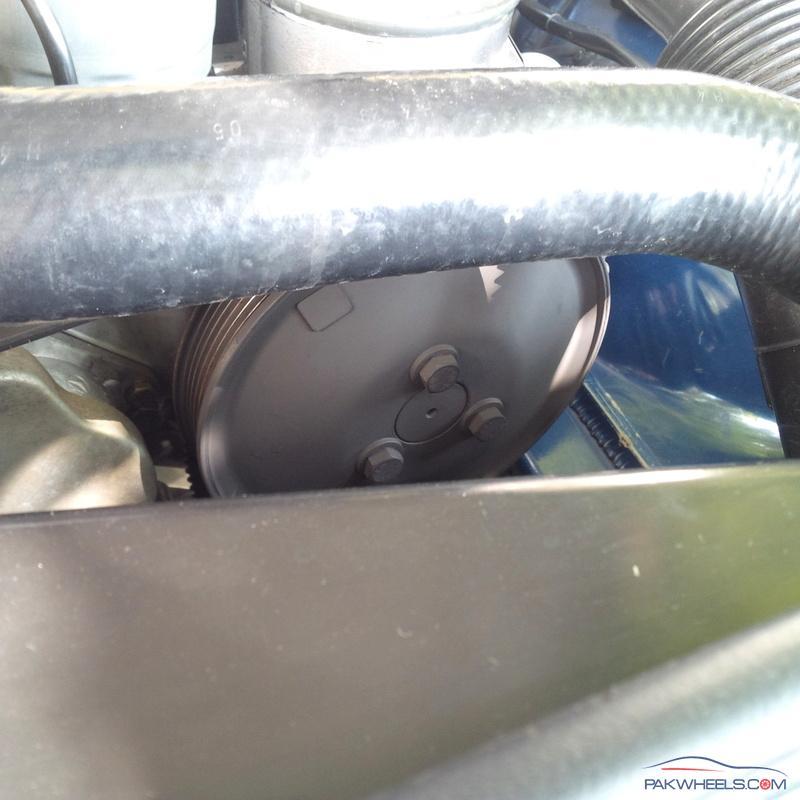
5) Once both the layers of the primer were hardened, I went ahead and sprayed my first coating of silver paint. I did this the same way I did the primer, 2 coats on underside ( 30 mins apart ) and 2 coats on the top ( 30 mins apart ). Once the final layer had sat for an hour in the sun, I removed all the masking and it was time for some baking/curing of the paint.
6) To bake/cure the paint on the component ( in my case, the exhaust manifold ) while its still in the car, you need to do these steps (Recommended by RO).
a) Start the car, let it idle for 10 mins. Switch off car and let it cool down for 20 mins.
b) Start the car again but let it idle for 20 mins this time. Switch off car and let it cool down for 20 mins.
c) Finally, start the car and drive around the neighborhood for 30 mins. Switch the car off and let it cool.
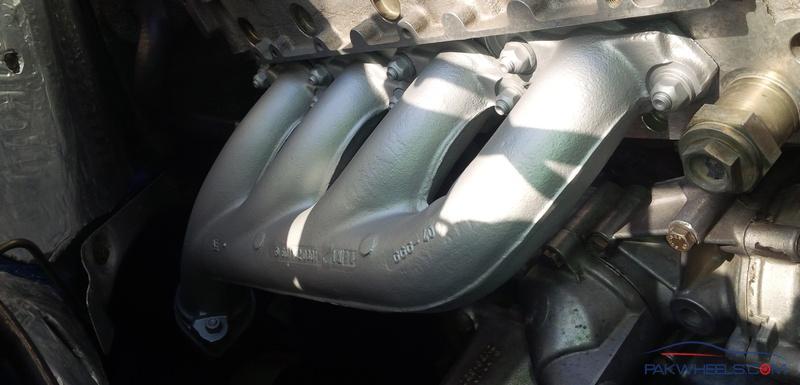
Following these steps, I finally could have a closer look at the paint finish. Its come out nicely with that silver. The paint has been cured like super glue. I tried scratching it and it's not bulging. That's a relief since I feared the paint might start peeling off.
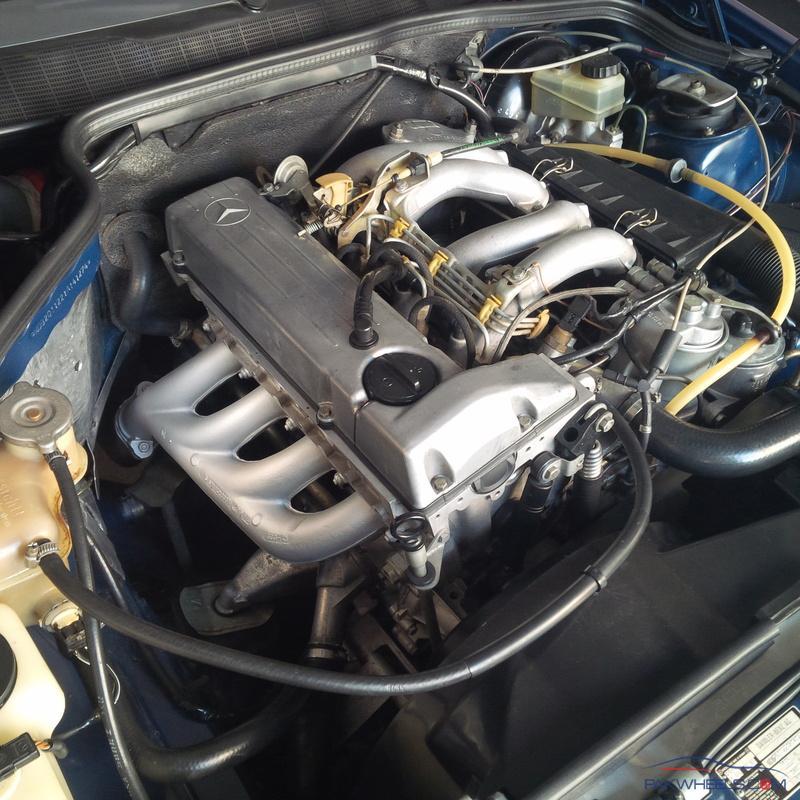
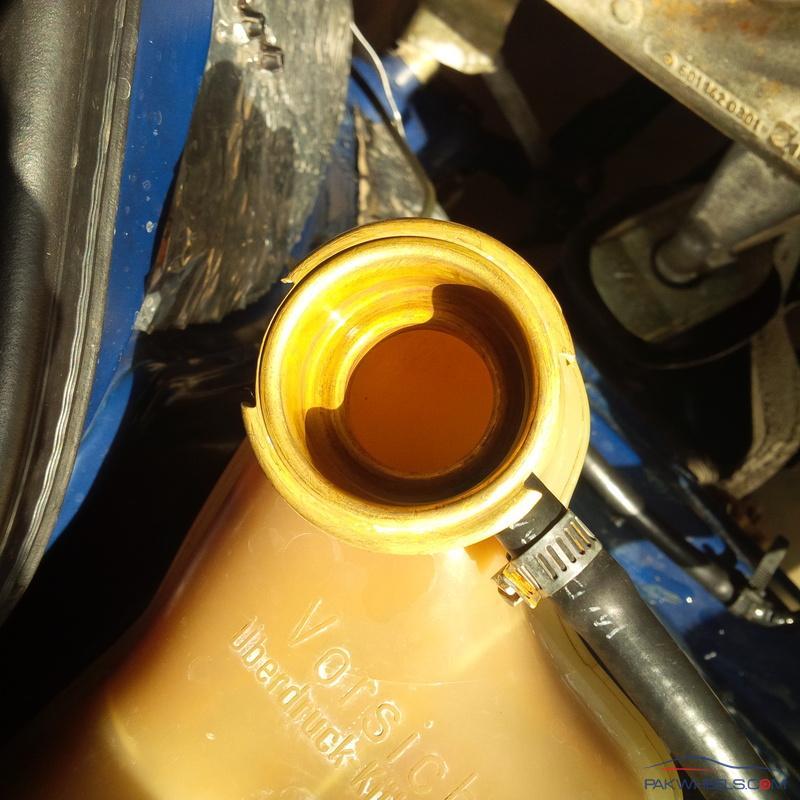
So, there you have it. An engine that finally looks nice. I just have to replace one last item on the car. The oil filler cap which I found out had a leak due to a hairline crack. I've mended it for now but its still leaking. Got one in the parts store but the guy wasn't in today so gonna grab that off him tomorrow and do a quick change.