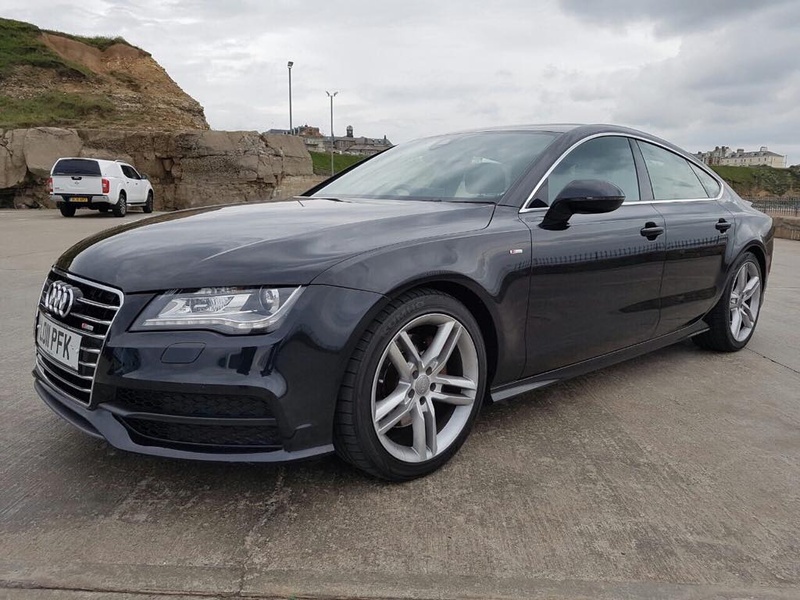
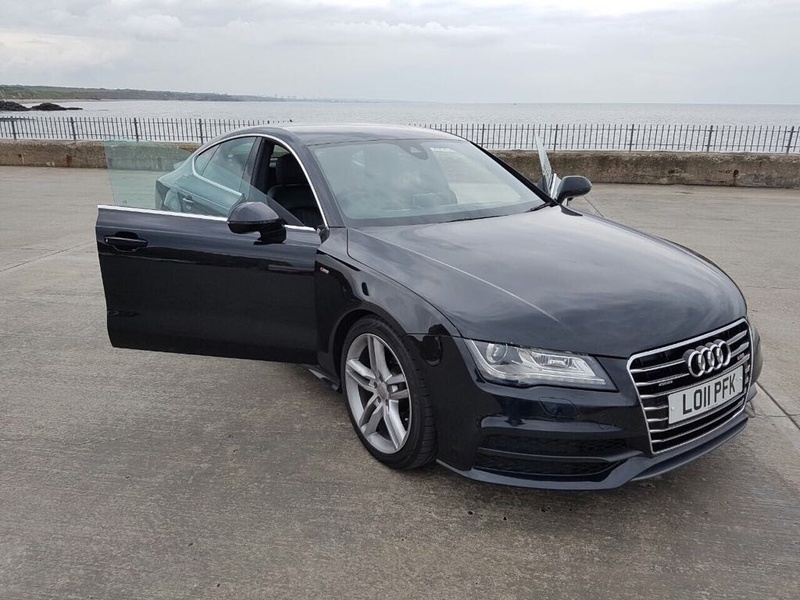
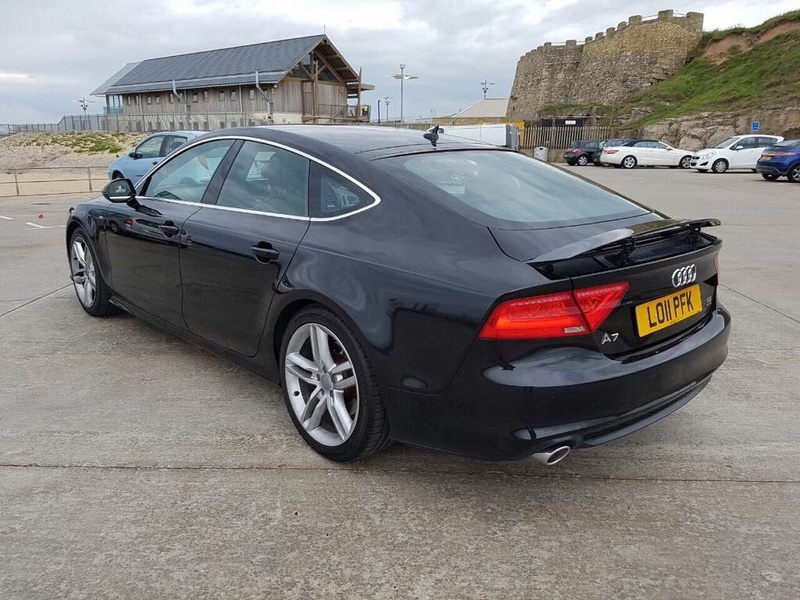
Background
I had taken a 40 km drive earlier in the morning, so allowed the engine to cool down, before attempting the clean up. The engine was warm to touch, but not hot.
Sequence of Attack
I inspected the engine bay to inspect any lose electric cables, or open/lose electric compartments. I also inspected the air intake cover for any loseness. The idea was to inspect and fix any potentially lose compartment covers or cables.
After satisfaction from other items, I covered the alternator with plastic bag as much as I could to avoid any water or degreaser penetrating the electronics.
I then proceeded to spray the engine with water using my pressure sprayer bottle. I attempted to wash away as much dirt as possible without effort. The rest will be taken care of by the chemicals.
Now using another pressure spray bottle, I sprayed 3D Orange Degreaser (dilution ratio 1:4) to penetrate all sections, nooks and crannies of the engine bay. I continued to saturate every surface with this solution until satisfaction.
Afterwards, I took my both brushes and saturated them a well with the degreaser solution, and started scrubbing every item.
I had to re-apply degreaser to some surfaces as I continued to work on it, alternating between the soft and hard bristtled brushes. After completing the scrubbing job, I set the brushes aside to run water with my pressure bottle again.
I continued to spray water on it, until I could not see any dust or degreaser suds running. Then I started the engine without any problems.
At the same time, I pulled out a clean microfiber cloth in dark colour to dry the engine bay. I started from the left end of the engine bay and continued to work from top to bottom, finishing at the right end of the engine bay.
After wiping the engine dry, I switched off the engine, and continued to dry the area near the serpentine and auxiliary belts at the front, to avoid any injury to my hands.
The engine was now completely dry as evident in the pictures below.
Auto Detailing Supplies available for sale in Jeddah