So this was the unexpected Stage 1.5 of my Sound Deadening DIY 
I had spare Jumbolon lying around, so I thought why not sound deaden the boot. Initially I planned to only stick Jumbolon on the inner skin after removing the boot trim but then I had another idea and then put another layer for more deadeness
So the Jumbolon would let only some sound pass from the car, bikes and rickshaws honking behind me (H) plus it would also improve the acoustics of the audio in side the car and make the cabin more quieter 
So today only I decide to carry out this DIY and completed it in about 1.5 hrs or so.
Tools used:
- Jumbolon itself (10mm thickness)
- Cementex Adhesive (small can)
- Chartpaper (for measuring the area)
- Scissors
- Cutter
- Degreaser (liquid)
- Clean cloth
- Pair of screwdrivers
- Pair of gloves (if youre afraid of getting hand dirty and nasty cuts)
Process:
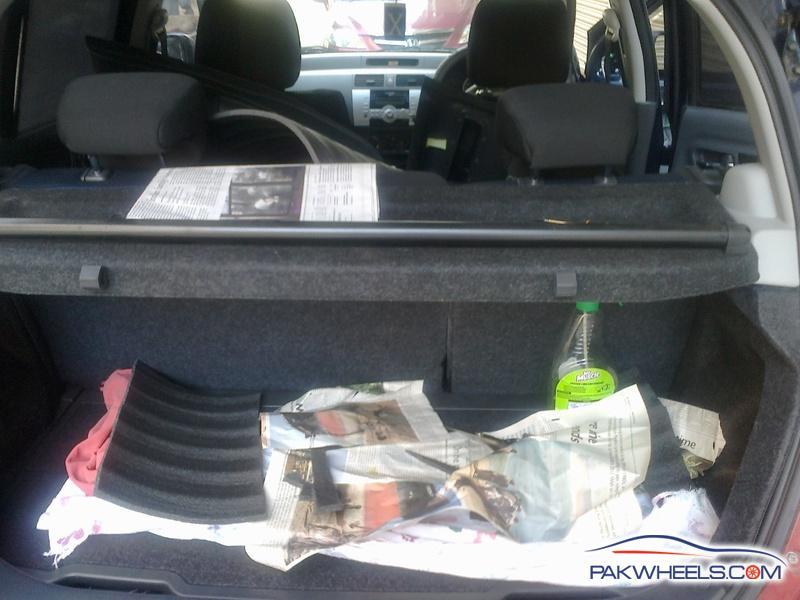
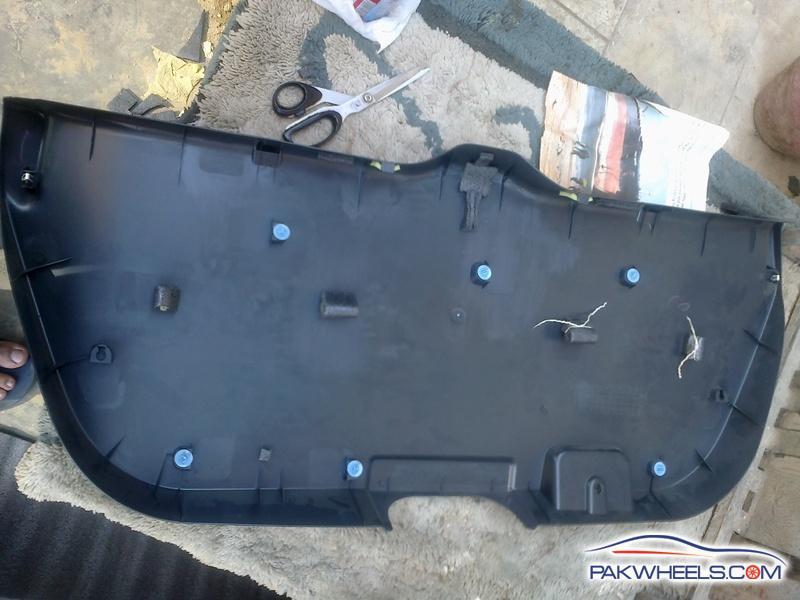
1. The boot trim was opened by removing 1 screw and many clips (I can guide Swift users for their ease in this step)
2. Inner wall cleaned with Degreaser and clean cloth
3. Measurement taken by chartpaper in area that has to be attached with Jumbolon
4. Cutting Jumbolon according to the chartpaper's dimensions in very small pieces are there is not much space given for hand to pass while sticking
5. Putting the adhesive solution on the back of the piece and then attaching it slowly
6. Doing it for all the parts
7. Voila
Note: Do not put back the boot trim for at least a full day (preferably: 2 days). The smell of the adhesive needs to be ventilated well, keep the doors open and the windows down.
Pictures time.
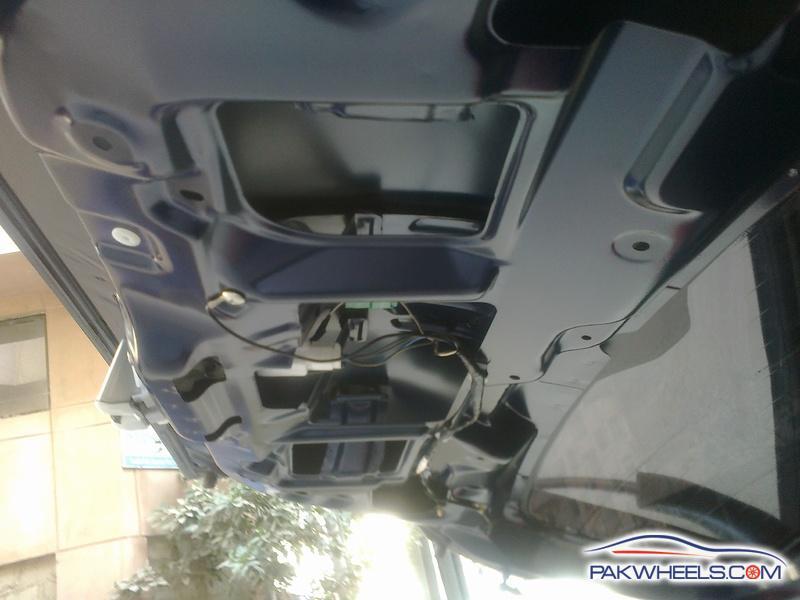
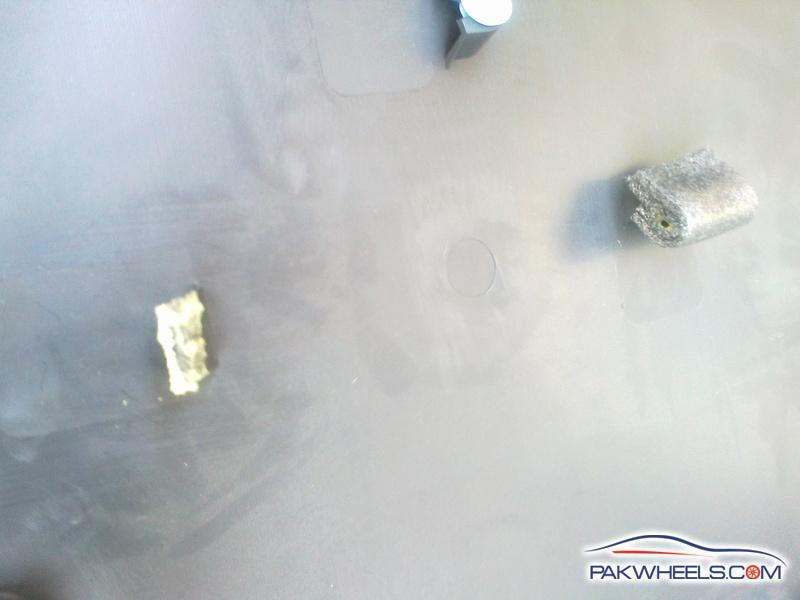
The boot frame (5th door as they call it) after cleaning with degreaser
The First patch applied
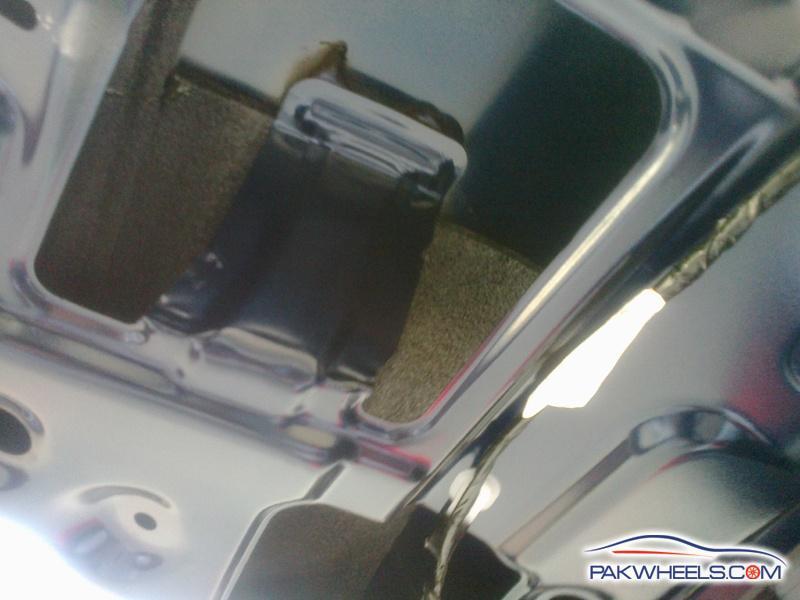
One side is done
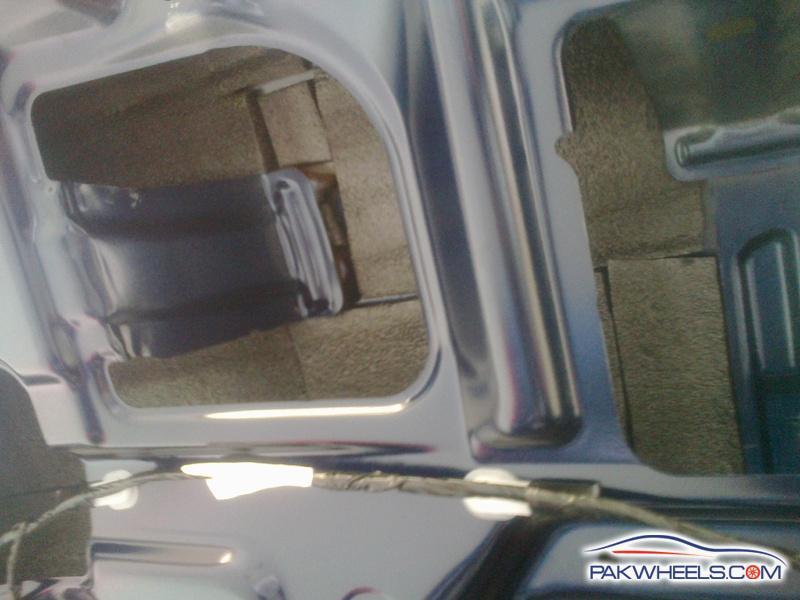
Completion of the other side
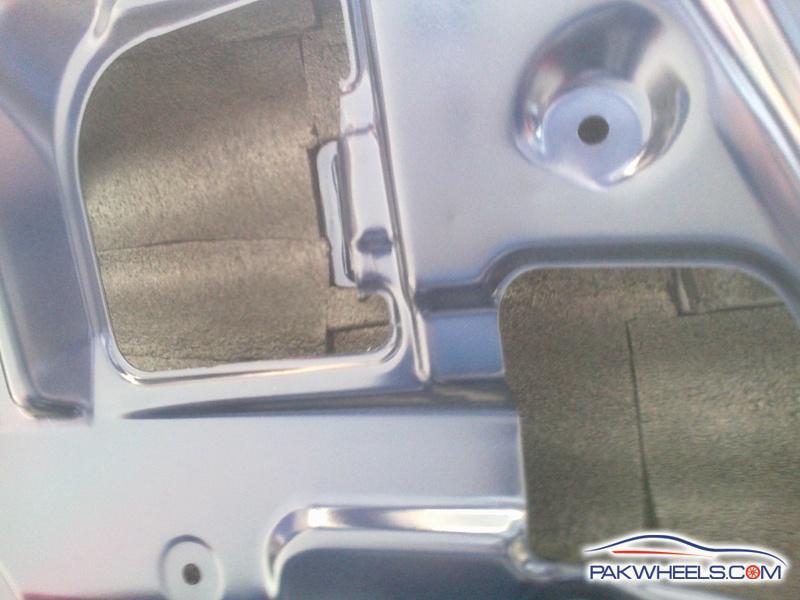
Working area
The boot lid. Existing pieces of foam were removed and pieces of Jumbolon were applied for better grip
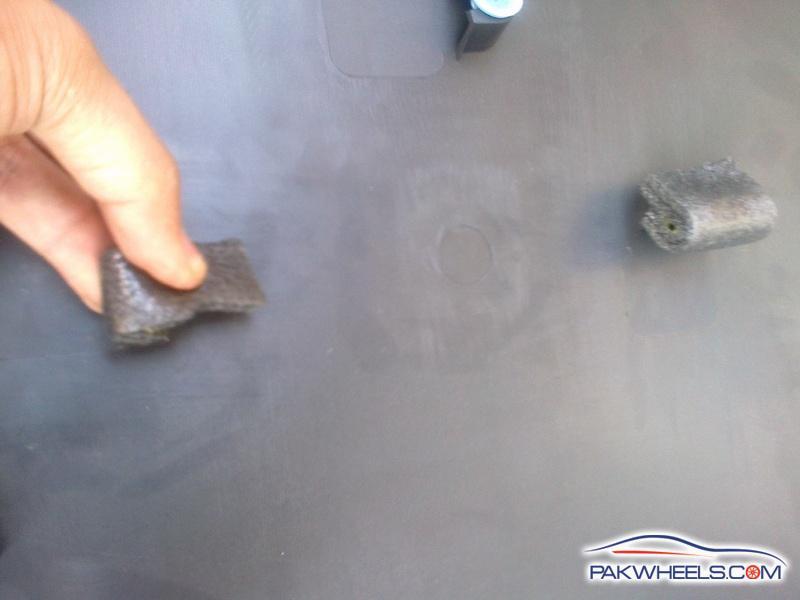
All foam pieces covered with Jumbolon
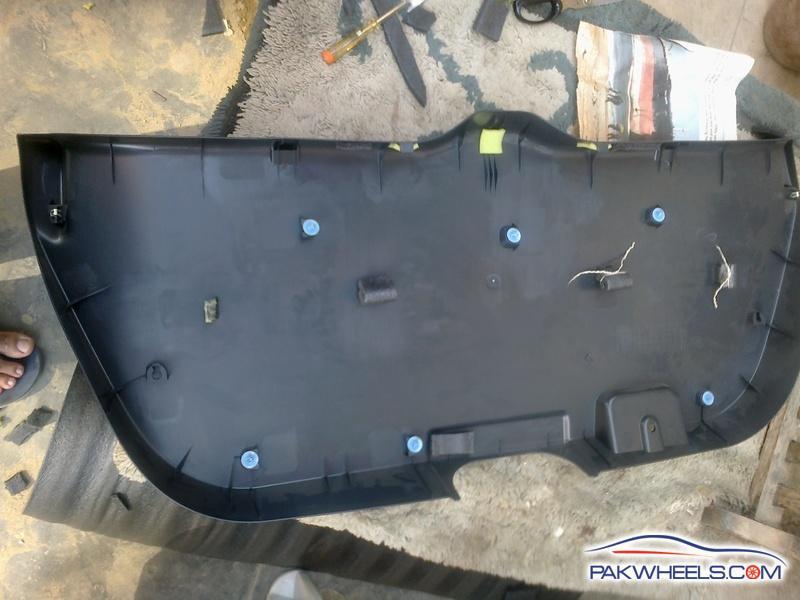
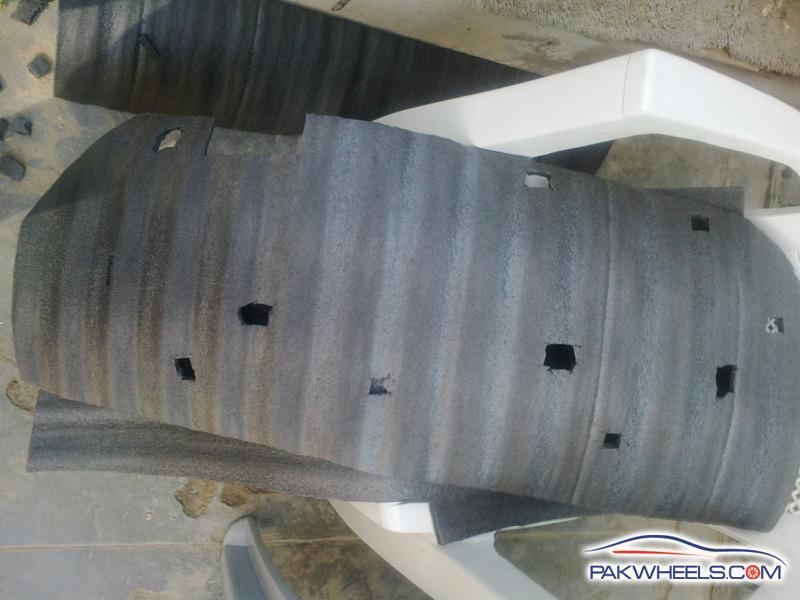
Another big piece of Jumbolon cut out in the shape of the boot trim and will act as a cushion between the frame and the boot lid. Won't be sticking one as it would be firmly held between the tiny space, so need for any adhesive.
Boot trim prepared and will be put back in place after a day or two, when all the fumes from the boot frame have been exhausted.

Took 1.5 hours and the boot upon closing gave a big BOOM and released quite an air pressure. So means that there is some progess.
Fingers crossed for 2 more days till when the project would be completed


