As I said - i had an incident with the SD card and lost a bunch o pics - I have one or two last ones which I snapped with my phone.
first some forewords.
This is an all alumnium engine - and you are using steel bolts, PLEASE for the love of almighty use the specified torque and sequences on the fasteners - aluminium and steel behave different at different temperatures, the manufacturer has spent some energy on giving the spec - use them, read the manual and use torque ratchets and clean all bolts n nuts
(hint - always consider bolts as lego - whenever you are bolting a piece or assembly - use a cup or container to have all bolts/nuts at hand reach - specially if your part has sealant on it and is timed)
another point
do not use general purpose RTV that seeps vinegar as it cures - use what toyota specify which is threebond 1207B - I have used a sister product which is sold as GM engine sealant. it is pretty much similar to threebond 1207B, reason to use it because my parts place always has a ton of these available and its easily used in a caulking gun - cheap too.
bolting the head to the block is not rocket science, install gasket, install head, install bolts and washers and tighten accordingly - for this engine they say to tighten all bolts from centre out in a X pattern to 58 lb/ft and then advance all bolts to 90 degrees (use new bolts and spray some WD40 on them beforehand) - rotate crank backwards about 30 degrees from TDC1
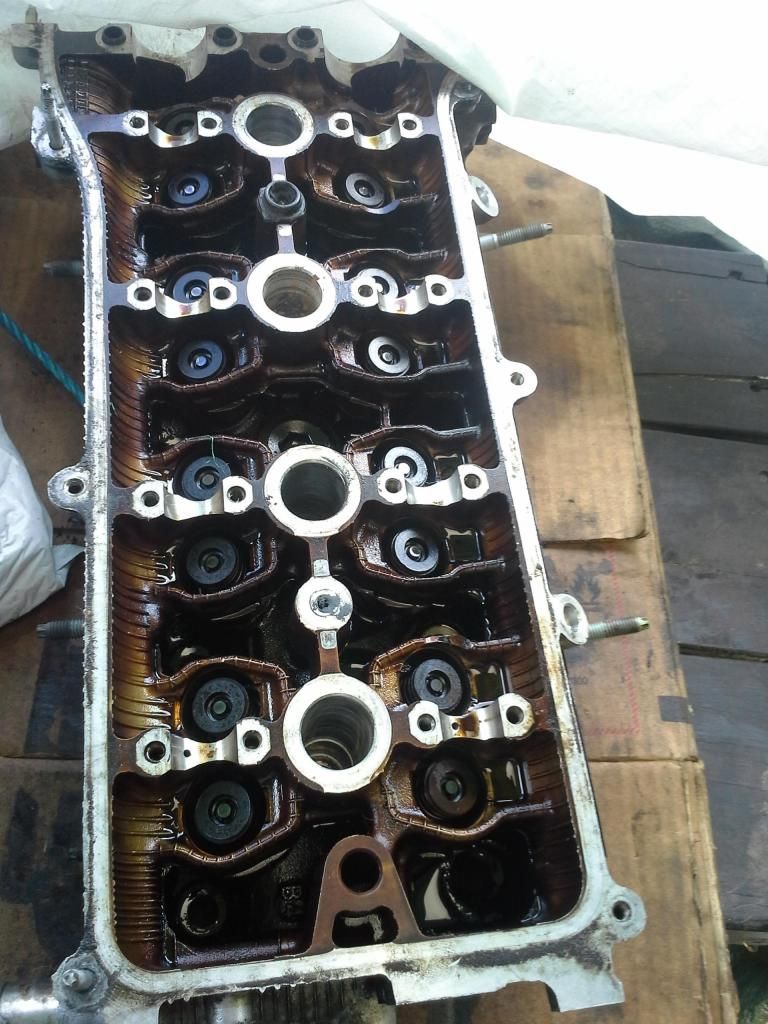
install lifters,
install bearing shells for intake cam.
install cams near to TDC position
slather assembly paste
saddles (read their position on themselves) - tighten evenly one thread at a time so that all saddles make contact with head.
tighten in correct sequence to correct torque - 80 in/lb for small bolts and 22 ft/lbs for the large 12mm head bolts.
install exhaust cam pulley wheel - tighten 40 lb/ft
rotate cams to TDC1
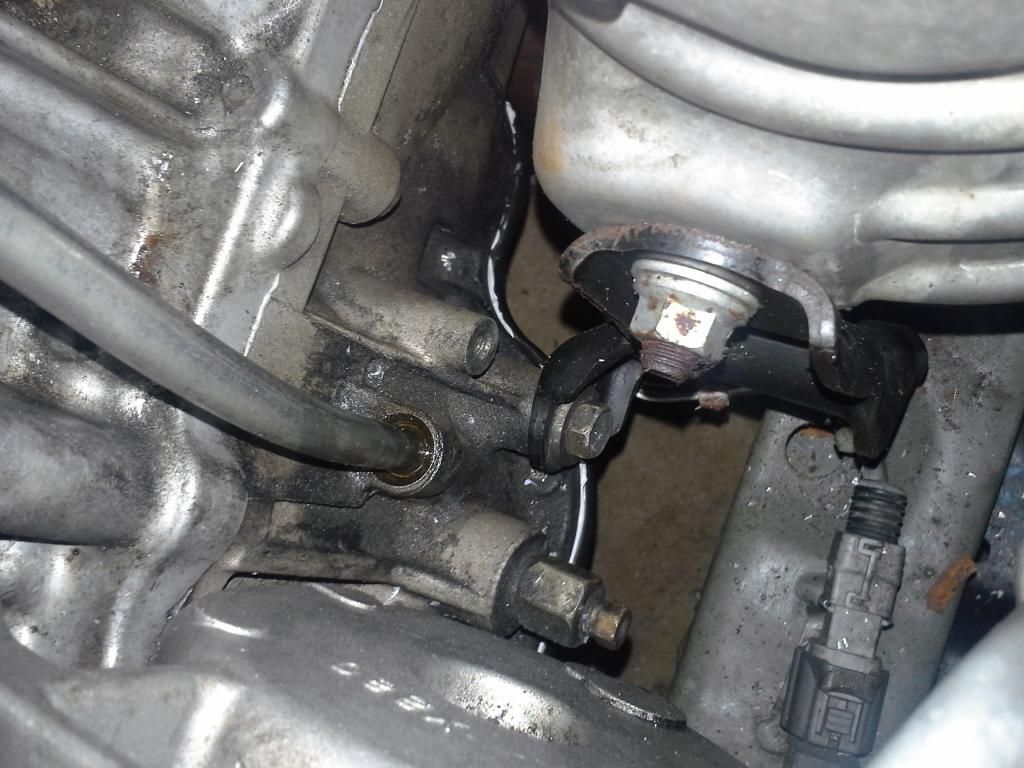
install new O ring on VVTi valve and install (make sure to clean the filter too - its located where the power steering pump is - just look at the engine castings and follow the gallery bulge.
clean engine casing sealing surface with degreaser and plastic scraper (old invalid credit card) - remove all surface material, clean with acetone till you see it shining - repeat on timing case.
rotate crank forwards to TDC1
install crank timing cog
install chain correctly - it has 3 painted marks.
install slipper rail - small bolts tighten to 80 in/lb
install tensioner rail axle bolt tighten 16 lb/ft.
collect all bolts and nuts that go on timing chain cover - make sure they are clean and ready to use and you have "EVERY" one of them in a cup at hand reach. mock fit the cover so you know where to hold it from and how to manuever it in the engine room - once the first drop of sealant is on there the stop watch of 15 minutes starts.
clean timing case again with acetone, install new crank oil seal and lay down a bead of sealant on it exactly like the service manual tells you, there are places where its thicker and there are places where its on the edge only - do not dab it with fingers - GM sealant is very high viscosity and is pretty tough to spread out anyway.
install case and allow it to contact the engine, hold it steady and install the fasteners (I liked the provision of two studs on almost all parts of this engine - infact most toyota engines have this, the head has two studs for the timing case you can install the case and it then hangs there with no hand support) - install bolts finger tight all the way - now get to tightening them
12mm head bolts get 16 lb/ft
14mm head bolts get 44 lb/ft
10mm bolt and nuts get 80 in/lb
install crank pulley - tighten to 135 lb/ft with oil on bolt head face and washer.
install tensioner assembly with gasket, rotate engine back 30 degrees unhook tensioner lock, rotate engine forwards and hear the tensioner click - timing chain is now loaded.
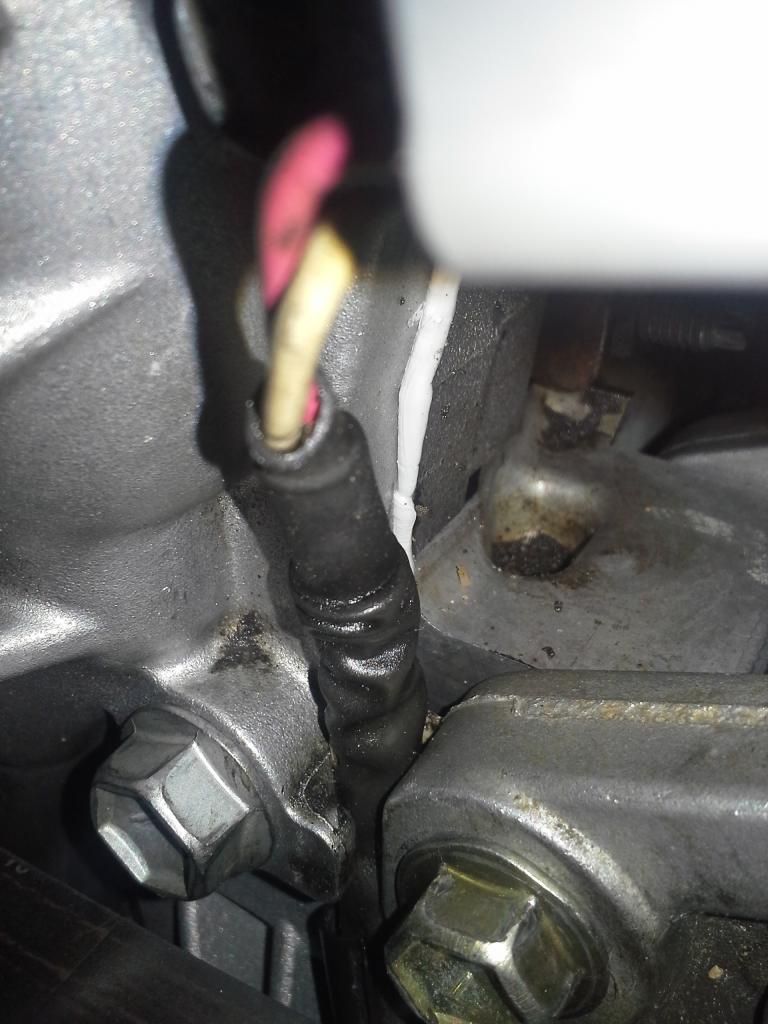
here you can see the timing case installed and some gasket material oozed out
prepare valve cover - clean and install new gasket
cut sealant from the joint of head and timing case with razor blade and place a fresh dot there, install cover and tighten down 80 in/lb all around in the correct sequence and the middle bolts to 120 in/lb.
install the power steering pump, BBB bolt here
install wiring loom bolts
install belt tensioner and its stud.
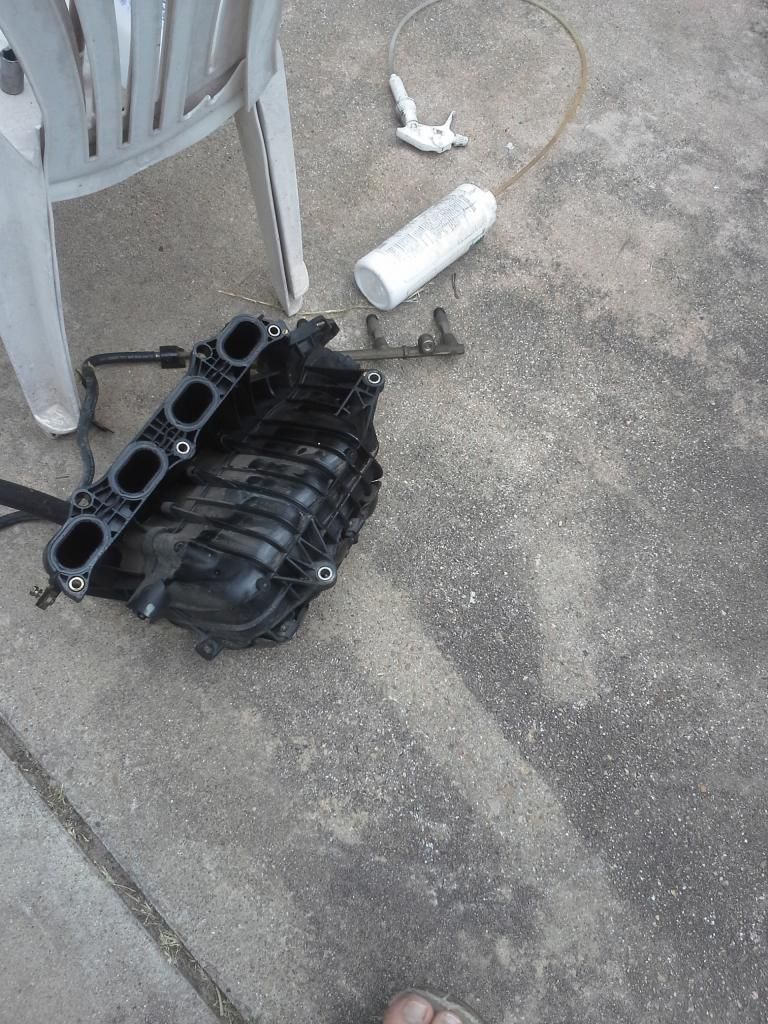
install intake manifold in correct sequence with new gasket from kit.
tightened to 22 lb/ft
install new rubber stuff to injectors and install injectors with oil coated on their cushions.
install throttle body with new gasket
assemble engine wiring completely.
install air snorkel
install exhaust manifold with new gasket on head and on flange - it is also tightened from center outwards in X pattern to 22 lb/ft on each nut.
tighten bolts from under the car to 44 lb/ft
tighten brace bolts 44 lb/ft (always do this last)
remove dipstick tube and install new O ring on it - reinstall
install new O ring on dipstick handle - reinstall.
install heatshield
install alternator
install belt
install radiator fans
install upper radiator pipe
install sparkies and coils
install beauty cover
install engine mount bracket and mounts (44 lb/ft for bracket) - 60 lb/ft for mount to subframe
install engine torque mount - 44 lb/ft = engine bolts 60 lb/ft for body bolts.
clean oil sump mating surface with credit card and acetone to ensure its squeaky clean - all bolt holes too, cut oozed sealant with blade at the joint of the timing case and block where the sump fits.
clean oil sump - make sure its perfectly flat too (use sheet of glass to test).
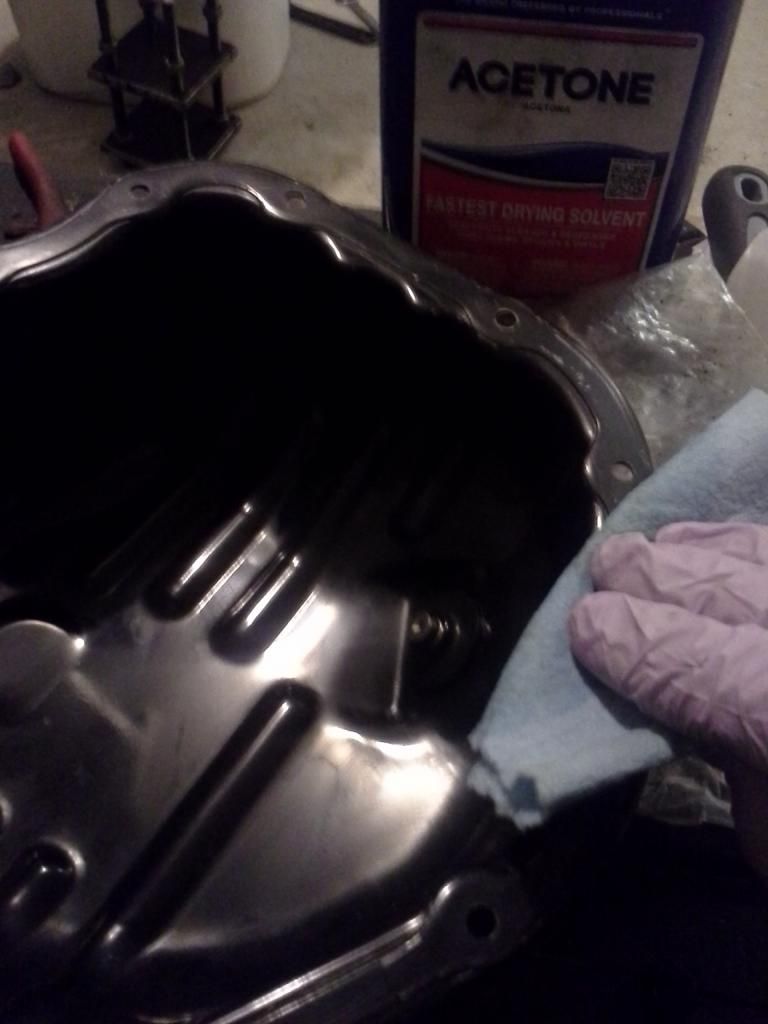
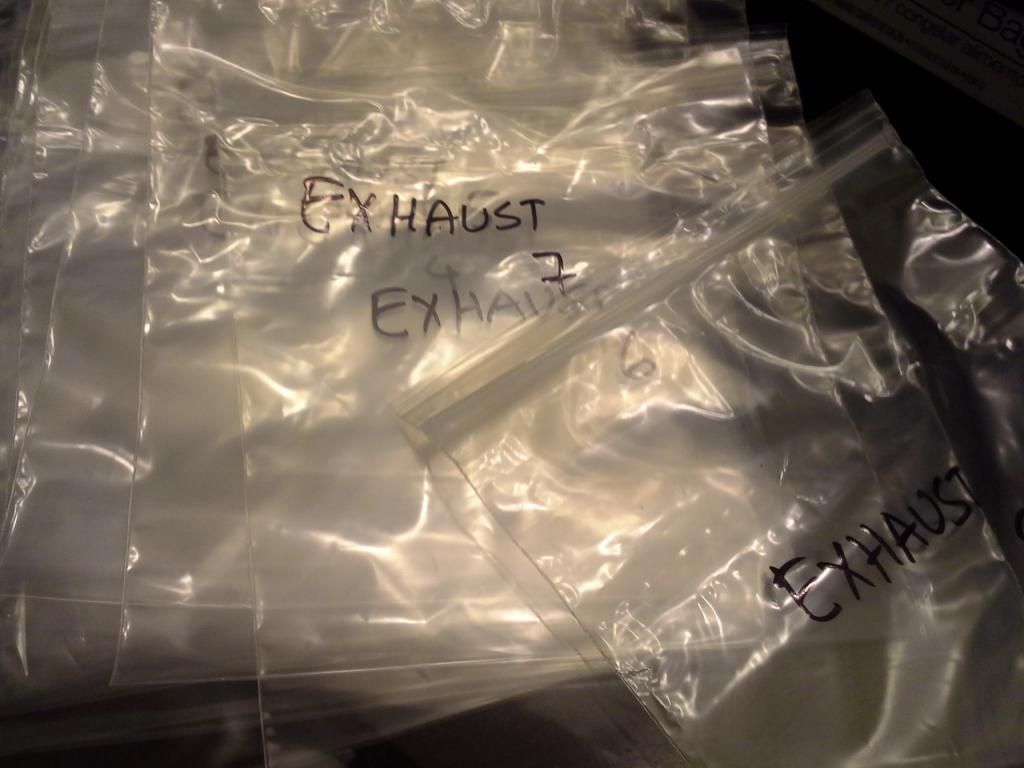
count all bolts and nuts (12+2 in this case) - clean them and keep aside - look at plastic cup in my picture.
apply sealant
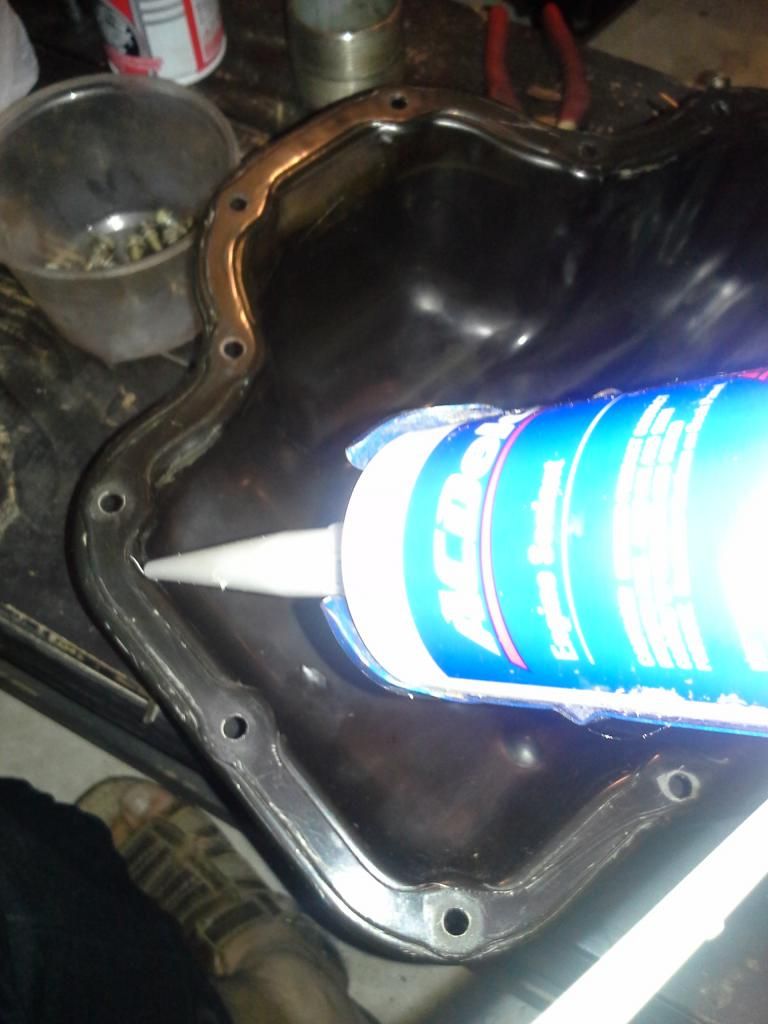
this is sort of what you want to see - my gun is stupid hence the slight mess.
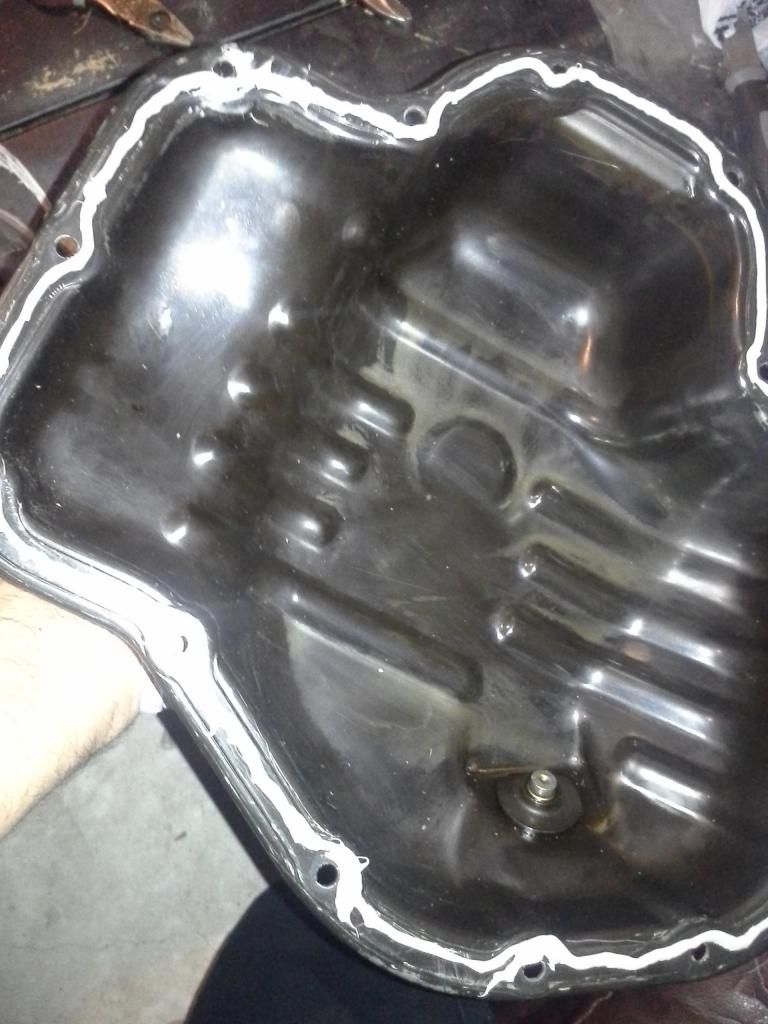
the sealant goes inwards from the bolt holes and is a 3mm diameter bead only.
install and tighten exactly as the manual tells you - it tells to you the first two are across and then go clockwise. Again the two studs toyota provide make it easy to align the sump the engine. But make a mock fit so you know how to manuever it under the car as you are not allowed to touch the sealant or the sealing surface otherwise it may leak.
this is what you should see after tightening it to 80 in/lb
a trick to help you guys out
when threading the bolts - use a screwdriver attachment or a nut driver and only start the bolts one or two threads all around - do not let the sealant start to squish - then hand tighten the bolts with the nut driver/screwdriver attachment - tighten with torque ratchet and leave it to rest.
with GM sealant you can fill with oil immediately too - so thats what I did also - btw before filling I replaced the useless OE toyota steel crush washer and used a copper washer on the sump drain and tightened to the specified 30 lb/ft
also filled the oil filter and installed it.
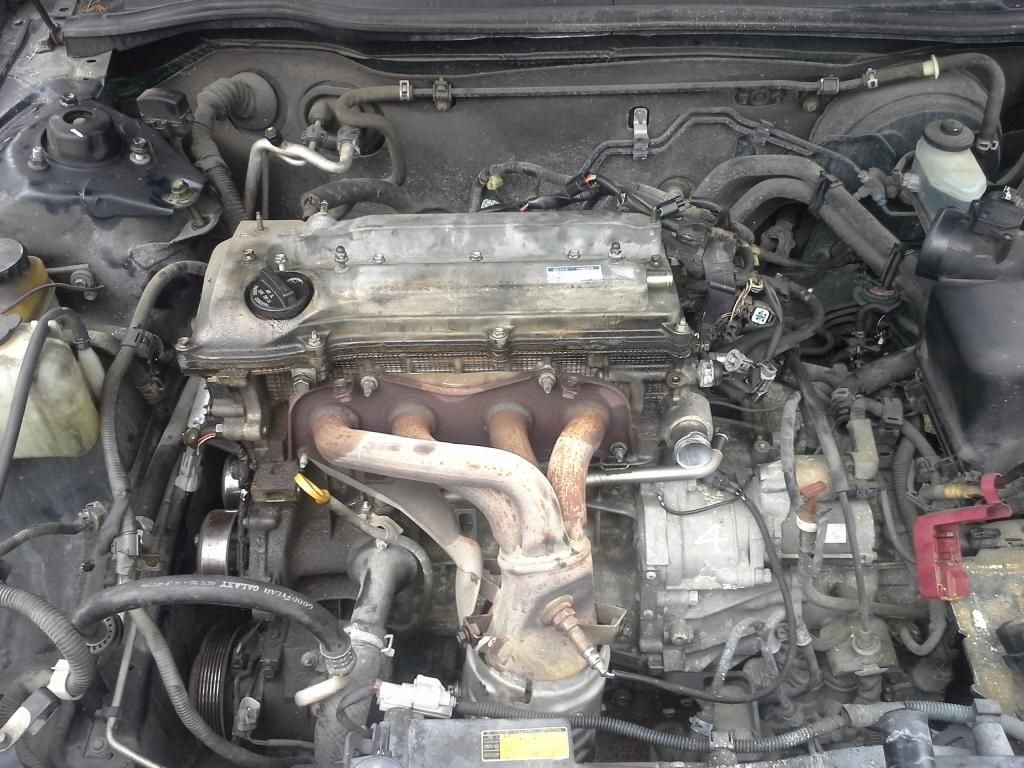
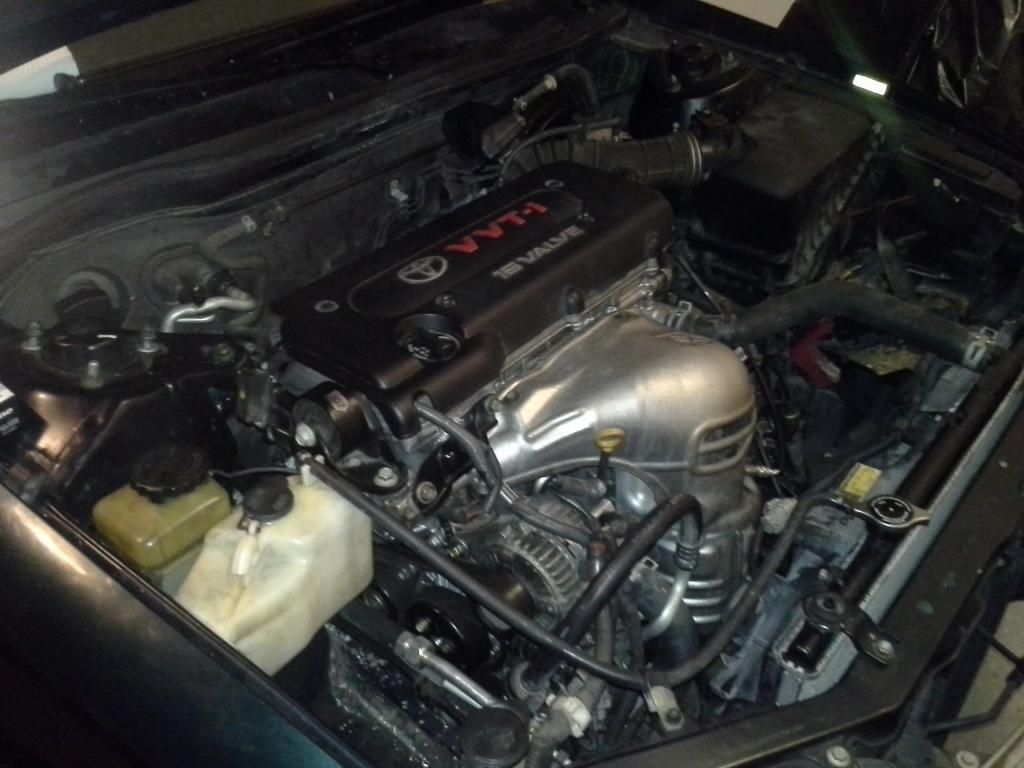
here is a view of the engine room - the only 3 bits remaining are the strut brace, the battery and filling coolant when I snapped this one.
as written above.
use bolts as lego - I did not have any bolts, clips, nuts etc left behind - infact my record is pretty good at this.
If you have even one fastener left behind - you are in trouble - so if your mechanic asks you to "buy some bolts" when he is assembling the engine - he is not careful enough.
My trick is to use an old steel container with lid when working on multiple jobs/cars. the bolts when left dirty provide the memory joggers to where they were and if they had threadlocker on them. This is why I clean them at the time of assembly or clean them and put them in little bins with flags to tell which bins are which - e.g. the cup you see in one picture. I had about a dozen or so cups.