Home Executed Camber Adjustment: Purist will balk at what follows.
A few days ago I had the front suspension rebuilt but one thing remains (see post # 368) wherein the track rods were not replaced.
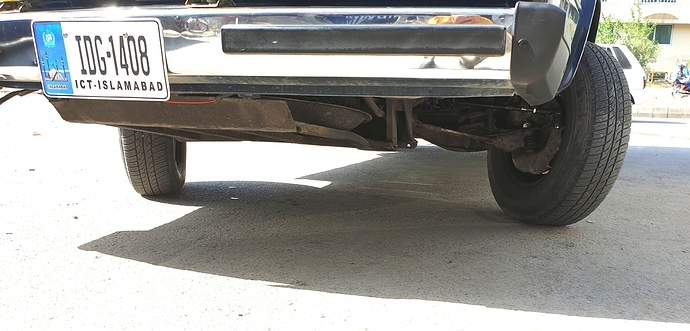
Now in an ideal world, the track rods should have been replaced followed by wheel alignment at a reputable place. But my world is far from ideal  . I have been noticing that when viewed from front, the front wheels tend to sag. In other worlds there is excessive negative camber. To understand better see diagram below:
The result of this was not only excessive force was needed to turn the wheel into the turn but the violent force with which the steering centered itself. So today I thought that while I wait for the required parts to arrive, Why don't I have a look at correcting the camber. It has to be said that my work will be negated when the full alignment is done because, when the castor setting are done, it will impact the camber settings.
So here we go:
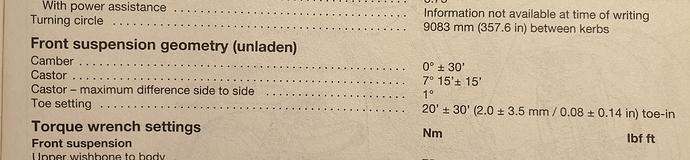
First the target alignment values for this van:
We are looking at the camber values of zero degrees +/- 30 minutes (or +/- half degree)
Then the tools: 1) 14mm allen key. 2) 19mm socket. 3) Measuring tape. 4) Spirit level ( a machinist's level would have been better)and 5) Camber gauge.
Tools 1 thru 4 are pretty standard but number 5 needs some further explanation. It has to be kept in mind that the objective here is not to get the most sophisticated and costly camber tool as I am not opening an alignment shop but one that is cheap and gets the work done for home use. I opted for this one off Ali Express:
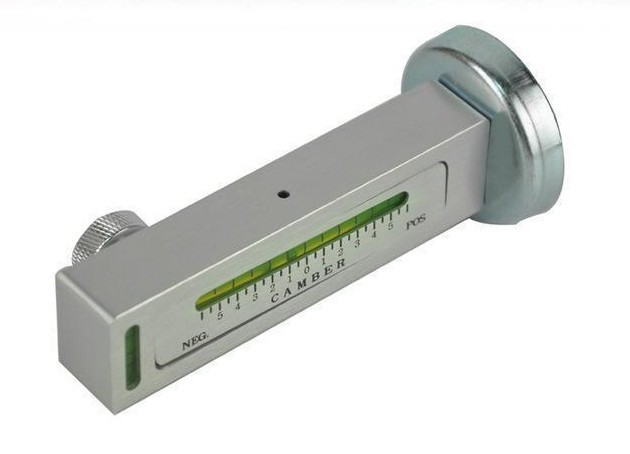
A Cheepo copy of the one below. Note this one has numbers 1-2-3-4 instead of degrees.
This is the original one (more expensive) but more importantly we see that the gauge is marked from -3 degrees to +3 degrees in half degree (or 30 minutes) increments. The one I have has each degree sub divided into 1/4 of a degree (or 15 minutes)
Before the camber tool can be used, it has to be calibrated. Using the spirit level in a perfectly vertical surface, the bubble in the camber tool is adjusted to read zero via the thumb screw. For the rest o the measuring activity, this screw must not be disturbed.
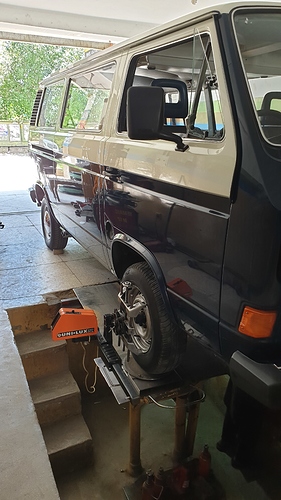
Step 1: Park the van on a level surface
The spirit level placed on a convenient surface of the van.
Reading is zero on the spirit level.
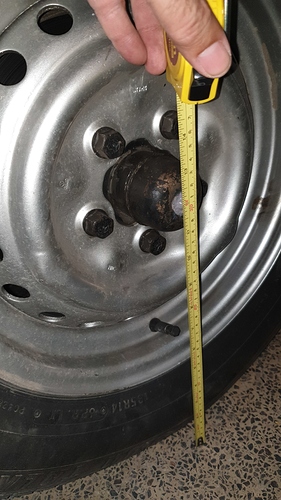
Step 2: Measure the distance from the ground to the hub center.
This measurement came out to 30.5mm
Step 3: Jack up the van but in this case we have to use the point right under the road spring cradle. The reason being that we want the axle to be under the same load as it does while the van stands normally.
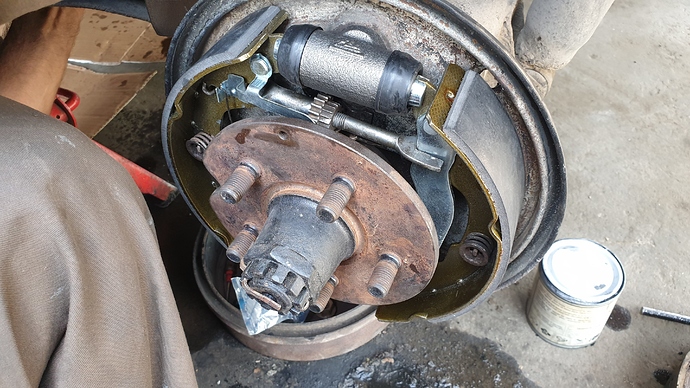
Step 4: Remove the wheel
Step 5: Now lower the jack until the hub center is at 30.5mm from the ground. In this way the van has been returned back to level status. Please note that I have not used any jack stands on purpose. It is required for the measurement purpose that the hub be at 30.5mm plus I will not be under the van at any time.
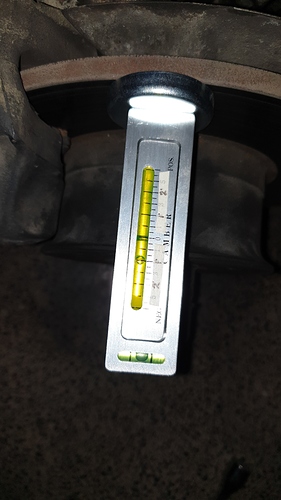
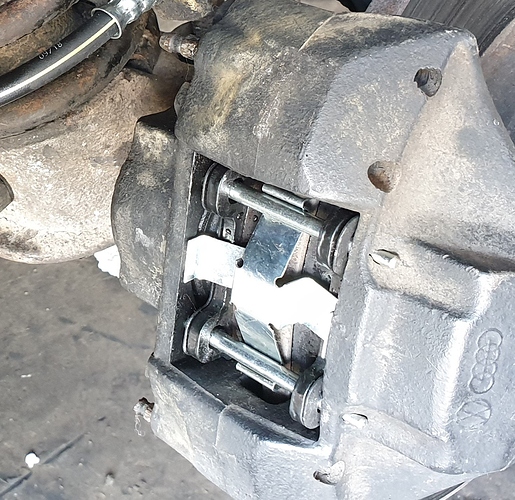
Step 6: ensure steering is straight ahead and fix camber tool to the brake disc.
We can see that the camber is one degree negative
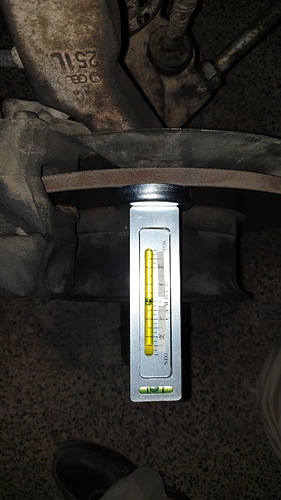
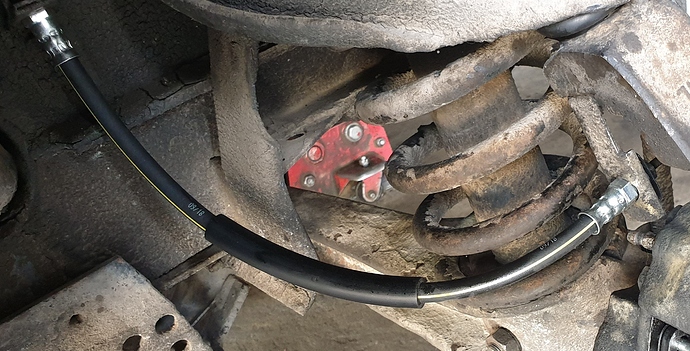
Step 7: Adjust the camber by turning the eccentric bolt at the top wishbone. One side of the bolt has a 14mm allen head and the other a 19mm nut. The nut is loosened and the allen head turned until we get the correct reading on the camber gauge. In this case we are aiming for zero degrees.
We have now got zero bubble on the camber gauge. The allen key is firmly held so that it will not turn as I tighten the 19mm nut.
Step 8: Refit wheel and remove jack.
Repeat for other side.
Road rest showed about 30% reduction in the effort required to turn the wheel. Also the violent re-centering force of the steering after taking a U-turn is now normal.