Since taking all the seats in the house all at the same time would have definitely caused by better half to go ballistic, I took the seats one by one into the house, completed them and used to spare bedroom to hold them till the car was ready to accept them.
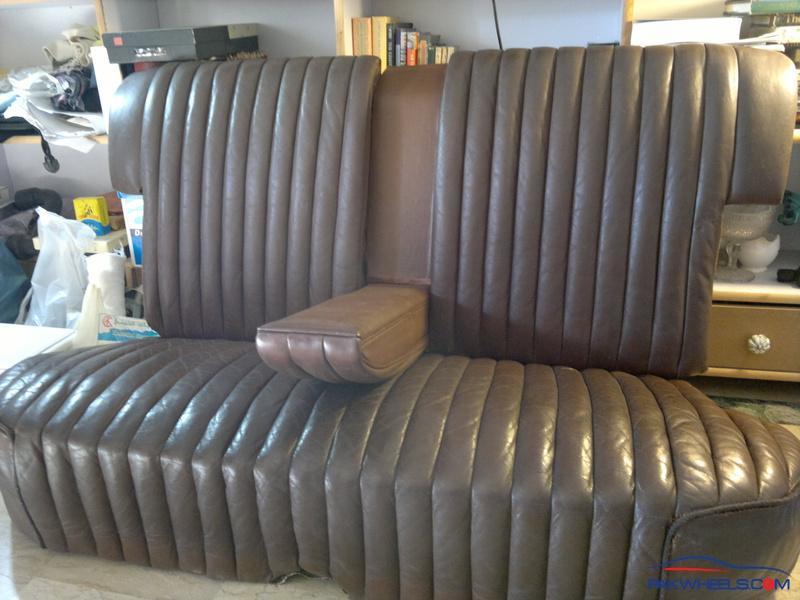
Work was started on the rear seat as it was in the best condition from the rest. Problems with the seat were failing stitching (that is 65 year old thread - hell, I am 52 and some of my stitching is coming apart:) ), moderately weak leather and of course dirt and cracks. One other thing I have to bring to the notice of fellow Pakwheelers is that this car has a rollup curtain mounded on the rear seat back. This was a common feature in cars of the day. Basically, the driver can pull on a string that raises a curtain for the rear screen. This blind too will be needing refurbishment as the cloth of the curtain is stained and insect eaten.

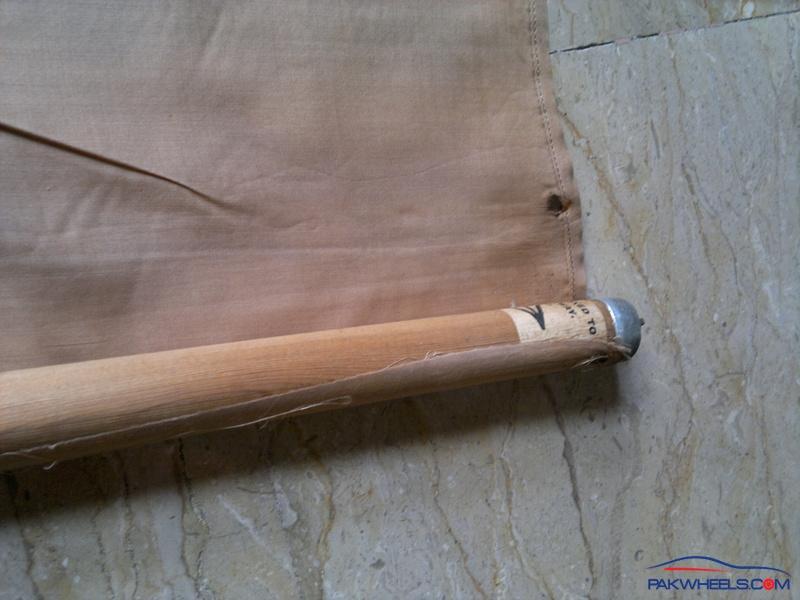
This is the back of the rear seat showing the rear blind. I removed the old cloth and replaced it with a new one.
Here are the pictures of the rear seat:
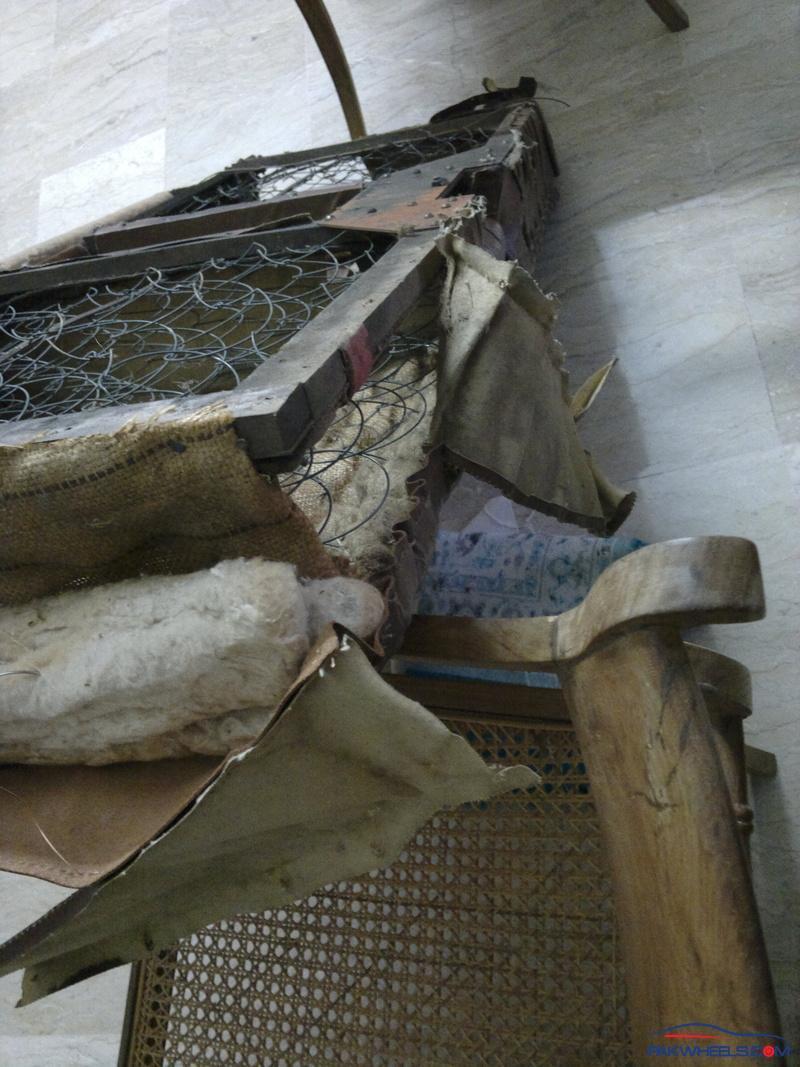
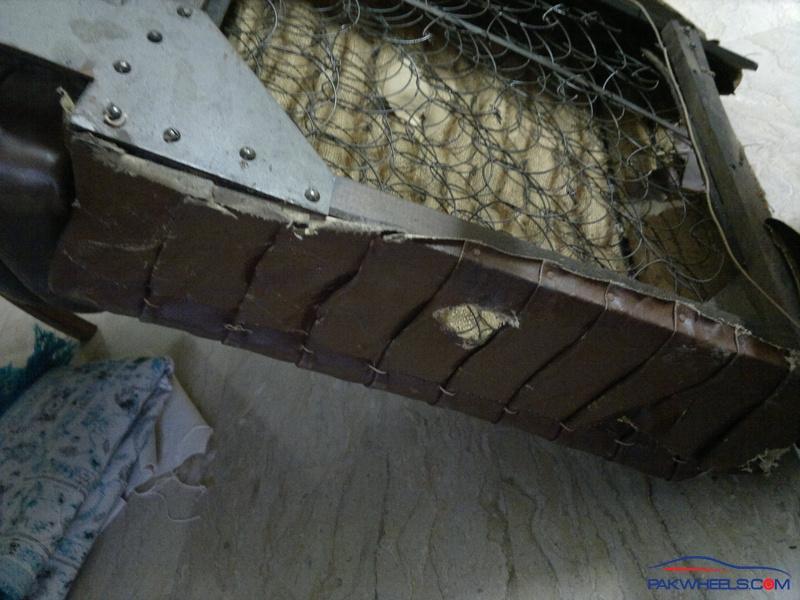

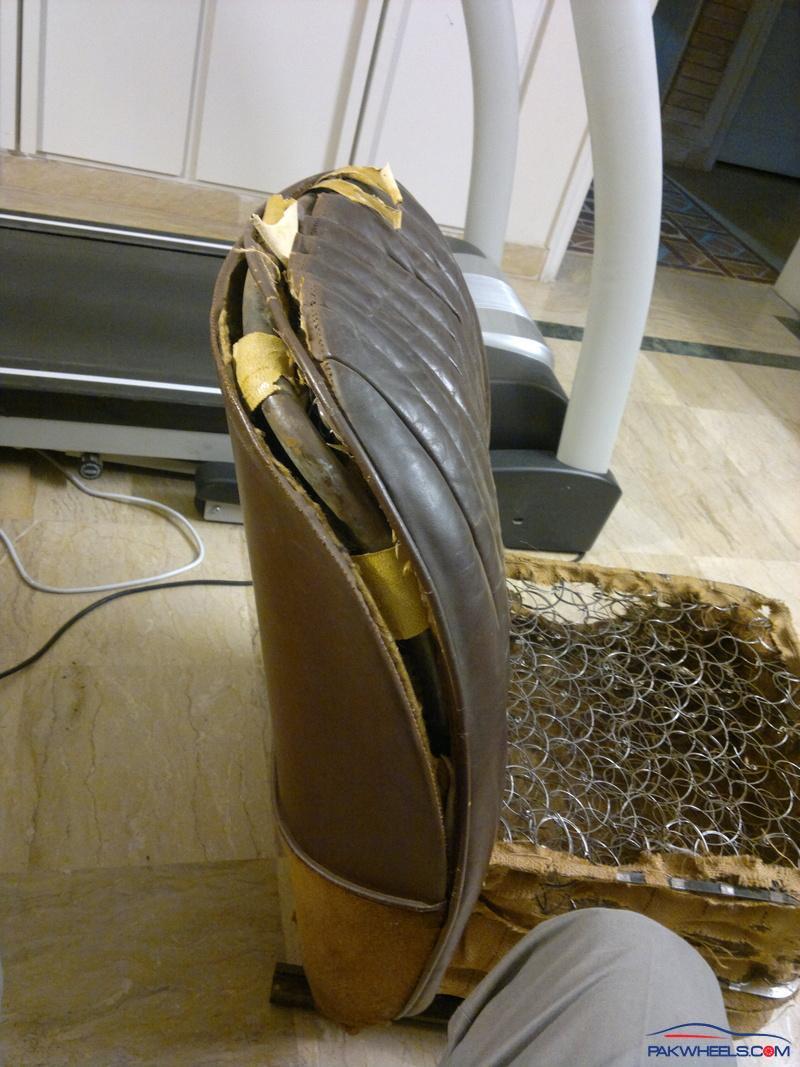
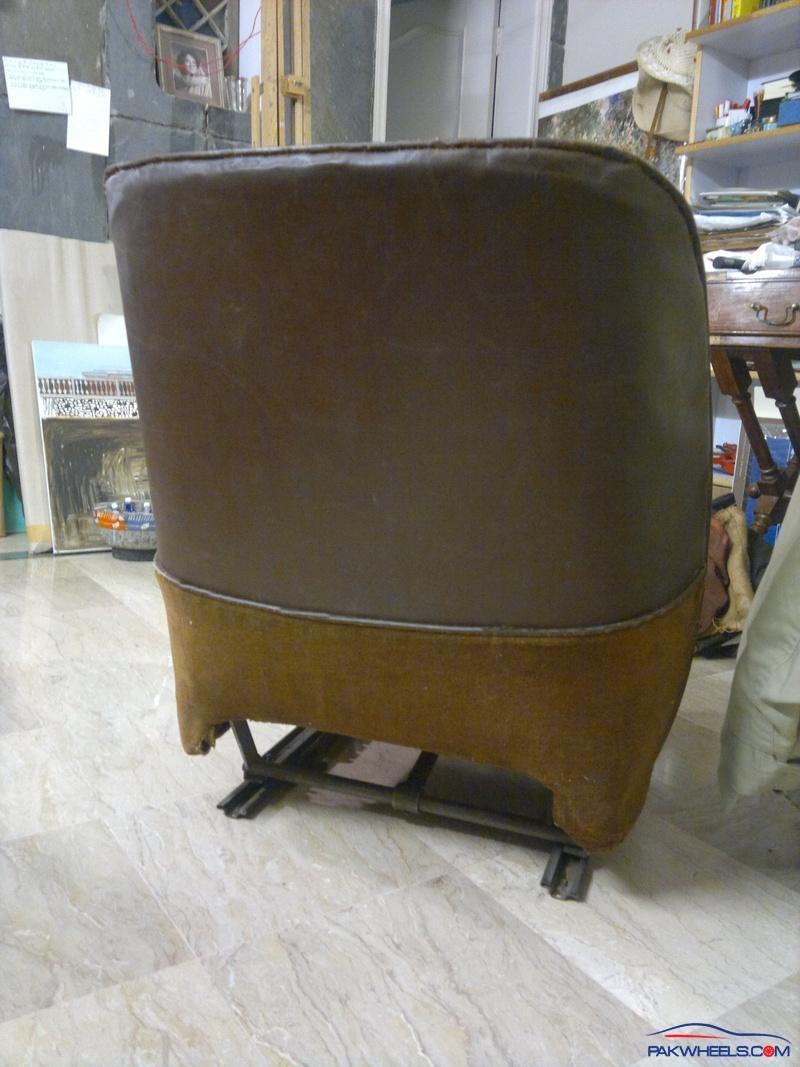
more pictures of the seat back. Note the nails used to fix the leater to the wooden frame.
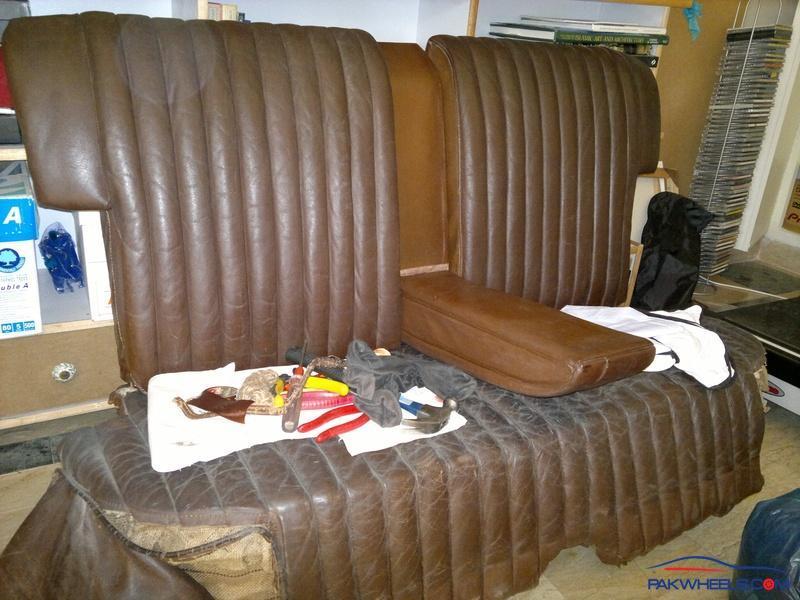
Here the seat back cushion is ready. Compare it to the set bottom cushion.
The completed item. The final leather paint will be applied when the seat is fitted inside the car.
The repair procedure I followed was as follows:
First thing to be done was to remove the leather off the wooden frame and restore the failing stitching. As I did not have a heavy duty stitching machine I had to engage the services of a "poshish walla". I took all the bits that needed re-stitching and had the necessary work done. Then the leather was fixed back on the wooden frame. During this removal/re-fixing the amount of dust and dead insect bodies that came out was a sight to behold.
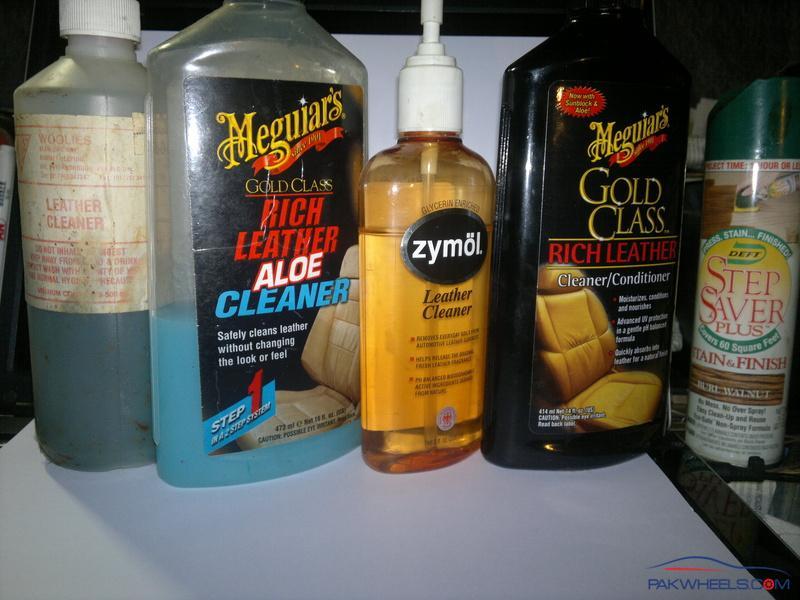
Once the leather was fitted back, the leather went through a series of treatments. First was the cleaning. Water is never ever used to clean leather. The right thing to do is the use the cleaners I showed earlier. The cleaner was applied three to four times to get the leather clean enough to accept the conditioning cream. That's the bottle on the extreme right in the picture below.
The front seats also basically went through the same sequence of work as the rear one with one additional job. On the front seats the leather in the seat sides was badly torn. I was determined not to use any leatherette on these seats anywhere; at least, not there it could be seen. The solution I came up with was to take a piece of leatherette almost the same color as the leather and glue all the torn bits of leather onto the leatherette like a jigsaw puzzle making sure that the tears married up with each other to the point of being barely noticeable. The repaired section of the leather was cleaned and then a rough emery paper was used to rough up the leather followed by a finer one to level it down followed by leather paint. The final look is not factory fresh but carries a but of patina and I still have the factory leather on my seats.
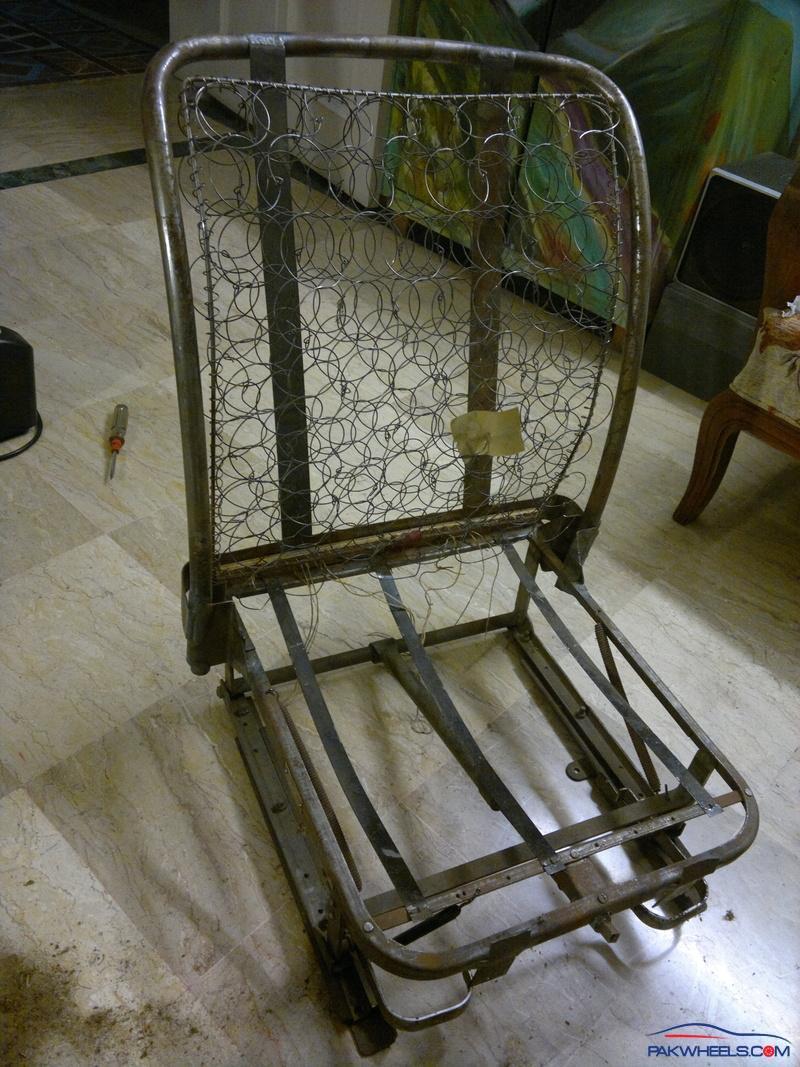
Here are a series of pictures showing the driver's seat going through its repair.
As the seat looked at the begining of the job.
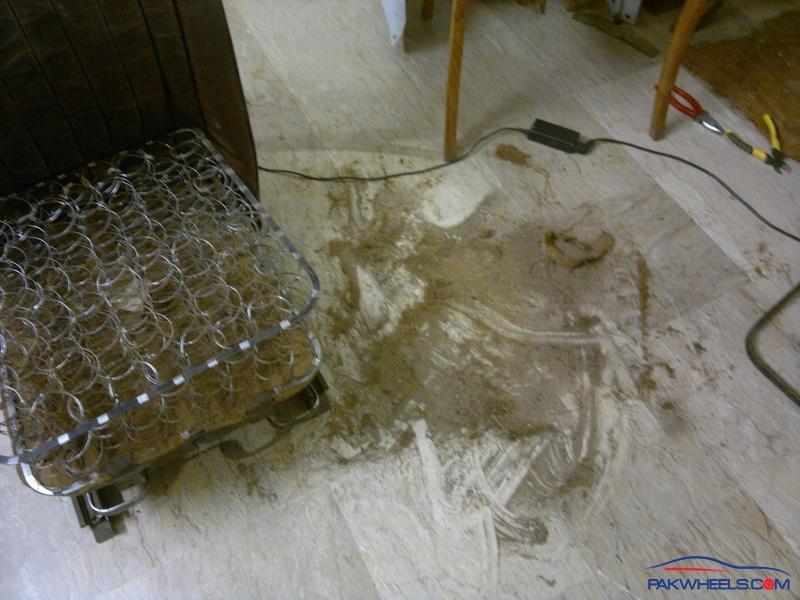
The dust on the floor are dead insects
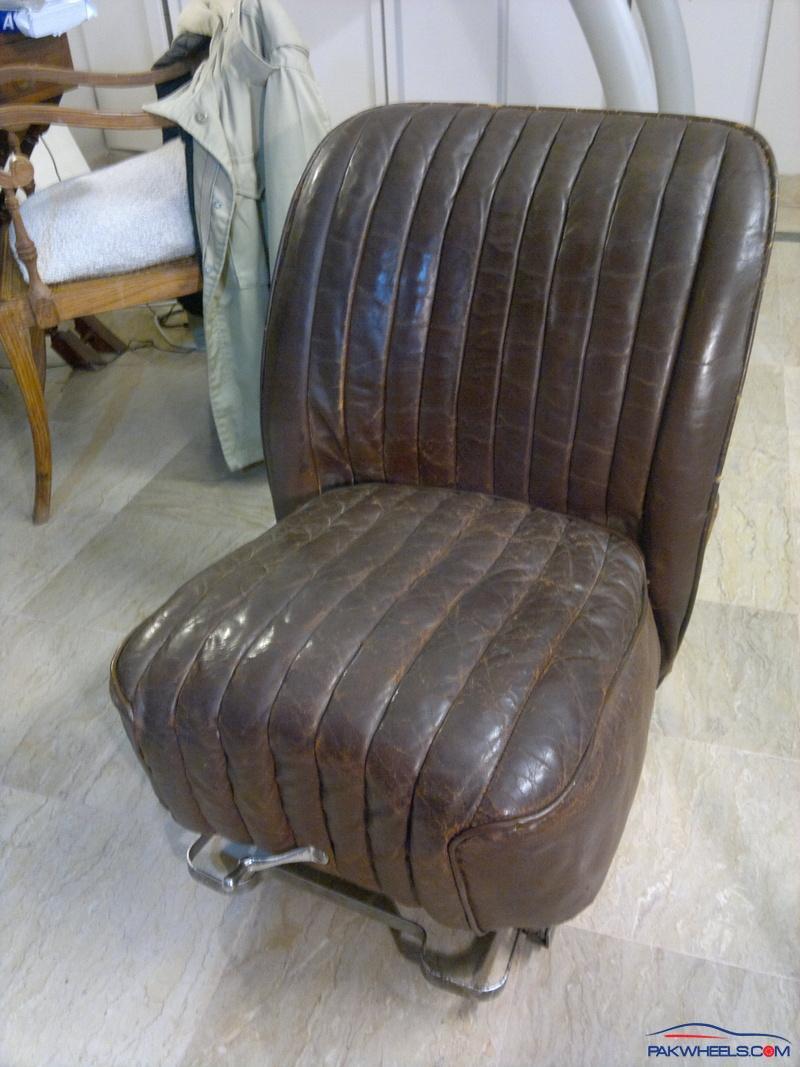
And the front seats are ready to go in. The final finish of leather paint remains. Seats will go in after the carpet job.


