sexy
Fantastic bro. Do you have proper training in this?
Thanks alot all. Good to see you guys appreciating it. Its the kind of stuff I crave for whenever there is some free time. Have been wrenching together with friends on our cars for a while now, the satisfaction it gives is unmatched.
Now this is a True Motor Spirit. Doing everything according to he Manuals and through proper Home Work with some touch of Basic Science for efficiency and accurate Results. Thumbs Up Brother for your effort and Glad that You made us all a part of it.Some of the Things are going above the Head still Your Narration Skills and Pictures are doing Justice and Enjoying the Thread like doing it live in front of my eyes. May ALLAH Shower HIs Blessings on all of us. Ameen
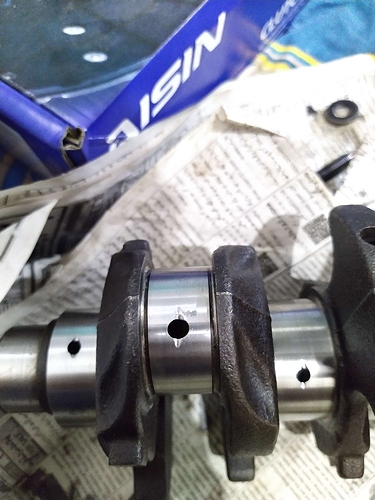
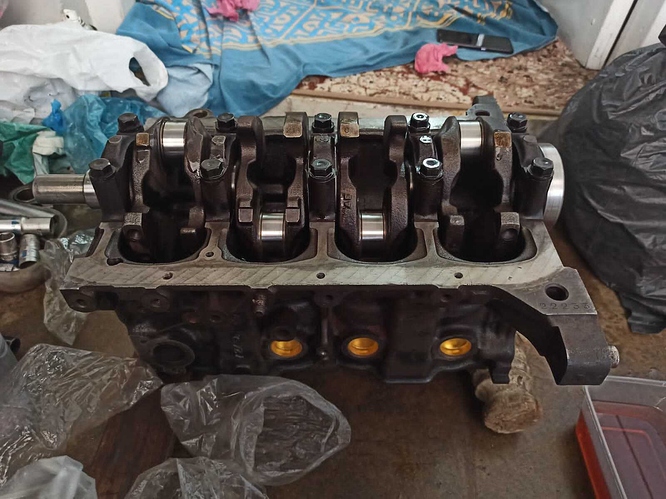
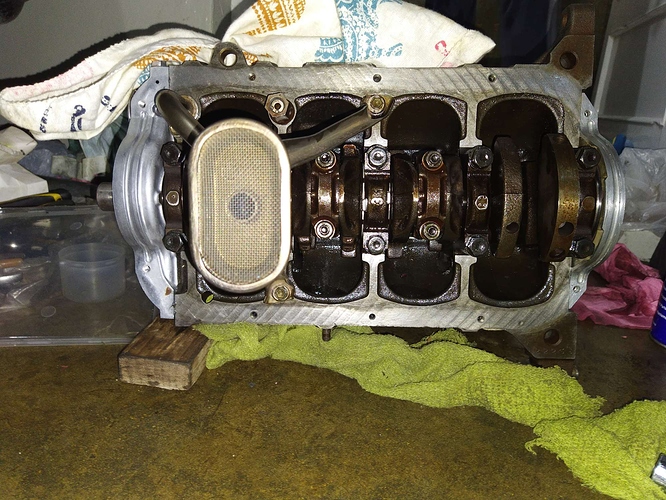
Regarding the crank shaft, it had taken fair share of beating. The bearings were not spun but worn out and had scoured the crank journals (aftermath of pathetic 20w50 aswell). Unfortunately dont have pictures of its state.The crank was salvageable and was ground down to next size.
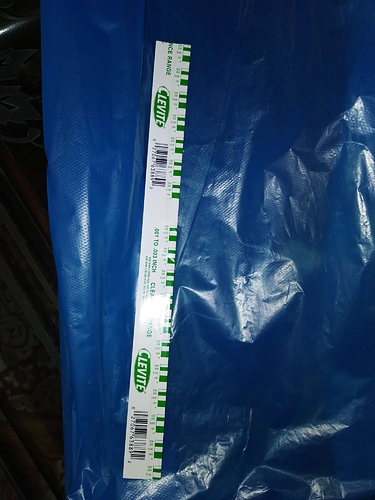
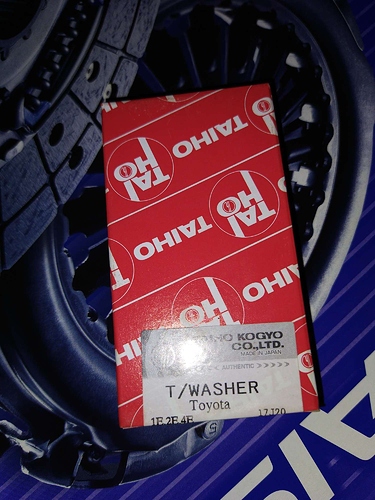
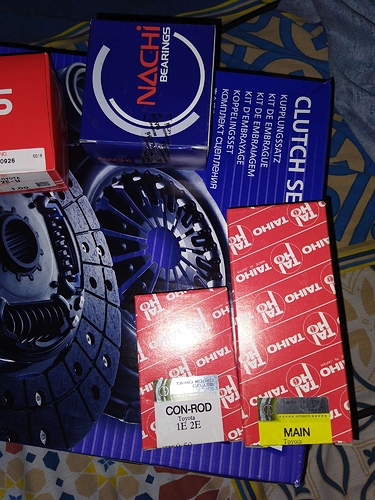
After grinding the imperfections away, the next possible bearing size was 0.50 undersize. Thrust washers were 125 undersize. Taiho brand Japanese bearings were used, beware, there are multiple fakes available of this brand. Once the crank was back from the grinding job, the bearing clearances were reverified with plastiguage:
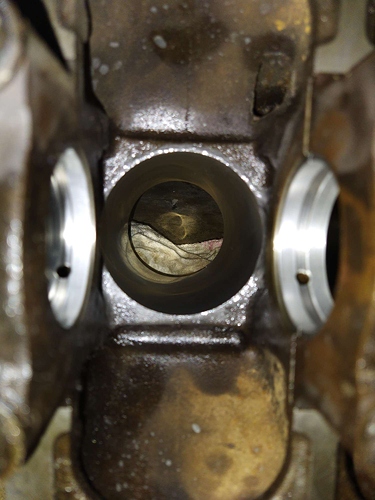
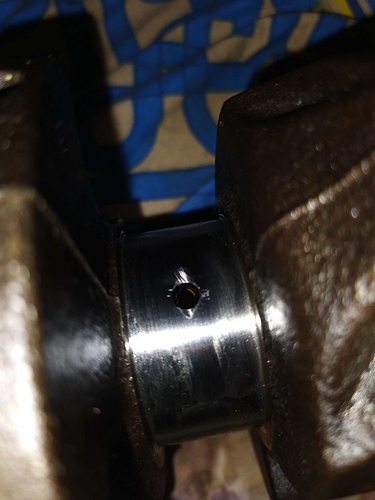
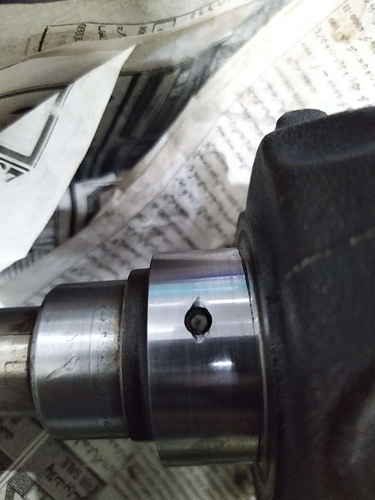
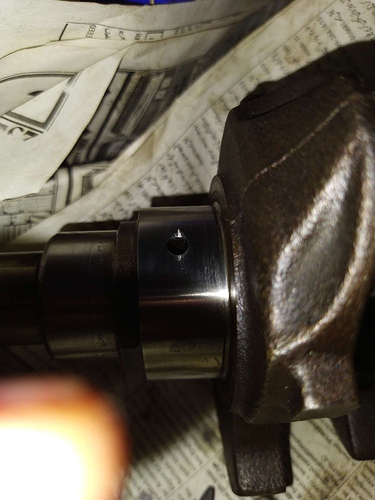
The oil holes on the crank were not chamfered after the grinding job. I used hardened diegrinder to chamfer the holes. While at it, made relief cuts along the holes. Notice the length of cut is longer in the direction of rotation. This directs and helps in the oil flow. Although not a race motor but I think it will do good with this small modification.This process is risky, if the grinder bit walks on the journal (will easily trash the crank). We put tin strips at each side of the hole to avoid it. You can see in the pictures that there is scouring on the journal besides one of the holes, its when the strip flew off. Luckily the damage wasnt serious and was within the oil channel of bearing. After grinding, deburred the edges with a thin file and some sand paper.
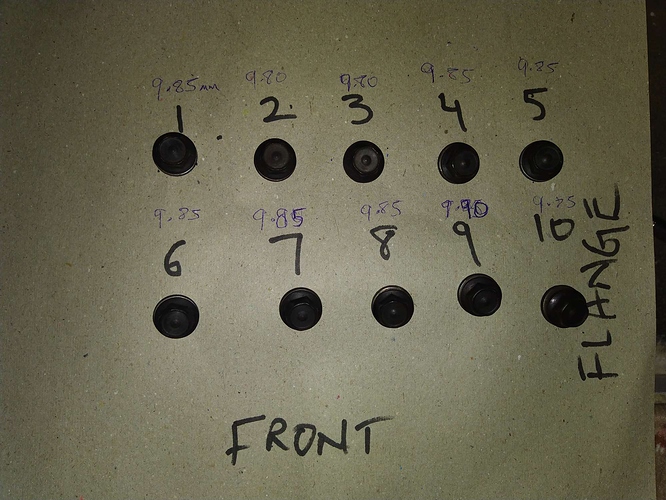
The head bolts that came out were crusty. The threads in block had rust and scale build up on them and were binding up on the bolts. These are non TTY type bolts. Searched for new genuine headbolts, none were found. Some shop behind plaza was selling used headbolts for a fortune (utterly dumb business). Whereever I asked for the bolts, the shopkeepers were clueless as if this was some alien stuff.The junkyard head I bought came with its bolts. The threads of these bolts was luckily in good condition. I measured the length of the bolts and found them within specification. Also made a thread chaser with old bolt by cutting slits in it. All threads on the block and head were chased and cleaned prior to assembly.Tested the headbolts in each thread and checked for binding (and the remaining height for clamping). Each bolt was numbered according to the hole it was verified in.Middle old bolt condition:
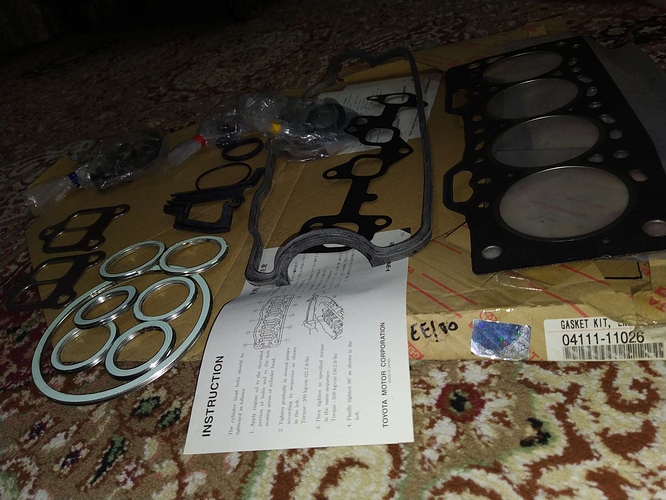
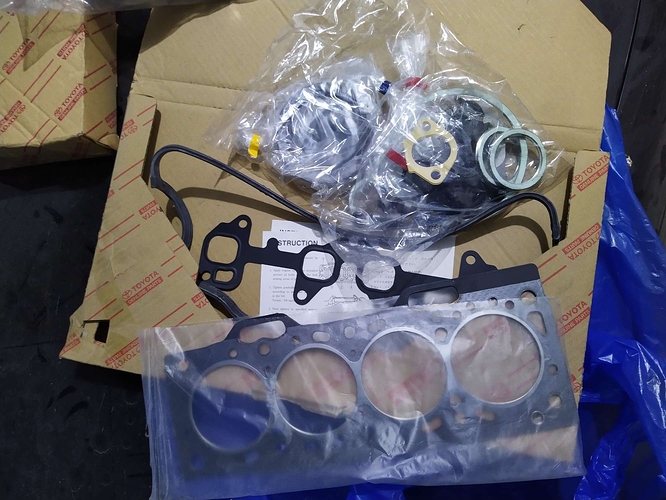
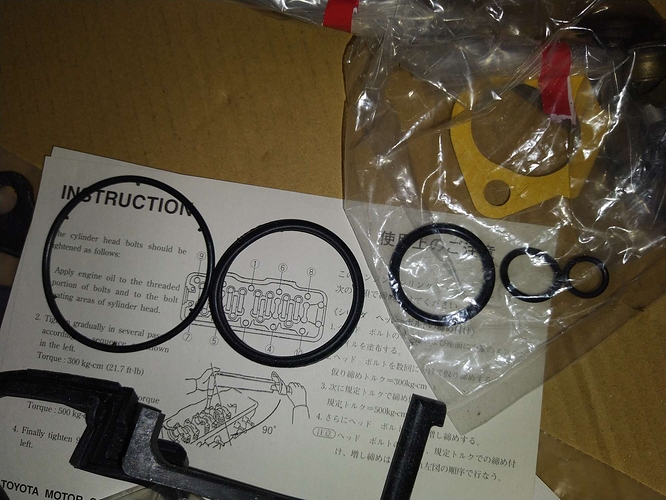
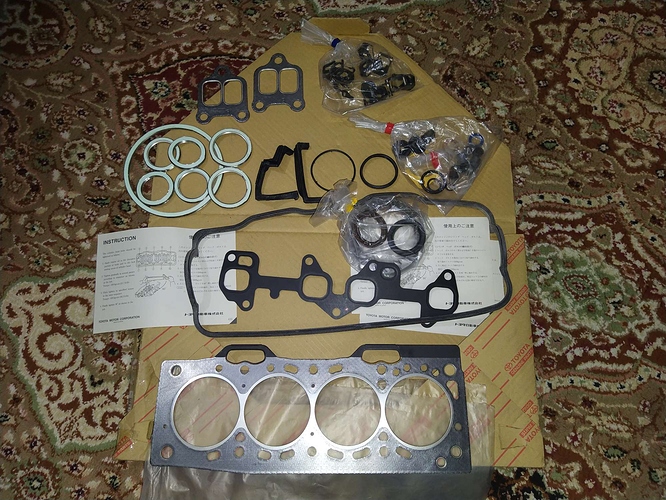
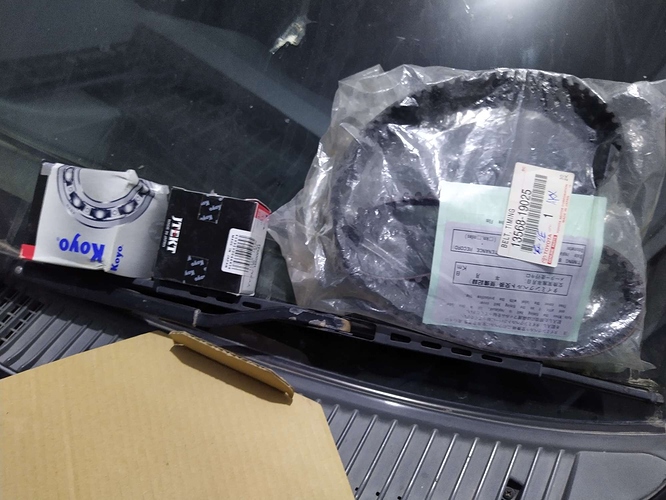
I wanted to find genuine parts for this engine but it was proving futile. However, was able to get my hands on following new genuine stuff:1- Toyota genuine rebuild gasket kit (contains all seals for the engine, including genuine headgasket of original thickness).2- Toyota Oil pump3- Toyota Timing belt.4- Toyota genuine PCV valve, grommet and hose
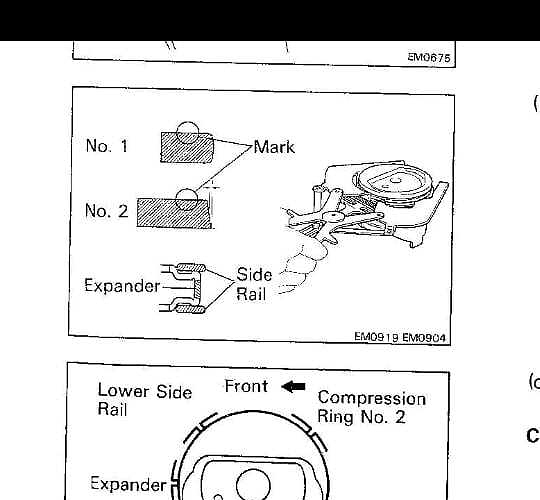
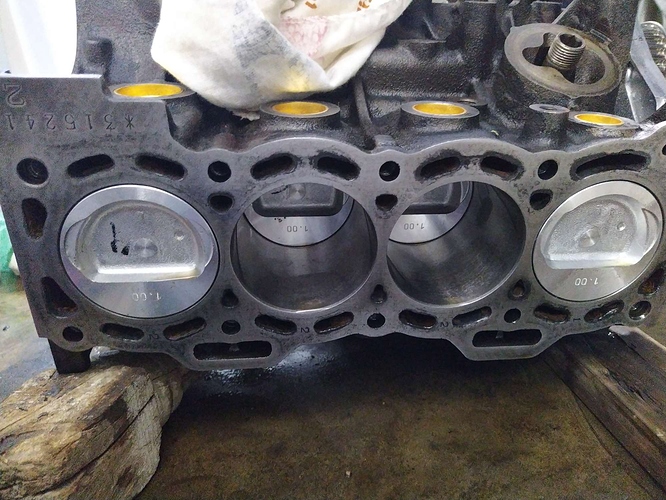
Once crank shaft and block were ready, the rings were put in the bore to verify the end gap. Finally rings were put on the pistons (gaps facing against each other according to the specification)
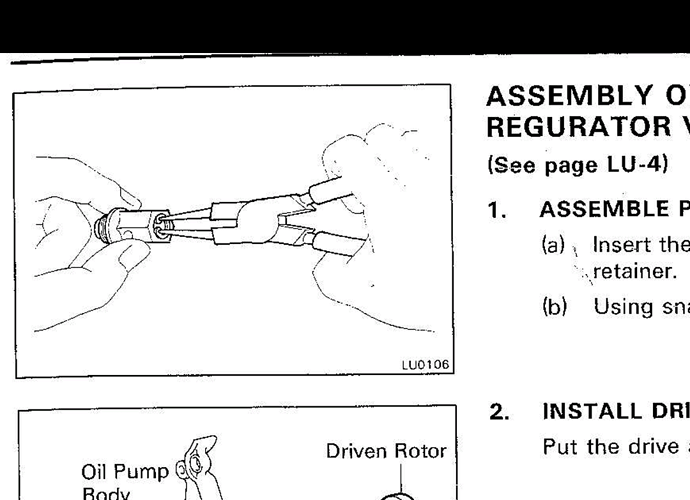
Btw, high pressure oil relief valve/regulator was also cleaned up, spring tension and piston sealing inspected and put back in with new orings. Couldnt find its pictures. Some of the pictures are lost as my friend's phone was donated forcefully on a streetside.
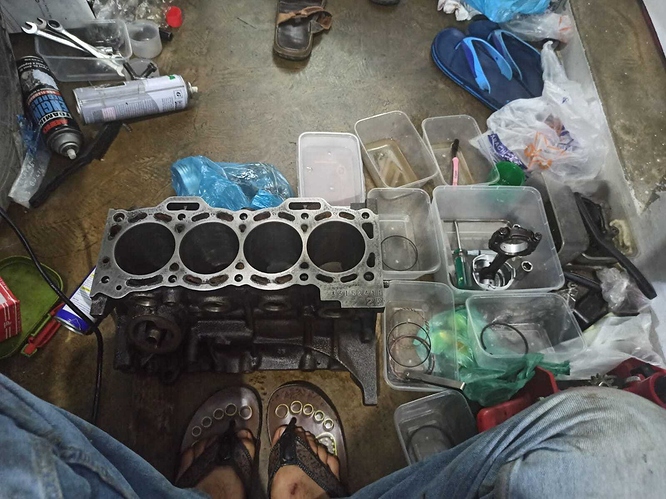
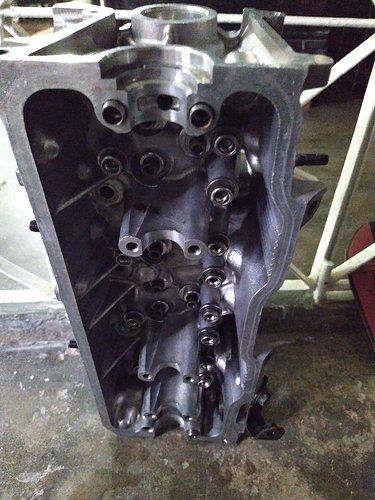
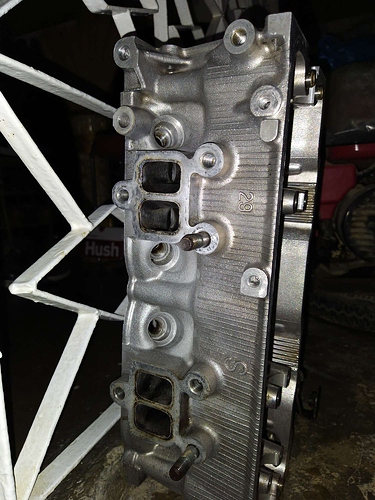
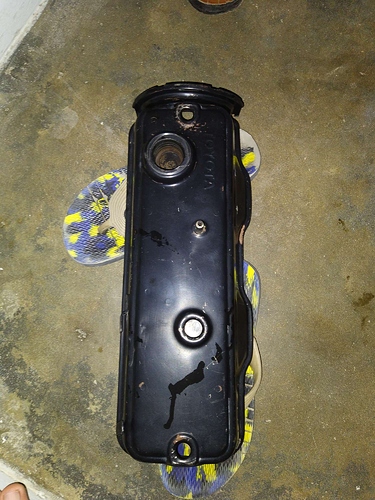
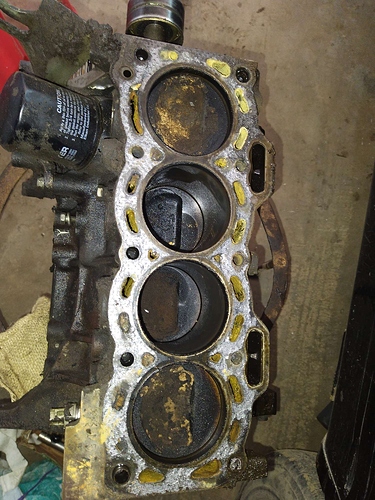
Once all measurements, gaps, clearances, flatness of surfaces etc were done, all was disassembled again for one last cleaning session and the assembly began. Here are few comparison pics after cleaning:Head and valve cover before:
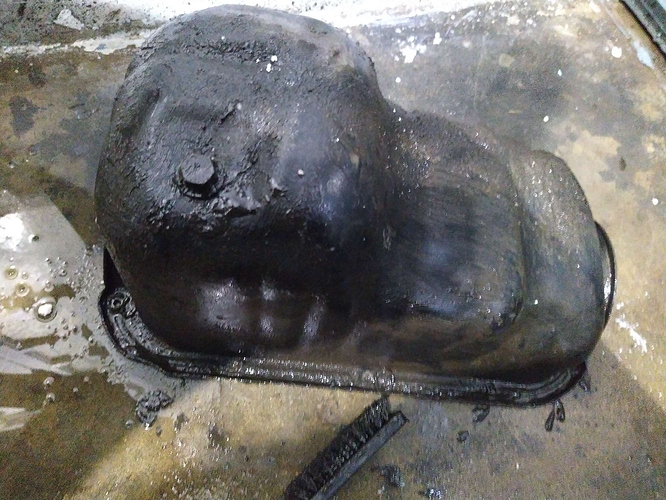
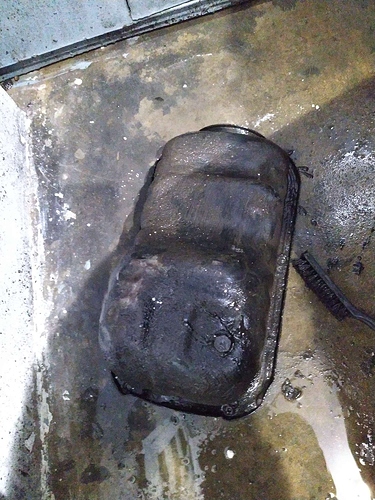
Block and oil pan before:
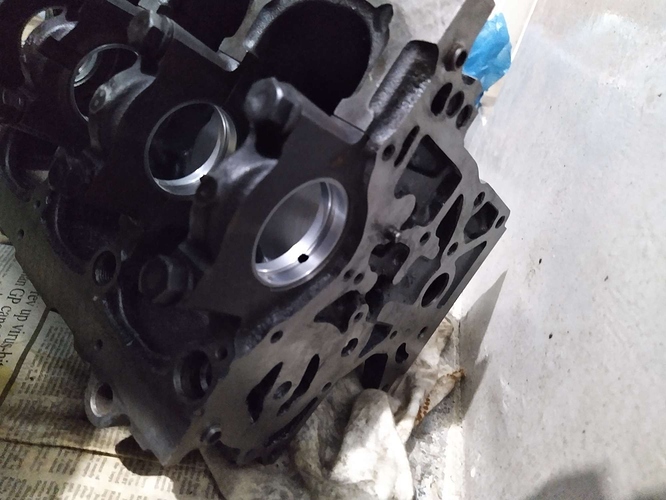
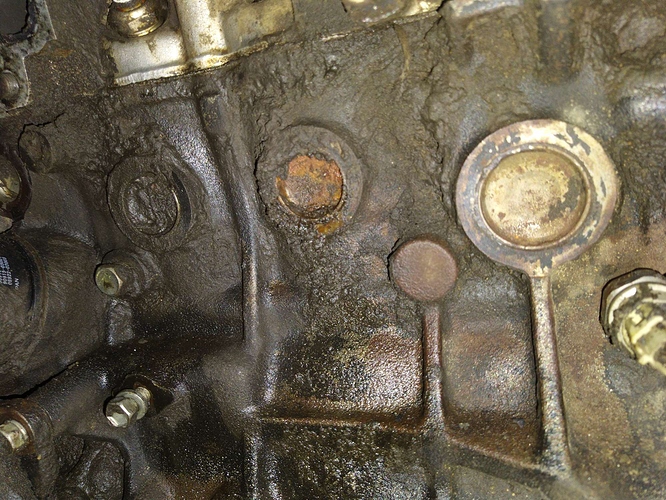
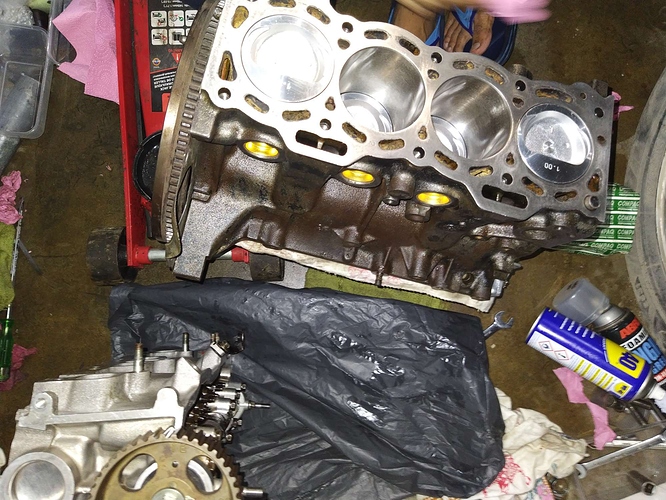
Block and oil pan after:
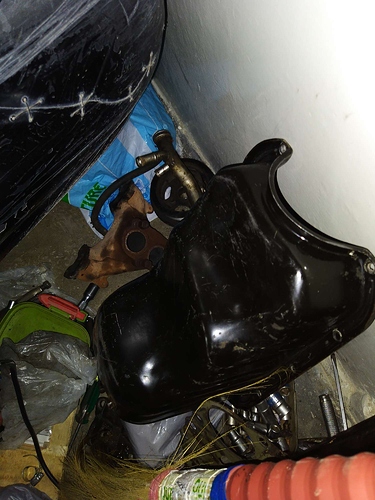
Pickup strainer before:
Pickup strainer after:
very nice DIY sir very well done.what is the fuel average of your vehicle before & after engine overhaul.
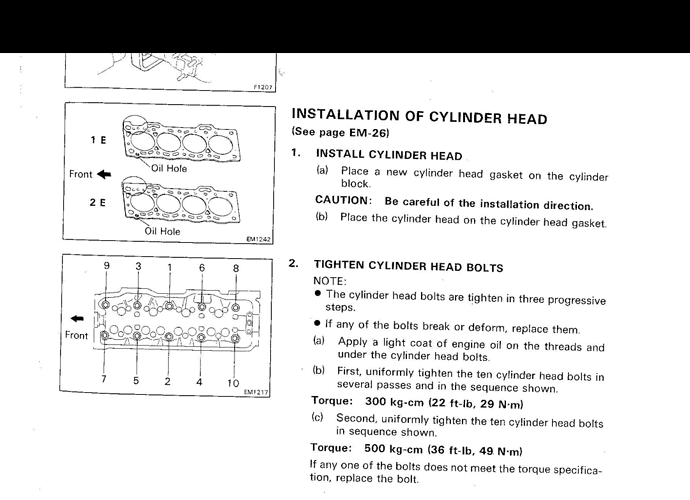
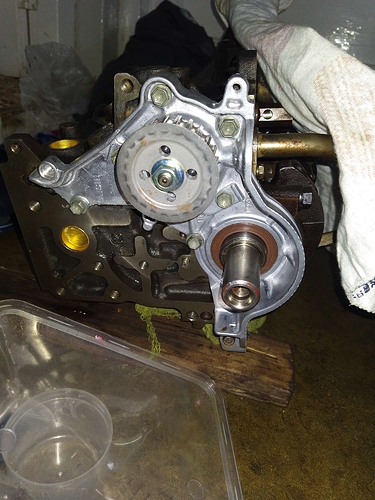
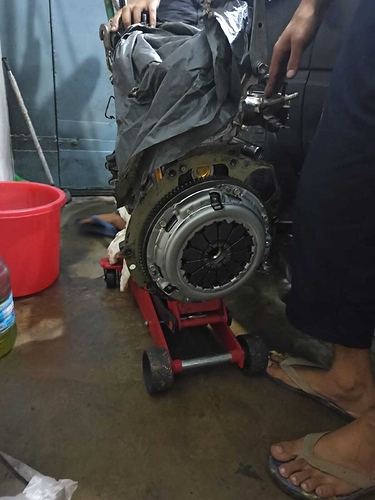
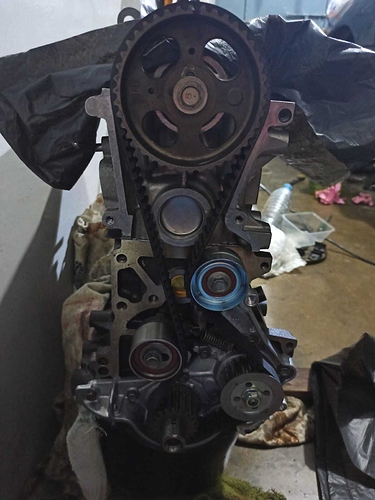
The Assembly:The block and the head were ready. The timing marks on crank and cam were roughly set to TDC. Head gasket was put on and the head was bolted on. The bolts were torqued in the specified sequence in multiple torquing passes.1st pass 10ft lb, 2nd 29 ft lb, 3rd 36 ft lb.After toquing, all bolts need additional 90 degree turn. As I dont have engine stand, this was done one the engine was in car. Rear Main seal housing was installed with thin bead of Permatex ultra black rtv and toqued after cure.The new genuine oil pump was then installed with Permatex ultra black rtv. The rtv is applied only below the oil pump body in the specified channed. The pump itself seals via O ring and no rtv should ever reach it.The oil pan was installed with permatex ultra black rtv. The set time is 1hr after which its bolts were torqued to 9 ft lb.The timing belt adjuster pulleys were installed and finally the timing belt was put on.Fly wheel was installed and torqued. New (Aisin) Clutch plate and pressure plate were centered and installed.
Thank you. The mileage was not so good before the overhaul mainly because of bad tune. The carburetor was rebuilt and tuned prior to overhaul and tested for working beforehand. This way, you dont run into fueling issues on a fresh build. The carburetor sat petrol soaked in a sealed container during the rebuild process so that the seals and the plunger doesnt dry rot. After rebuild, its around ~10.5 to 11kmpl with AC in city with medium foot.
Great work. 2E lives on.
Never liked 2E had this engine in 3 or 4 cars only in 86 corolla it use to somehow work in all others it was painfully underpowered. Swapped 2 of these.
I have driven 86 corolla jdm version with genuine 2E TTC carburettor. It was low mileage car. Believe me it had quite good pick and fuel avg claimed by owner was 14-15km/l. After that never seen or driven one which was in so mint condition. If in proper tune 2E is not bad.
Toyota 2E is pretty stout, and as long as you can keep it in good tune you will get sick and tired of looking at it as it refuses to die even after 30 years of neglect.
Imagine how long it can work if kept properly.
I agree with u bro 2E is reliable but its underpowered machine specially with ac or when u have to chase mountains . Its good for city drive but not good for hilly areas.
in my ee-90 i still have stock 2E with 3 speed auto A132L. 6Km/Ltr is fuel avg in D & D1 between Mansehra & Balakot
11 over highways & express ways. since 157000 kms (present odo) it is running over 5W-30 after 2nd overhaul.
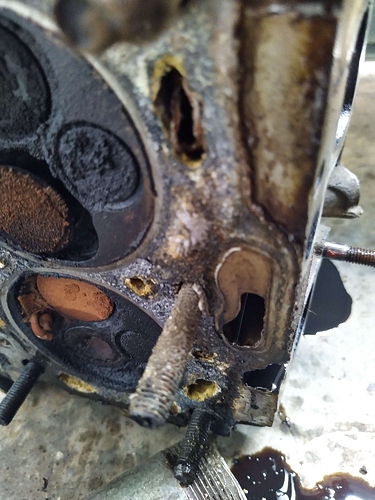
sir @ozztribune while you are occupied with us over PW do check out this thread. See the innovative approach in Pakistan by DIY guys to clean engine block & head using electrolysis process. even pro level machine shops does not do such stuff.