Cabin air filters have become almost a standard feature in most modern cars. A decade or so ago, they were only available in slightly expensive cars of the time, like Honda Civic or Toyota Corolla Altis. These filters got increasingly popular among the automaker after 2002. I have heard about people removing the filters because with the passage of time they get choked and reducing the air flow of the blower fan but also because owners are not interested in replacing yet another car part like other filters.
Also Read: DIY – Using The Tyre Repair Kit To Fix A Tyre Puncture
But these cabin air filters are getting more and more necessary nowadays so removing them completely is not advised. Basically, cabin filter does what other filters in your car do. It prevents harmful debris and excessive dirt from entering your car’s cabin. The engine air filter does the same. It prevents external harmful particles from entering your car’s engine. The cabin air filter basically prevents dust, pollen, dirt and other pollutants from entering your car through your A/C and heat vents. It sits outside of the engine area and filters the air that comes from the outside and into the AC system.
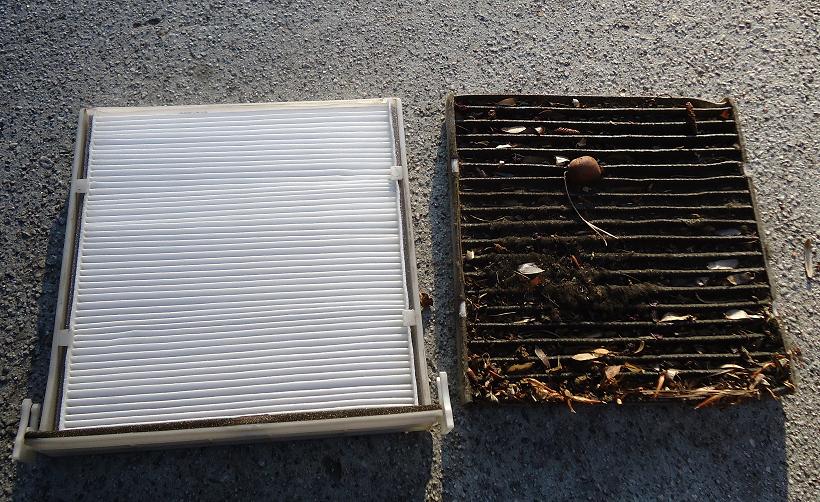
With the passage of time, the pores in the filtering material started to clog. And clogged filter means air is not getting its way through. It will reduce the efficiency of your car’s A/C. Also, it prevents foul smells entering the system. So to make sure your interior doesn’t start to stink like diesel smoke after driving behind buses and trucks all the time, inspect your car’s cabin filter routinely and change it if required.
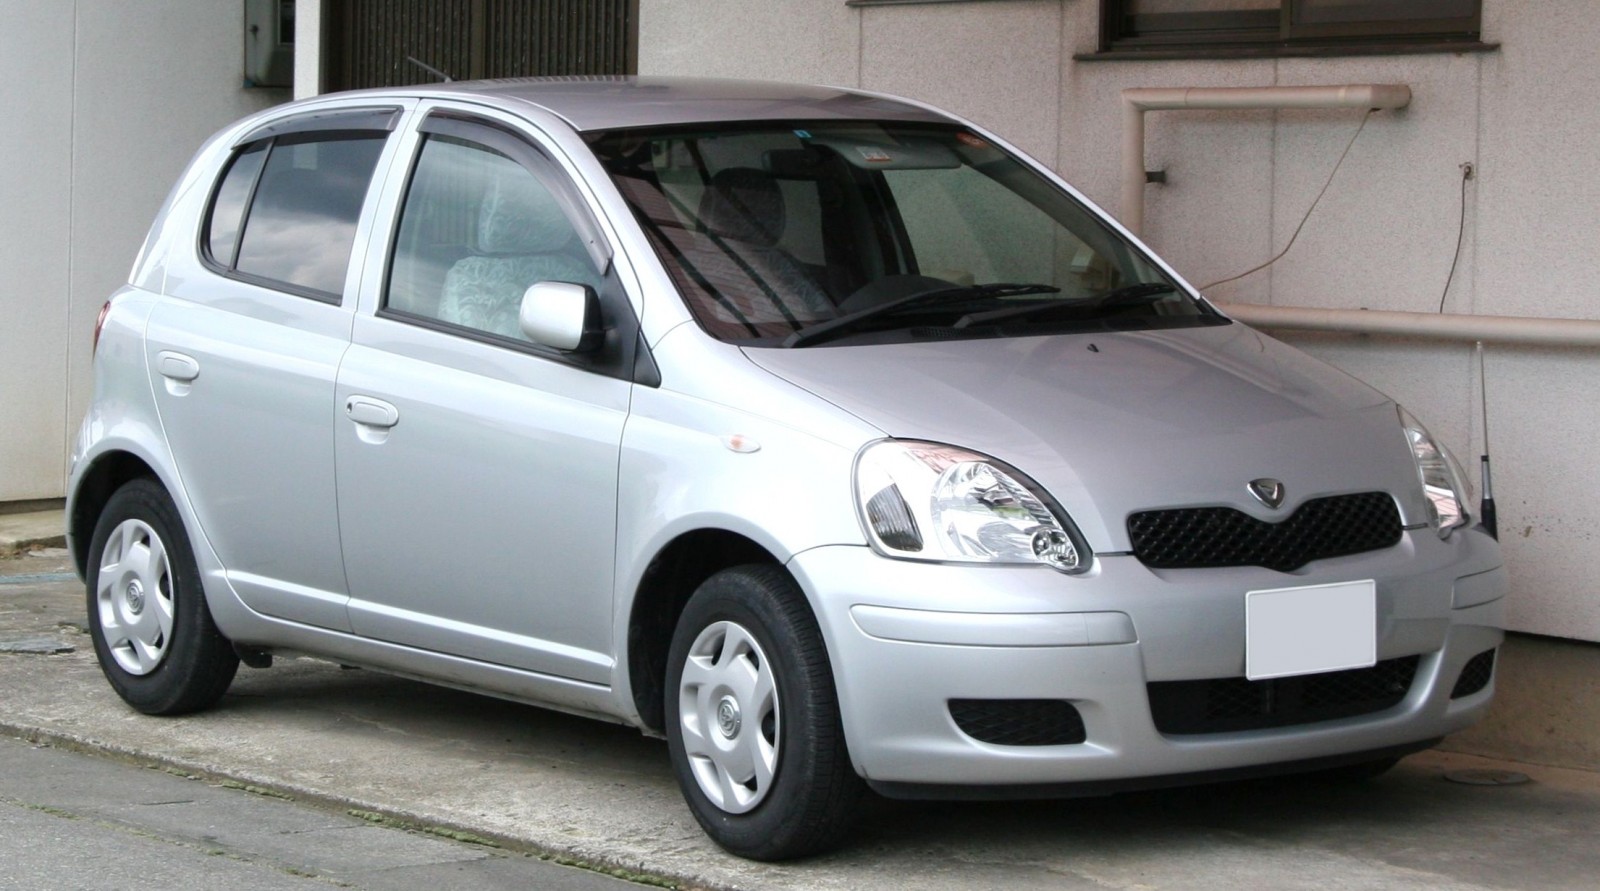
For today’s Do It Yourself post, we will be taking a look at the procedure to change the cabin air filter of a 2000 Toyota Vitz. The car in the photo belongs to a longtime PakWheels member Storm@PakWheels, and he did quite a nice job explain the method with relevant photos. You can visit his thread here!
The cabin filter is located behind the dashboard, and you can access it through the glove compartment.
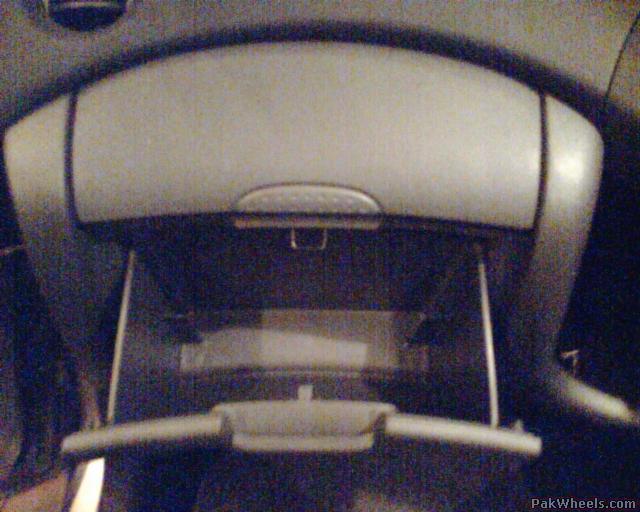
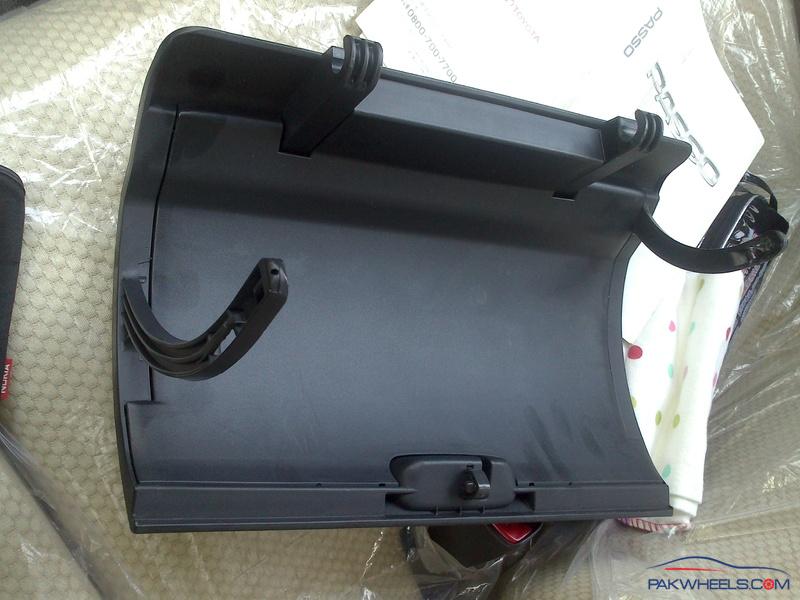
Push the sides in to release the tabs holding the glove compartment lid in its open position.

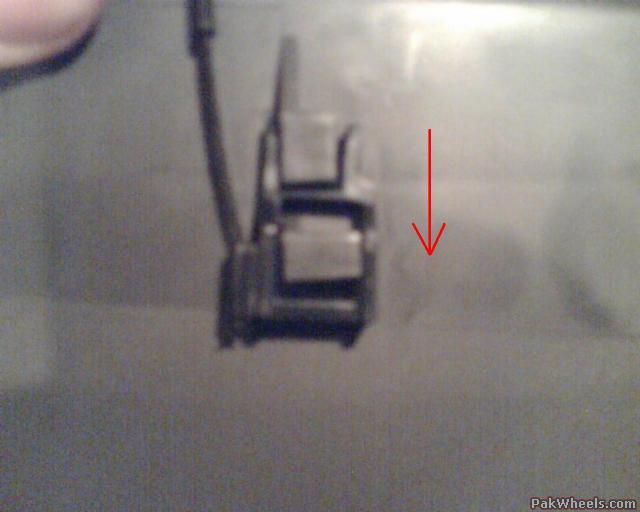
When done, pull the glove box towards you to release the hooks holding the base of the glove box to the dashboard. In some models, there is a string attached to the glove compartment lid. Push the black part down and release it from the glove box as well.
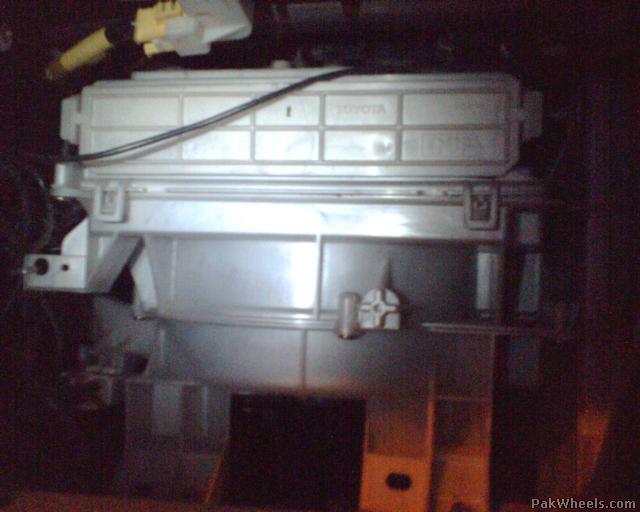
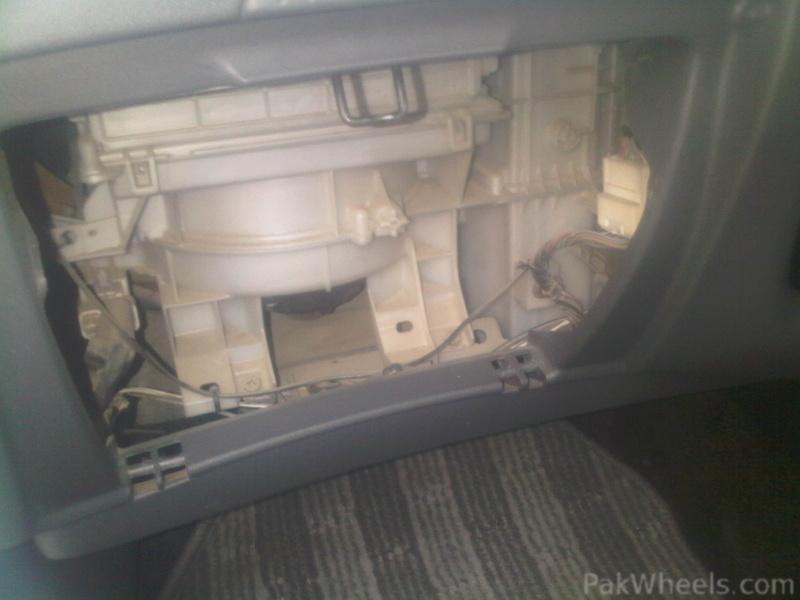
Look into the cavity left by the glove box and you’ll see the blower housing for the air conditioner and heater.
The top part of the housing contains the filter, simply pull it out and you’ll have the filter (with frame) in your hands.

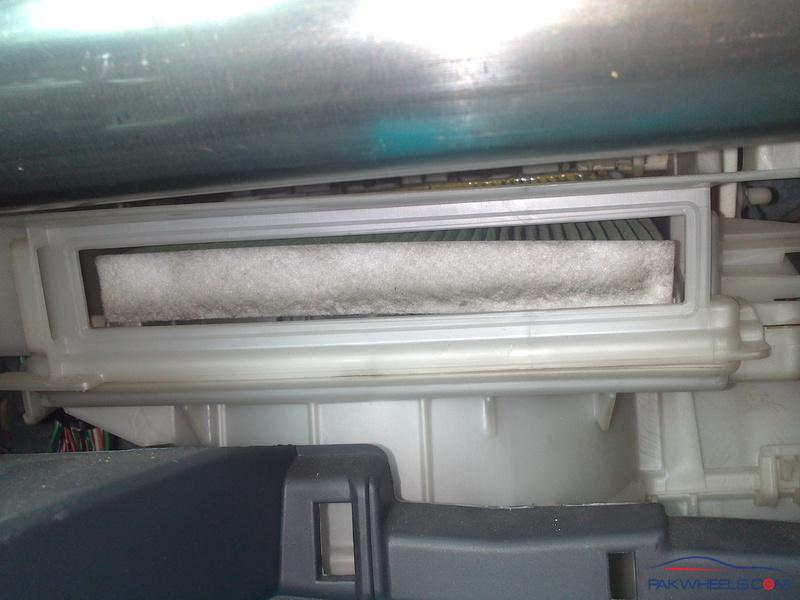
And here is filter along with the filter frame.
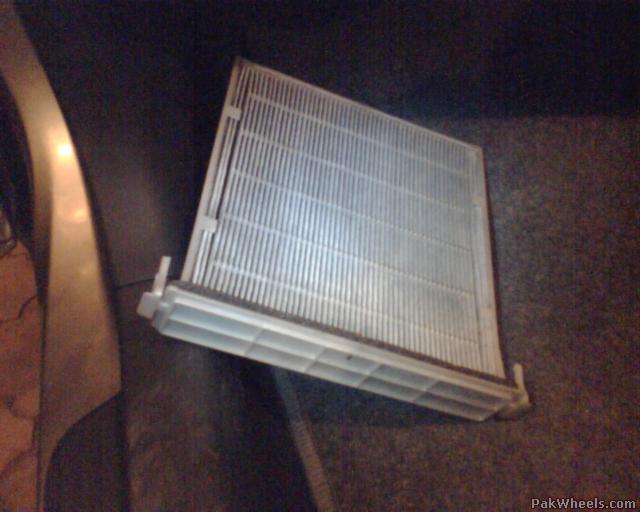

Now either you can simply replace it, or if the existing filter is salvageable, clean it up with a hoover or pressurized air, and install it back in.
It’s fairly simple. And won’t take more than 20 minutes. Most Japanese cars have easily accessible filter, and you can change/inspect them easily. So take some time out of your Sunday and have a go at this simple DIY.