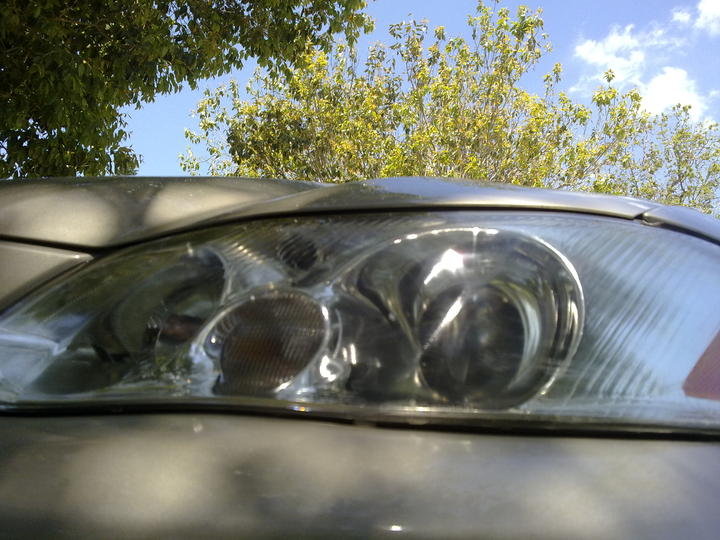
Cleaning your headlamps
Note: The entire process; making the decision to not be waila and cleaning my headlamps, and going to the store to get the kit, to the finish; when I started typing the word “Note-“, took 50 minutes.
The pack I got was for $22.99. It seemed simple and well cheaper than @haider99’s solution. Plus all the materials were used up and there was no excess, so that was good.
Plastic lenses can only be treated 1-2 times and then they will become weak.
Before I begin, here’s my projector cutoff the night before. I wanted to see if cleaning the headlamps would improve it.
Starting with the project.
Head lights before starting:
Step 1:
Use a spray bottle or a paper towel to wet the headlight and sand paper. This was 1000 grit. Wet sand for 3 minutes. Keep spraying the headlight so that the area remains wet while sanding.
Wipe off the residue completely with a paper towel:
Step 2:
Using 2500 grit sand paper, wet sand the headlight again:

Then wipe off with a paper towel (Pics are of the right headlight. I forgot to take pictures of the left because I was trying not to screw up):
Step 3:
The kit came with a “CV-1” and “CV-2” pack, a micro-abrasive plus plastic polish, nothing special.

It also came with a microfiber sort of cloth to wipe the solutions with.
- I put the CV-1 solution on first.
- Use the other side of the cloth to take the solution off.
Then,
- CV-2 solution goes on. It’s viscous like water, so it soaks into the applicator.
- Just put it on like a coat of paint.
- Wait for it to dry, then the second coat of the same CV-2 goes on.
Here’s the result for the left side:
Here’s the cutoff after cleaning:
The cutoff hasn’t improved dramatically, but the visibility is amazing on low and high ranges.


