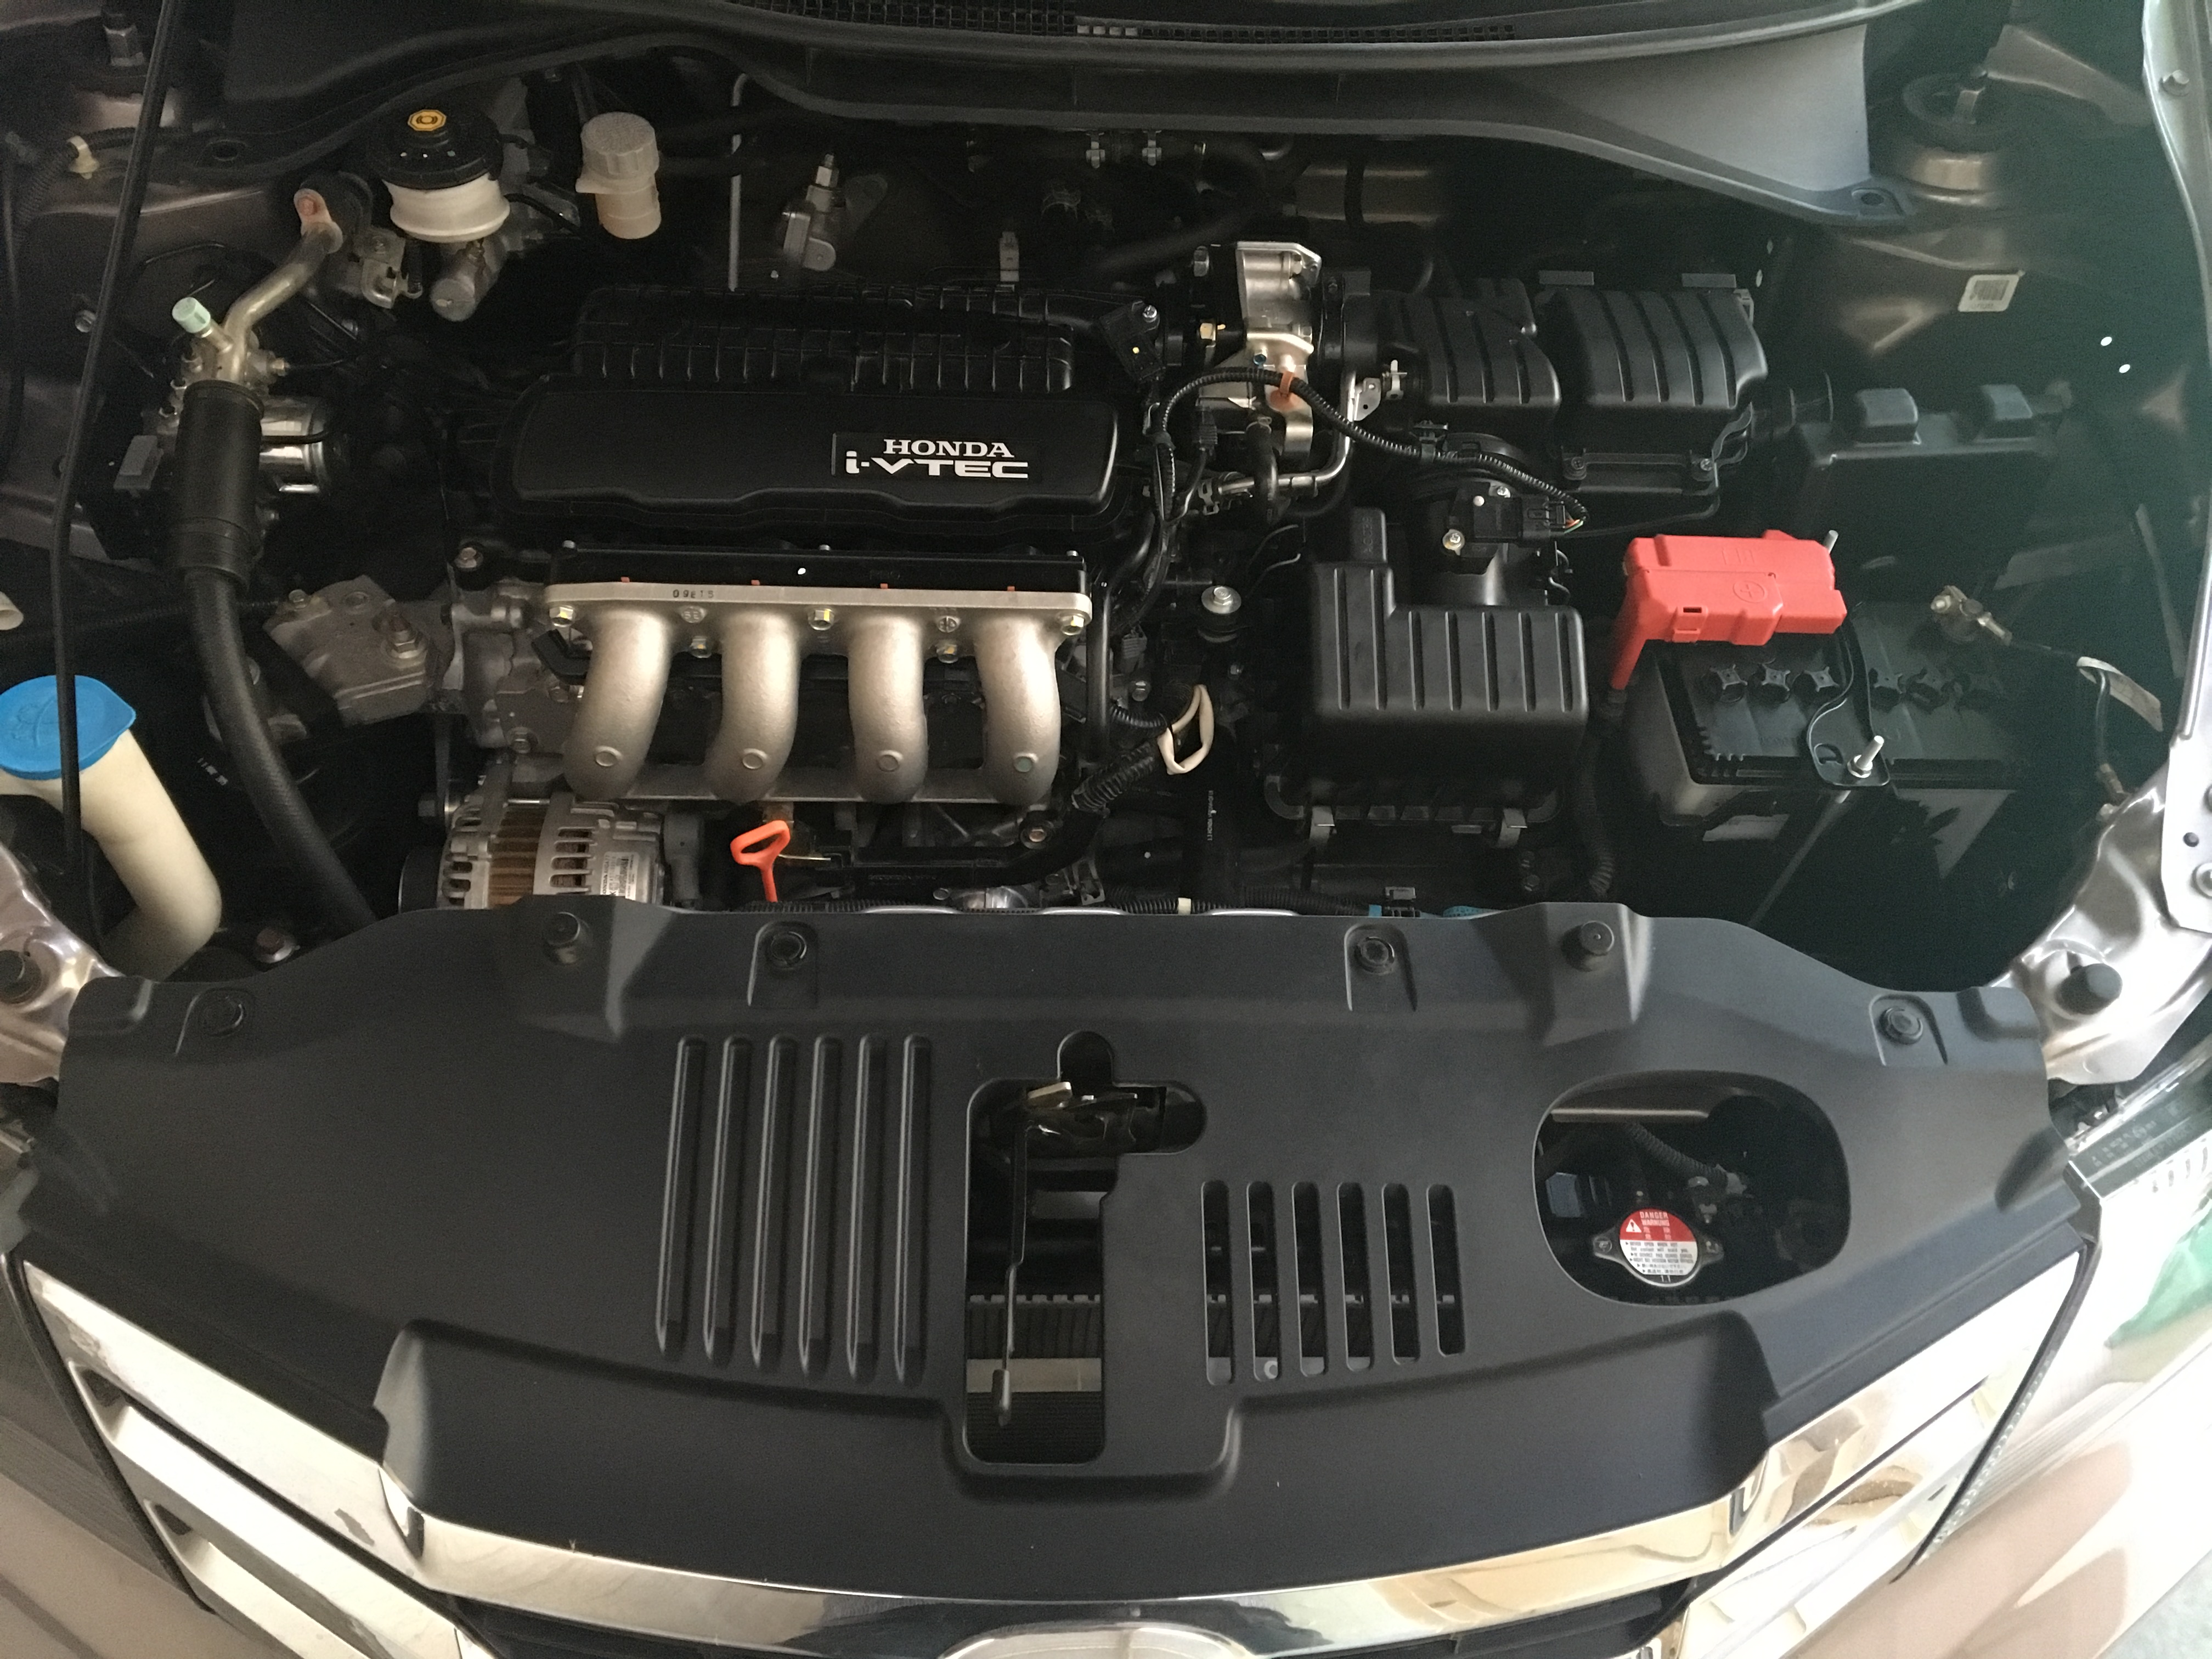
A clean engine compartment makes a used car look new. What’s under the hood it matters a lot. Many of us neglect this part, and many are afraid of cleaning this component with water despite wanting to keep it neat and clean! In this article, I will guide you about how you may clean your car’s engine bay like a pro.
‘Detailing’ has advanced a lot regarding both, techniques and materials. There are some options available in this particular genre:
- Glass Coating
- Paint Sealants
- Interior Detailing
- Engine Bay Detailing
In modern cars, every other component is computerized. There are some sensors which are responsible for a smooth engine operation. These sensors are water resistant, but we won’t take a chance on them. We will first prepare Engine Bay for cleaning; then we will move forward to our next step, which is cleaning and detailing.
With the passage of time, dust, grease, and grime may accumulate on the engine bay. If it primary regularly, this dust can cause the engine to heat up.
Now let’s move to the next part, let’s align the products that are required for this activity. Although these products are readily available in the market yet you can choose any of your choices:
- Sonax Cold Engine Degreaser (Made In Germany)
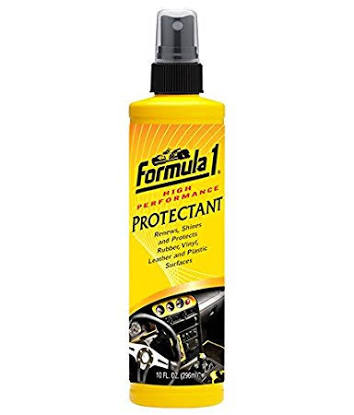
- Formula 1 Liquid Polish for Plastics
- Water Hose with Medium pressure
- Some Good Quality Towels
- Any Brush Having Not Too Hard Bristles
- Aluminium Foil
- Masking Tape
- Plastic Bags (Shopper)
Sequence Of Activity:
- Sealing of primary sensors and their electrical plugs
- Sealing of air inlet duct
- Removal of loose dirt with water
- Application of degreaser
- Rinsing with water
- Drying of engine bay
- Polishing of plastic trims and rubber components
Before starting this activity, please make sure that the engine is completely cold. ‘Don’t perform this activity when the Engine is Hot!’
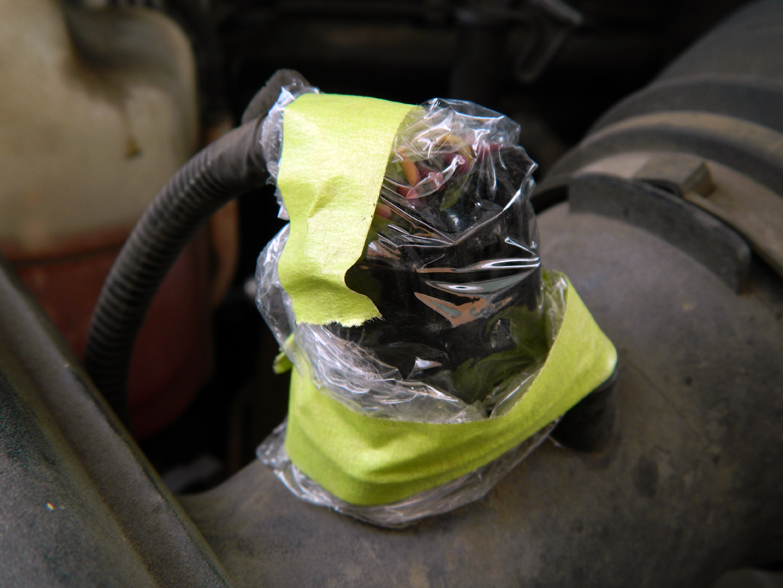
Sealing Of Components – Seal main sensors like air sensors at downstream of air filter, at air filter assembly, etc. You can cover sensors with Aluminium foil as well. Aluminum foil works well for water resistance. Our purpose is to protect from water; not to seal it off. Make sure to seal all visible electrical plugs including spark plugs cables as well or their connectors.
Sealing of Air Inlet Duct – Close the opening of air inlet duct with shopping bag and tape it so that during activity no water gets into it.
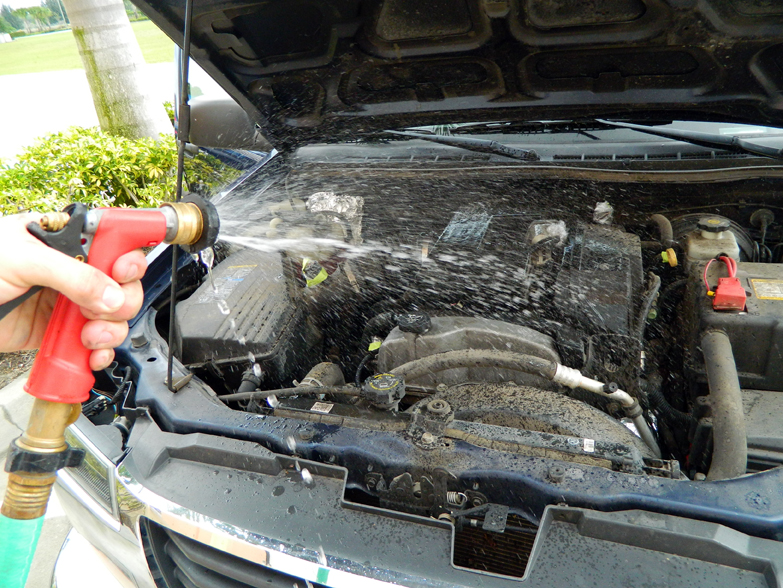
Removal Of Loose Dirt – Once the necessary components are covered up, it’s time to get started! Start by spraying a low-pressure stream of water all over the engine. You do not have to spray a high-pressure stream of water when detailing an engine. The goal with the initial rinse is to remove loose dirt and grease.
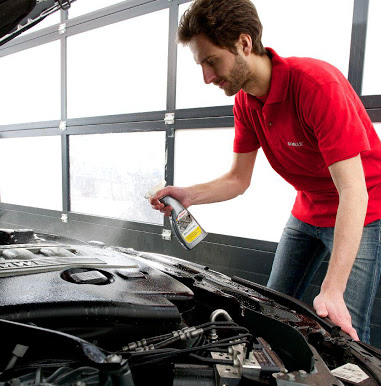
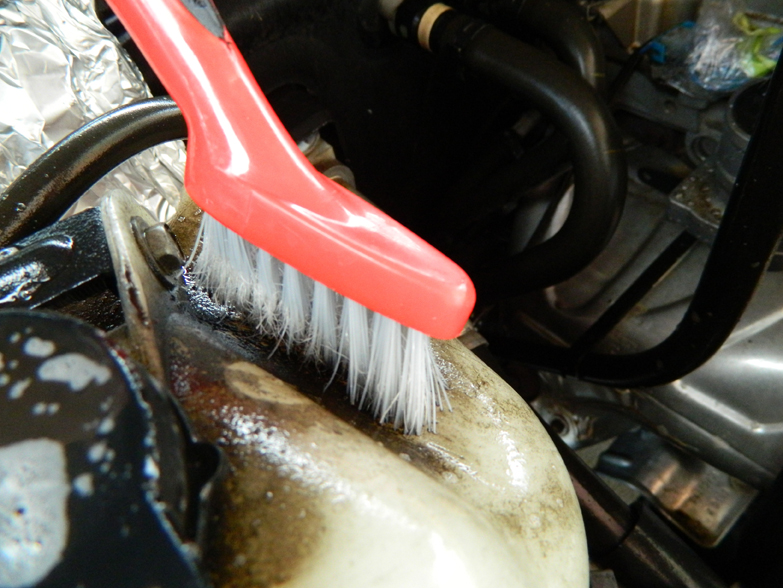
Application Of Degreaser- After removal of loose dirt, spray Sonax Degreaser on all engine components. Every corner and every hose pipe. This Degreaser is free from all harsh chemicals and is not dangerous for car paint. After spraying it, leave engine for ten minutes and in the meantime, use brush to clean embossed surfaces, joints, and all other components to ensure complete removal of grime.
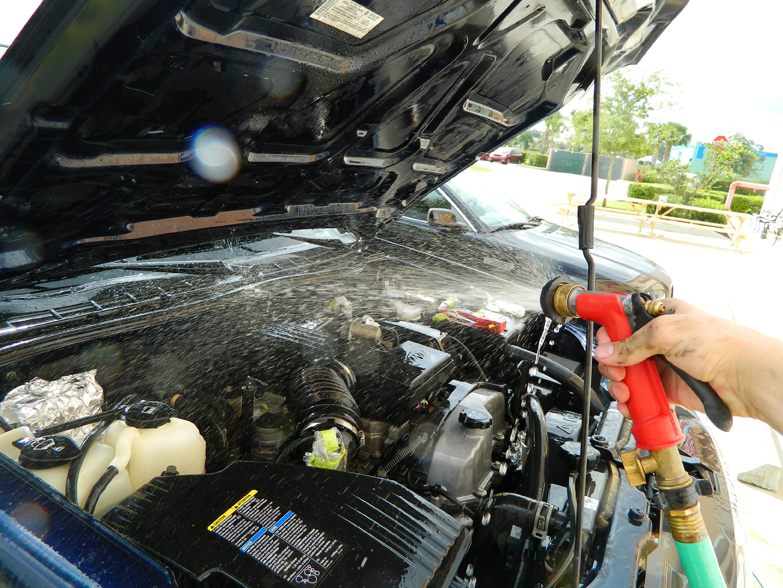
Rinsing Of Engine- After brushing and degreaser application, rinse engine bay thoroughly with low-pressure water. Using high-pressure water is not suitable for engine bay cleaning as it has a potential of getting into electrical components.
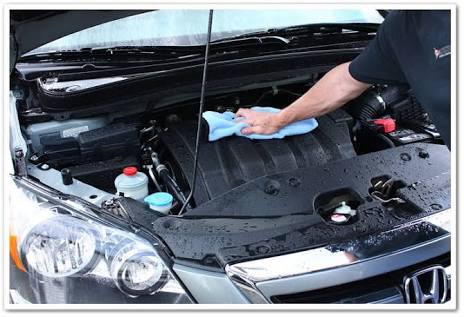
Drying Of Engine Bay- After rinsing of Engine Bay make sure no residue is left behind. Now you have two options for drying of Engine.
1. Dry it with towel or cloth which is time-consuming and not easy to reach in every corner.
2.Second is to dry it with high-pressure air
Detailing/Polishing- Once Engine is completely dry, it is ready for Polishing to give it a new look and add beauty and a little bit of shine to its Plastic and rubber trims.
Start with Engine Head Cover (Air Inlet Manifold). Pour a few drops of Liquid Polish and spread it evenly with a clean cloth. Do this until you achieve desired shine.
Polish Rubber trims, pipes and you will get a shining, Engine just like a brand new car.

Caution- People who own cars with modifications like Chinese HIDs, Extra horns, LED lights etc. done by local electricians, please be careful as these changes can cause short circuits.
- Secondly most of the service station guys spray Diesel, Kerosene oil with petrol mixed in it on the Engine bay, this isn’t recommended at all. This just gives a temporary shine and may be not good for engine. The actual concept of engine detailing is what I have explained to you.
- Don’t do this detailing on every wash, as an excess of anything is bad. This is recommended after every 3 to 4 months. In the meantime, try to keep the engine clean with a mild wet cloth.
I hope you liked this article and you have learned something new. Please let me know in comments about your suggestions, questions and any other topics you want me to cover in future.
Happy Detailing!