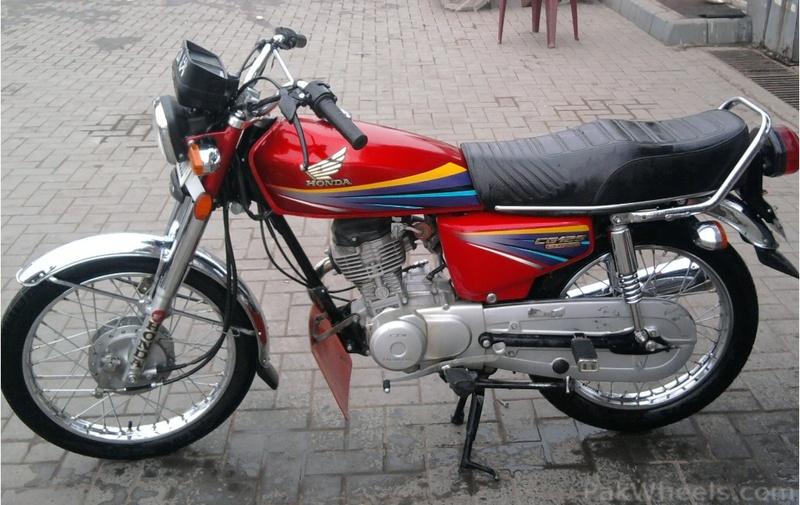
DIY – How To Fix The Loose Kick Lever Of Honda CG125
One of the several issues your Honda CG125 can have is a loose or free kick. One of my colleague here in the office owns a 2010 Honda 125, and its kick had become completely loose. It would swing open to the right even when turning or cornering right. It would come loose on slightest of road bumps. I had a 2005 Honda CG125 once, and it also had the similar issue of a free kick. I was told that this is quite a regular problem with the older model 125 bikes. With the passage of time, the things that hold the kick in its place wear out, and it starts to swing here and there.
To solve the issue of my bike, I just bought an outer kick spring for Rs40 from a motorcycle spare parts shop. It was the easiest and quickest fix. You just remove the foot rest rubber and put the spring on the foot rest rod. A hook will hold the kick in its place and even bring the kick back up straight when you take the foot off it.
Also Read: DIY – Changing Sparkplugs On A Toyota FJ Cruiser
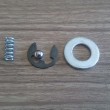
But my friend wanted to go the OEM way. I told him just buy the spring and be done with it. He didn’t like the idea. Although he did try to find one couldn’t. Instead, he got this. The original kit that helps the kick stay upright.
The kit includes a spring, a bearing ball, washer, and a lock. It was for Rs20 from the spare parts shop.


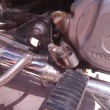
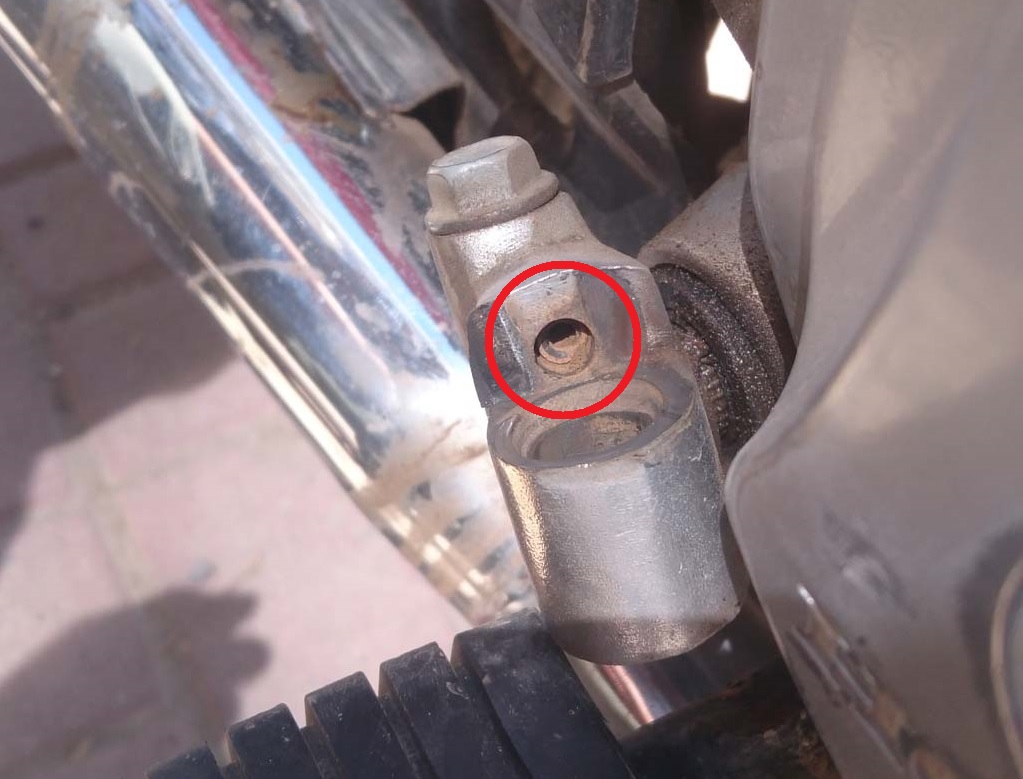
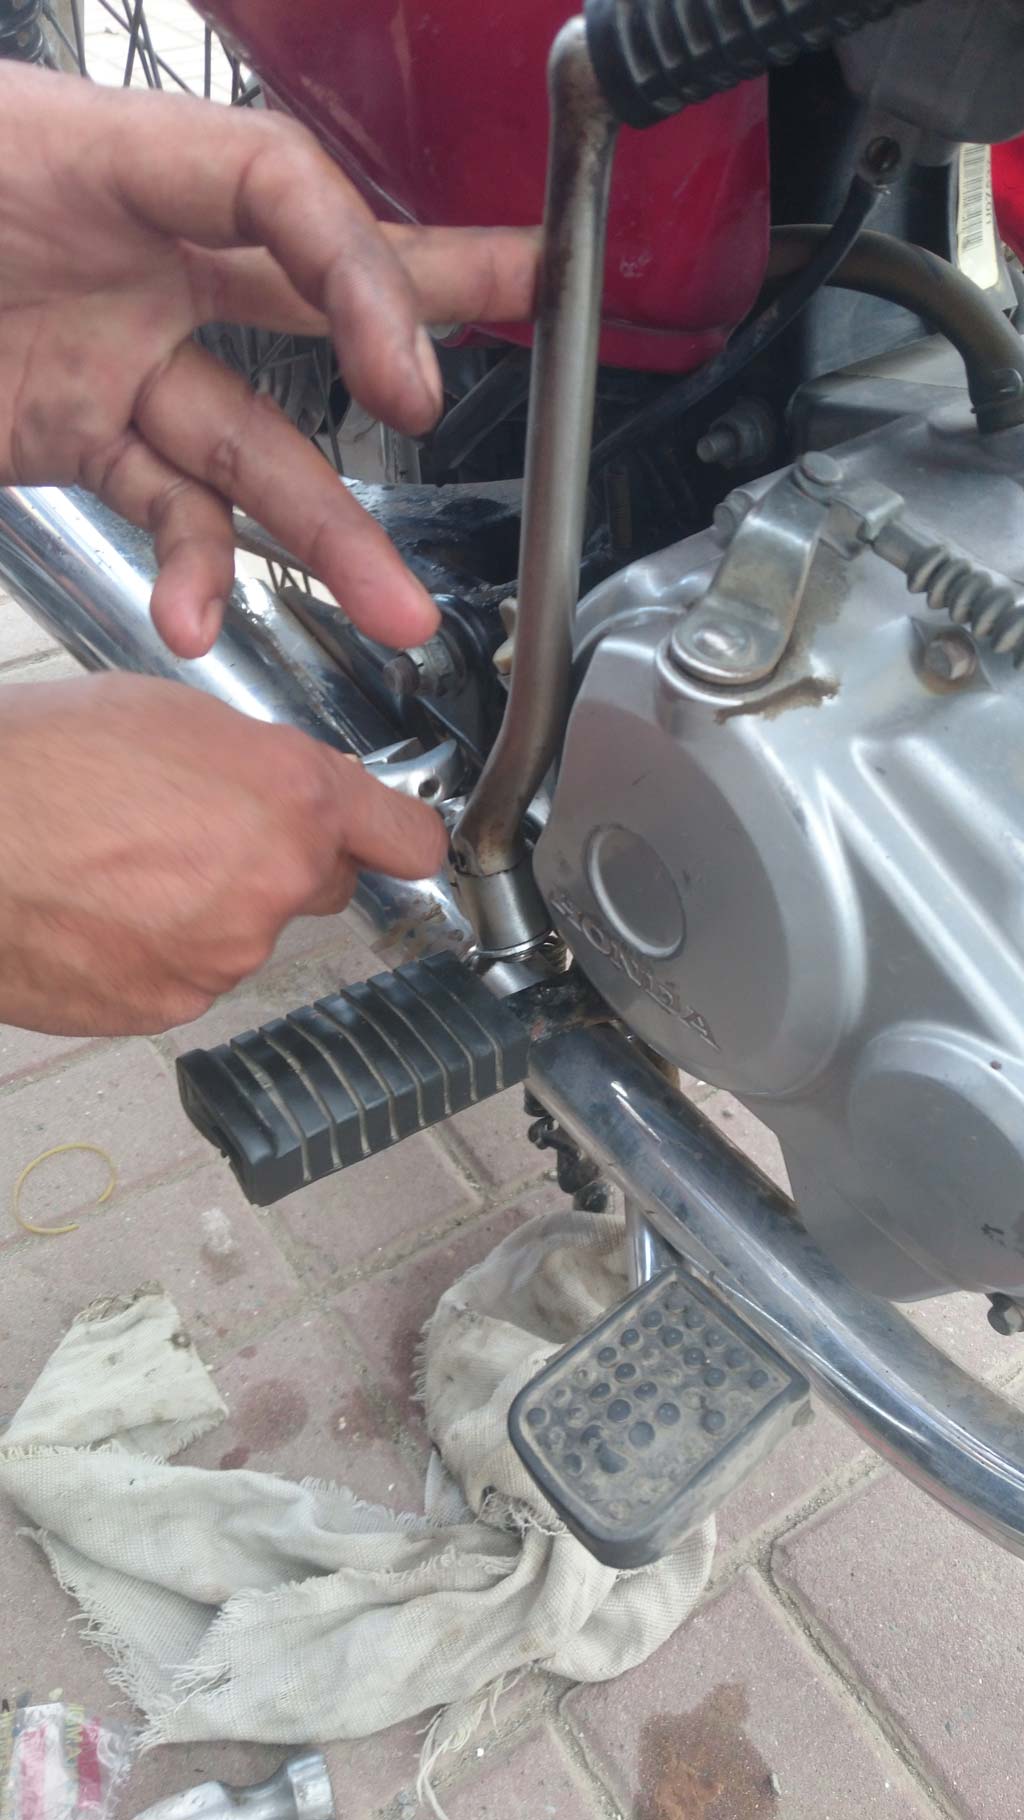
Time to inspect and remove the kick. But before I start, I must say, it’s better to remove the kick rather than doing it attached to the bike. I will let you guys know below when we faced the problem and had to remove it. The kick had no metal washer or lock to keep it locked and it popped straight out when pulled. The old bearing ball had lost its chrome and shine.

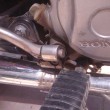


And then came the hard part. The old spring was stuck inside the pocket and was not coming out. Since we were doing it ourselves, and without proper tools, it became a real challenge to remove the spring.
You can just use a nose pliers to pry the old spring out slowly and gently. But all we had were these tools.

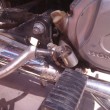
My friend used the petrol waste pipe and dripped few drops of petrol inside the sleeve to loosen the vice of dirt, gunk, and rust. It finally worked, and the spring started to move inside, but it was still not coming out. He then used a suitably sized screw and tightened it in the sleeve. He then just yanked the screw with the pliers and out came the old rusty spring.
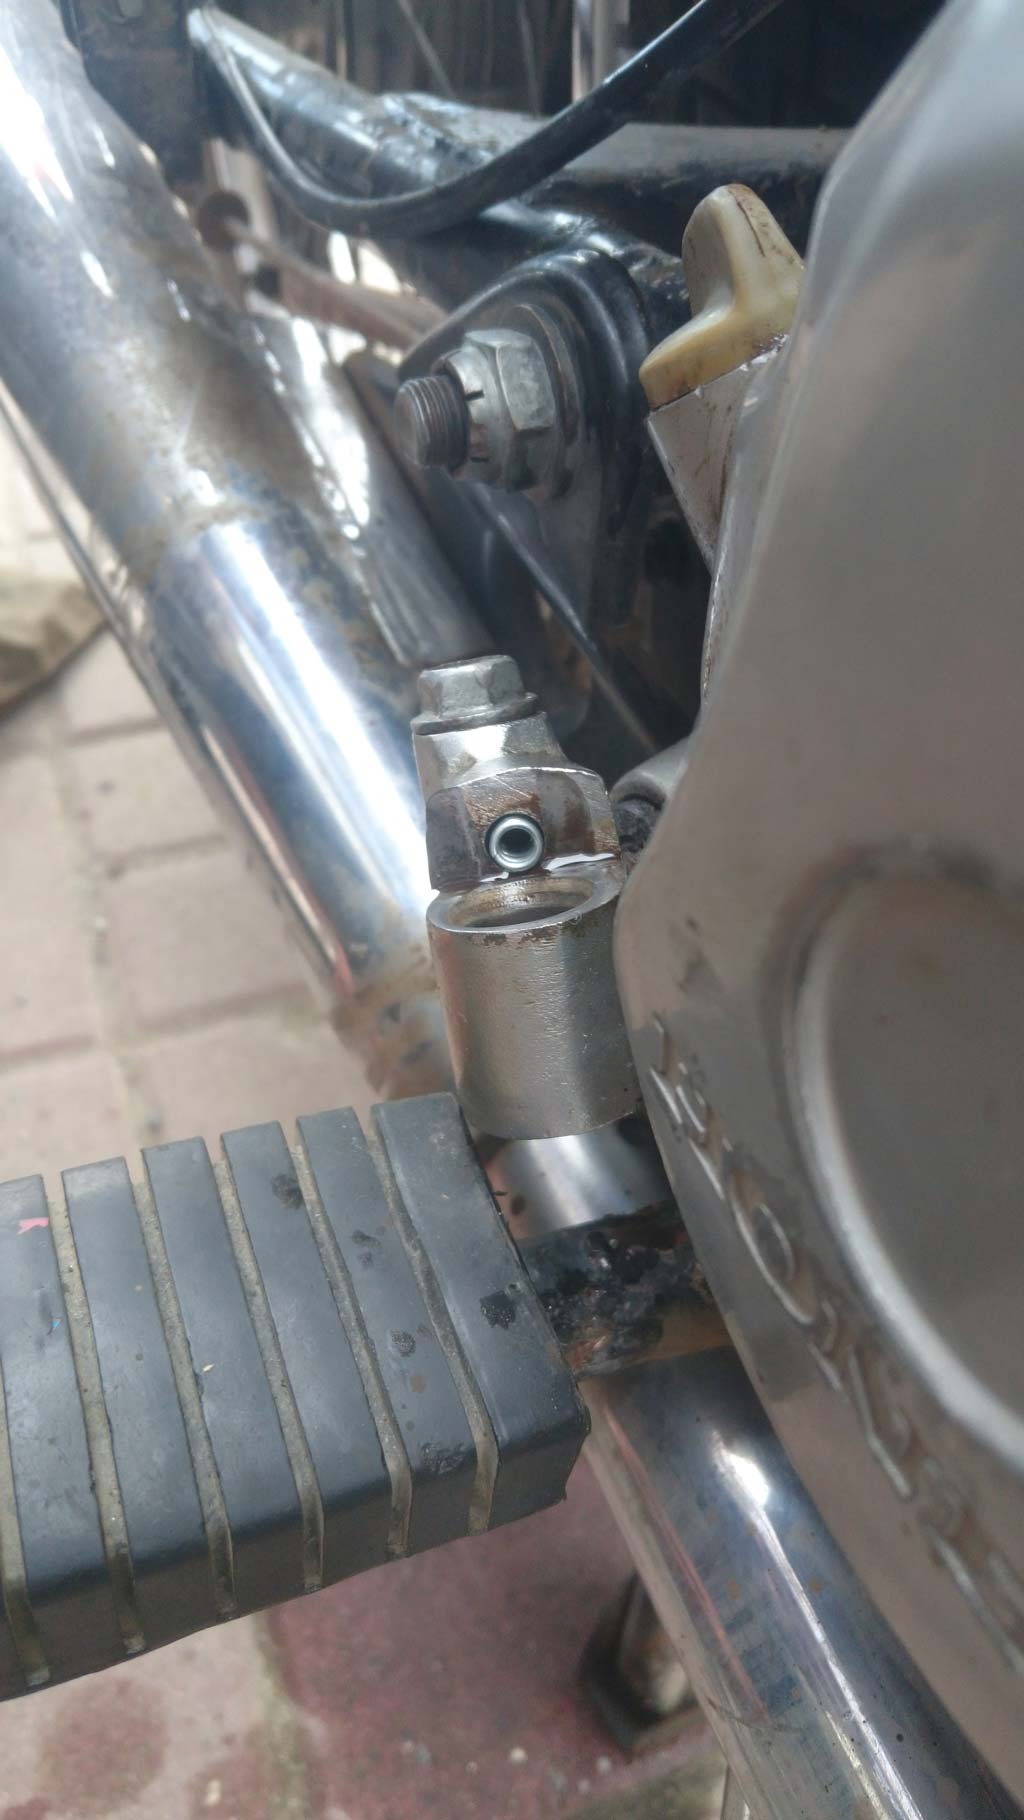
Old spring out, new spring in. Drip a couple of drops of oil inside the sleeve. It’s better to use grease, but we didn’t have any at that time. It was slightly tricky to insert the kick back in with the steel ball poking out sitting on the spring. However, we managed to put the kick back in its holster with bearing ball staying in its place and locking the kick in its open and closed position.

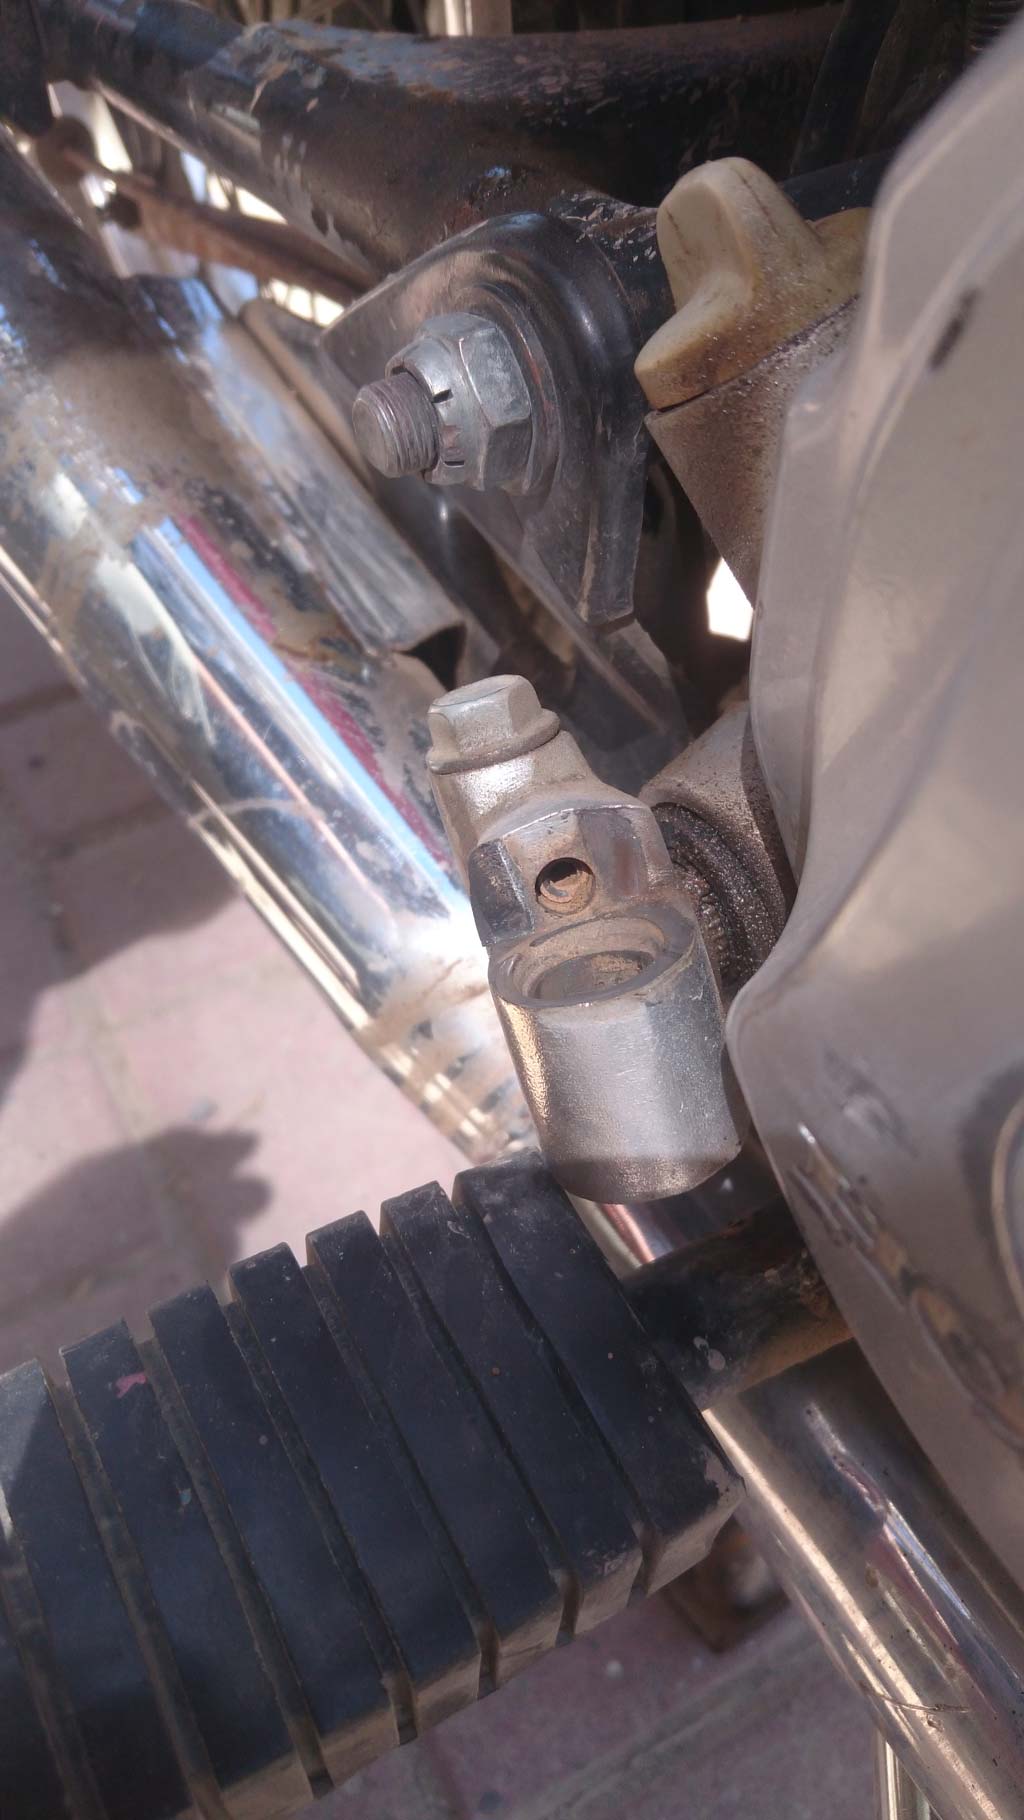
This was when we thought maybe it was better to remove the kick knuckle/holster from the bike although we did end up doing that. The metal wash that came with the kit was a hair tighter on the spindle of the kick. We tried to hammer it on the spindle gently, but it wouldn’t budge. 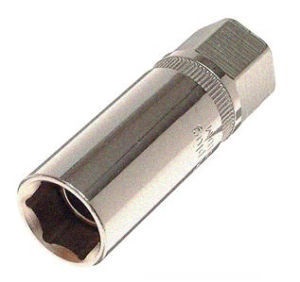 That’s when we removed the kick knuckle as well, turned it upside down resting on the side of the footpath, placed the washer on the spindle, put a spark plug socket on it and hit the socket with the hammer. The washer just popped over the lock collar of the rod. We put the metal lock on, made sure it was holding in tight, and put the kick back on. Unfortunately I didn’t remember to take photos of the washer and how we put it it on. I was too busy helping my friend with the stubborn washer.


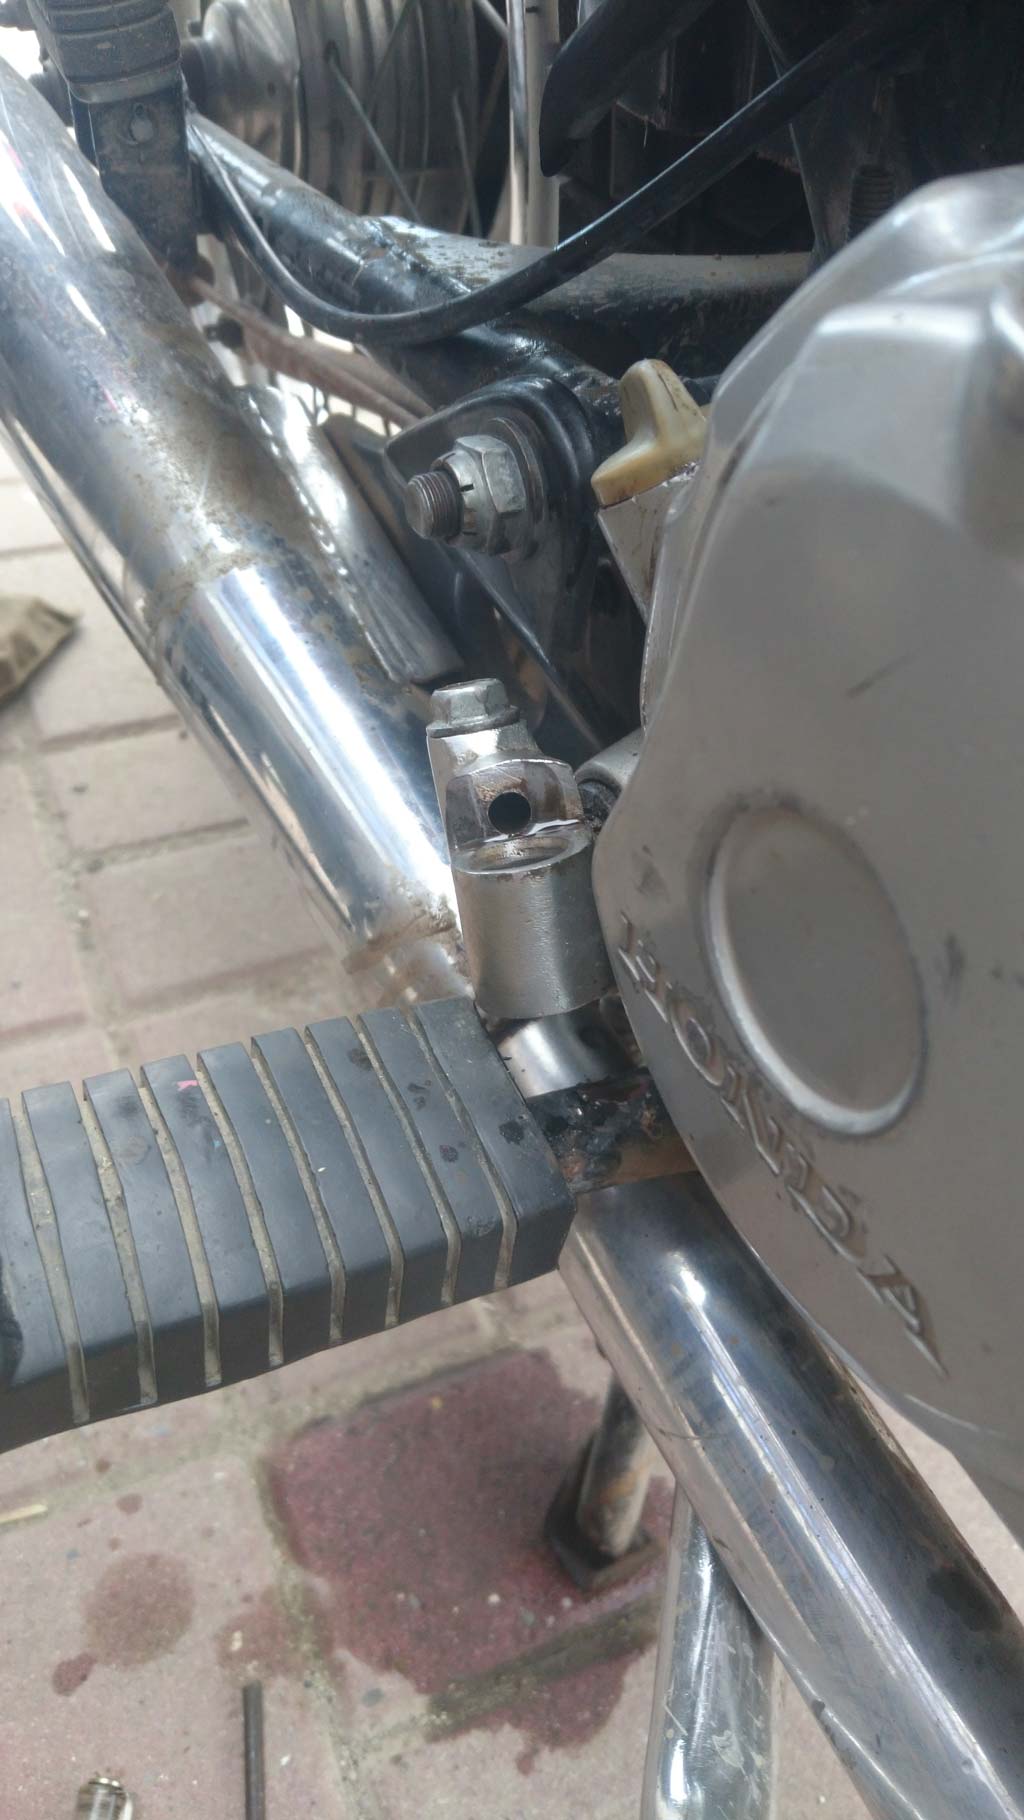
The bike was ready to go now. Tightening the kick lever back on.
It took around 30 minutes to complete the job. It shouldn’t have taken this long if we had all the tools, or had the old spring come out easily. Also, we could have saved some time if we had just removed the kick holster. I hope this will help you fix the kick of your bike yourself. Or if you don’t want to go through all this, the bike mechanic might take Rs50 and do it for you. But where’s the fun in that?! Happy motoring!

So the OEM method of working on it was to have the correct replacement parts but no proper tools or grease?
Way to be an ass about it!
Wouldn’t they have used all the required tools if they had them?!
appreciate the DIY article. we need more of these instead of just the news stuff